Easy Apple Walnut Dump Cake Recipe
By Emma
Certified Culinary Professional
·
Recipe tested & approved
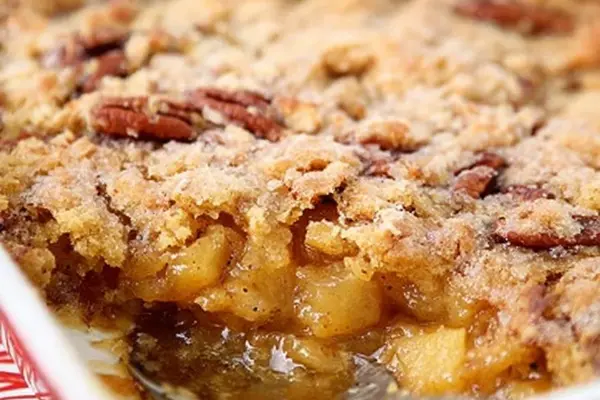
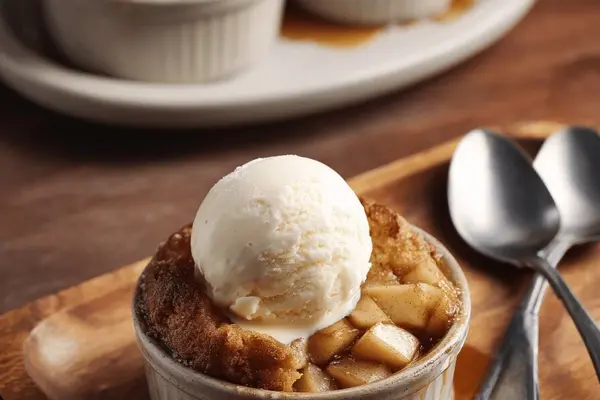
Easy apple walnut dump cake with canned pie filling, yellow cake mix, butter, and walnuts. Baked until golden with a crunchy topping—comfort food dessert ready in minutes.
Prep:
10 min
Cook:
50 min
Total:
60 min
Servings:
10 servings
Preheat to 345. Butter a 9x13 pan. That’s the setup. The filling goes in first—spread it flat so it doesn’t pool in the middle, then the dry cake mix on top. No mixing. Just sprinkle it, tap the pan level, and drizzle melted butter over everything in loose loops. Don’t stir it all together. That’s the whole thing.
Why You’ll Love This Apple Dump Cake
Takes 10 minutes to throw together. Seriously. While it bakes for 50 minutes, you’re doing something else.
Tastes like you actually tried. Canned apple pie filling plus cake mix shouldn’t work this well. But it does.
Comfort food that doesn’t ask for much. Yellow cake mix, apples, butter. Four ingredients total.
Walnuts instead of pecans sounds weird. They toast different—nuttier, crunchier. Better texture contrast.
Edges get dark and crispy. Center stays soft. That jiggle in the middle when it comes out means it’s done. Not overdone.
What You Need for Apple Dump Cake
One can of apple pie filling—21 ounces, that’s the standard size. The filling’s already spiced. You’re not fixing it.
Yellow cake mix box. 15.25 ounces. Don’t use chocolate or anything else. Yellow is the angle here.
Melted butter. Three quarters cup. Unsalted. Salted works if that’s what’s in your fridge. Doesn’t matter much. The filling handles salt.
Chopped walnuts. A cup. They sit on top and stay there. Toast in the oven instead of burning in a pan first.
How to Make Apple Dump Cake
Heat your oven to 345. Not 350. The slightly lower temp keeps the top from browning too fast while the center sets. Grab a 9x13 pan and butter it light—just enough so it doesn’t stick.
Pour the apple filling straight in. Don’t dump it all center. Spread the edges first so it distributes flat. You want the apples and sauce touching the whole bottom, not pooling. Then sprinkle the dry cake mix over top. No clumps. The mix looks rough and grainy—that’s right. Tap the pan or shake it to level everything out.
Melt your butter and drizzle it slow over the cake mix. Don’t pour it all at one corner. Go in loops, back and forth, and don’t stir it smooth. The partial blending matters. You want dry spots of cake mix sitting next to wet spots of butter. That’s what stops it from turning into cake soup.
Scatter the walnuts on top. They don’t go underneath—they stay on the surface so they toast instead of steam.
How to Get Apple Dump Cake Crispy and Done Right
Bake for 45 to 50 minutes. Not longer. The edges brown first. Watch them. When they turn dark golden, the center’s probably set. Pull it out and watch the middle jiggle—like barely. Not runny, just a slight shimmy. That means done. If it looks solid everywhere, it’s overdone.
Center should be tender but not wet. The apples keep it moist. You’re not fighting that. You’re working with it.
Some ovens run hot. If the top’s already dark at 40 minutes, cover it loosely with foil. Just drape it. Not tight. Let it keep baking underneath while the top stops burning.
Let it sit in the pan for 10 minutes after it comes out. Warm, not steaming. This rest matters. The fruit juices thicken up—go from runny to syrupy. Slice it too early and it falls apart wet. Wait those 10 minutes and the slices hold.
Slice with a spatula, not a knife. Press down gently, wiggle side to side. Gets you clean squares instead of crumbly messes.
Apple Dump Cake Tips and Common Mistakes
Don’t use fresh apples. Canned filling is thicker—holds together in the pan. Fresh apples turn to mush and the cake floats.
The butter swirl thing is real. Mixing the butter and cake mix together beforehand sounds right but makes it dense. The partial blend keeps the texture varied—crispy on top, tender underneath, buttery pockets everywhere.
Walnuts toast different than pecans. Pecans are softer, nuttier, buttery. Walnuts are crunchier, punchier, sharper. Pick based on what you have. Both work.
If edges burn but the center’s not done, cover with foil. Still bake until the jiggle stops. The foil blocks heat from the top. Takes longer but saves the dessert.
Leftover comfort food apple cake keeps in the pan, covered, for three days. Tastes better cold actually. Firmer. Slices cleaner.
Easy Apple Walnut Dump Cake Recipe
Prep:
10 min
Cook:
50 min
Total:
60 min
Servings:
10 servings
Ingredients
- 1 can apple pie filling, about 21 ounces
- 1 box yellow cake mix, approximately 15.25 ounces
- 3/4 cup unsalted butter, melted
- 1 cup chopped walnuts
Method
- 1 Preheat oven to 345°F and lightly grease a 9x13-inch baking pan. The slightly lower temp helps prevent over-browning here.
- 2 Pour pie filling evenly across bottom of pan. I like to spread edges first, so it doesn’t pool too much in center.
- 3 Sprinkle dry cake mix generously and evenly over the fruit. No clumps, shake or tap pan to level.
- 4 Drizzle melted butter slowly on top. Use a butter knife to swirl—big loops, not mixing fully. This partial blending stops cake from becoming gummy — keeps texture varied.
- 5 Sprinkle chopped walnuts on top instead of pecans. They toast differently, adding punchier flavor and crunch.
- 6 Put in oven and bake 45 to 50 minutes. Watch browned edges—they darken first, giving a cue it’s ready. The center firming with slight jiggle means done, avoids dry spots.
- 7 Let sit 10 minutes or so warm but not piping hot. This resting lets juices thicken to syrupy texture instead of runny.
- 8 Slice with spatula for neat squares. Crisp on top, tender underneath with that buttery-nutty aroma. If edges burn, next time cover loosely with foil at 35 minutes.
Nutritional information
Calories
470
Protein
4g
Carbs
65g
Fat
22g
Frequently Asked Questions About Apple Dump Cake
Can I use fresh apples instead of canned filling? Not really. Fresh apples release too much juice. The cake floats. Canned filling has the right thickness—it stays put.
Why 345 degrees and not 350? At 350 the edges can scorch before the center sets. 345 gives you a slower brown. More even. Matters more than you’d think.
Can I use pecans instead of walnuts? Yeah. They’re softer and sweeter. Walnuts are sharper. Either works. This version just highlights the pecan angle differently—walnuts add more crunch.
How do I know when it’s actually done? Edges are dark. Center jiggles slightly when you shake the pan. Not runny, just a tiny shimmy. Leave it in too long and it gets dry all the way through.
Does it have to rest 10 minutes? Yes. It’s not like you’re building flavor. The fruit juices thicken up. Without that rest it falls apart when you slice it. Worth waiting.
Can I make this in a different pan size? Smaller pan means it bakes faster and thicker. Bigger pan means thinner and faster. Watch it. Probably add or subtract 5 minutes depending on depth. Not exact.
What if the top browns too fast? Cover loosely with foil at 35 minutes. Keeps the top from burning while the center finishes.
You’ll Love These Too
Explore all →
Lychee Lime Granita with Mango & Mint

Pan Seared Tilapia with Warm Grapefruit Sauce
No Bake Blueberry Cheesecake with Lime

Chicken & Chorizo Jambalaya Recipe
Apricot Coconut Bars with Cardamom

Retro Chicken Tetrazzini Casserole
Velveeta Cheese Dip With Chorizo

Chilled Green Pea Soup with Cucumber
Lemon Sundae Tart with Vanilla Ice Cream

Almond Cookies Recipe with Butter & Vanilla
Fudgy Brownies with Black Beans & Cocoa
Salmon Koulibiac Twist with Hazelnuts
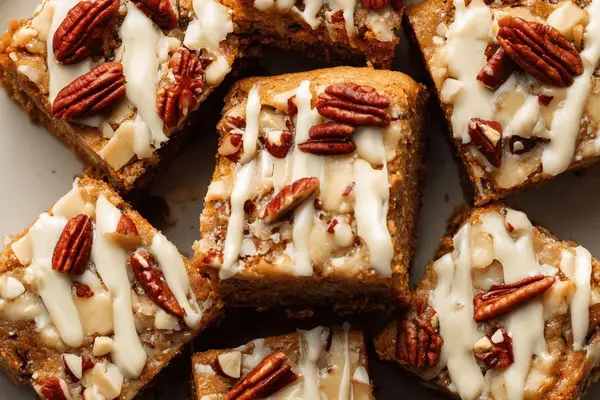
Almond White Blondies with Coconut Oil
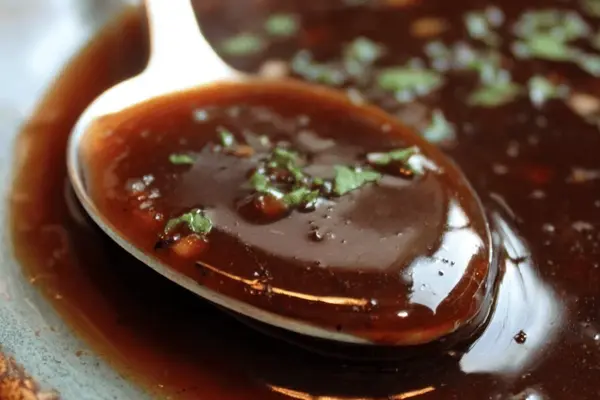
Brown Gravy Recipe with Beef & Chicken Broth

Buffalo Chicken Dip Crockpot Recipe
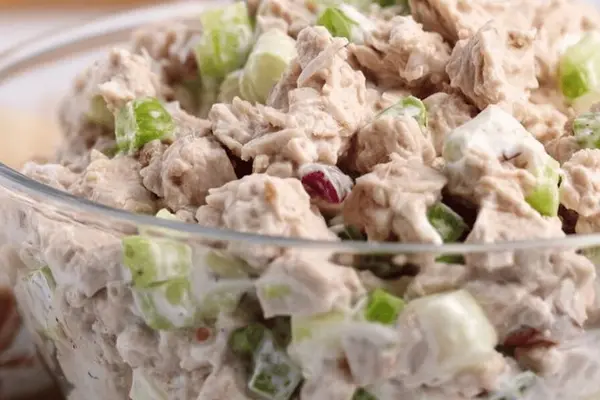
Avocado Tuna Salad No Mayo Recipe
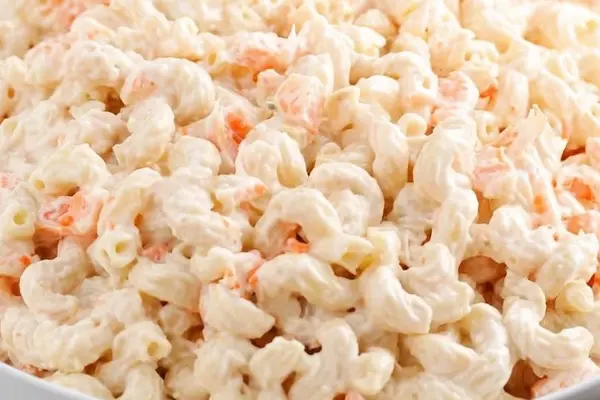
Hawaiian Macaroni Salad Recipe
Ricotta Cheesecake with Honey & Cinnamon
Air Fryer Apple Pudding in Ramekins