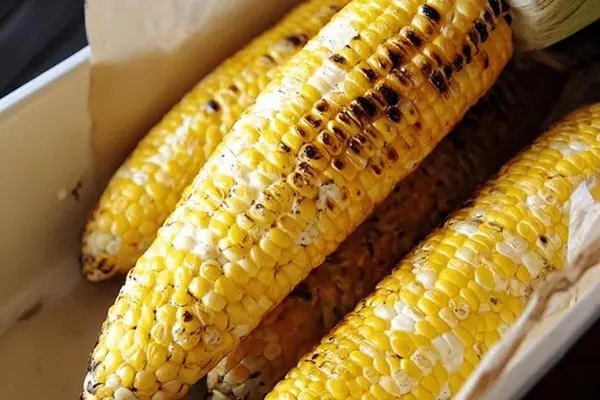
Grilled Corn On The Cob With Garlic Herb Butter
E
By Emma
Certified Culinary Professional
•
Recipe tested & approved
Grilled corn on the cob with garlic herb butter stays tender and smoky. Quick soak, two-stage grilling technique keeps kernels juicy and husks from charring.
Prep:
7 min
Cook:
13 min
Total:
31 min
Servings:
6 servings
Soak them first or the husks char before the kernels cook through. Six ears, cold water, a plate to keep them under—that’s the whole secret to grilled corn on the cob that actually works.
Why You’ll Love This Grilled Corn on the Cob
Takes 31 minutes total. Barely any prep. Most of that time the grill does the work while you sit.
Side dish that tastes like summer the second you bite into it. Sweet. Buttery. The char adds something—not just browning, but actual texture that changes how it tastes.
Works for backyard dinners, cookouts, weeknight grilling when you need something fast. Vegetarian crowd loves it just as much. One of those foods that feels simple until you taste it done right.
Leftover corn reheats better than you’d think—grill it again the next day, quick char on the pan. Not soggy. Not dried out.
What You Need for Grilled Corn on the Cob
Six ears of fresh corn. Husks still on. Don’t buy pre-shucked.
Cold water for soaking. A plate or something flat to weight them down—they float otherwise.
Whipped garlic herb butter. Three tablespoons. Regular melted butter works too if that’s what you have. Salt.
That’s it.
How to Grill Corn on the Cob in the Husk
Fill the sink with cold water. Submerge all six ears completely. Use a plate to hold them under. Soak for 12 to 17 minutes. Not longer. The husks need to absorb water but the corn stays firm. Drain. Shake off extra water hanging off the husks. Moist is good. Dripping wet means flare-ups later.
Preheat the grill to medium heat. Not scorching. Just firm. Place the corn directly on the grates with husks still attached. Close the lid. Listen—you’ll hear soft hissing steam. The smell changes. Grassy at first, then something sweeter underneath. Grill for 5 to 7 minutes. Flip carefully. Grill another 5 to 7 minutes. The kernels shift from rough and doughy to something tighter, juicier. Husks go from bright green to spotted brown. Watch for charred brittle spots—that means it’s about to flare.
How to Get Grilled Corn Crispy with Perfect Char
Take the corn off heat for a few minutes. Handle it—the warmth helps when you’re removing silk. Pull the husks back slowly. The silk peels off now, easy. If stubborn bits cling, use a damp paper towel or soft brush. The husk can stay attached if you want—looks better, keeps fingers clean, just keep it clear of the grill edges.
Return the shucked ears to the grill. Medium-high heat this time. A notch hotter than before. Direct contact with the grates. Turn it 3 to 4 times. Maybe a minute per side. You want kernels to blister. Speckled golden. The smell changes again—sweet, caramelizing. Listen for faint popping. That’s the corn telling you it’s done. Char adds crunch against the soft kernel. Skip this step if you’re worried about flare-ups or want softer bites. Both work.
Grilled Corn on the Grill: Tips and Common Mistakes
Don’t skip the soaking. Dry husks char before the corn cooks. The water inside the husk steams the kernels. That’s what makes them juicy.
Slather the butter on while it’s hot. Whipped garlic herb butter, or just melted. Salt after. Salt before pulls moisture out. After is better.
Serve immediately. Corn goes soft as it cools. Not bad. Different. Cold corn is fine. But warm corn straight off the grill is why you grilled it.
Flare-ups happen if the husks are too wet or the grill is too hot. Both fixable. Shake off excess water from the husks. Watch the heat. Lower it if you see flames creeping up around the corn. The corn itself won’t burn—the husk protects it. The husk might get too charred, but that’s cosmetic.
Pre-shucked corn works for barbecue corn on the cob if you’re short on time, but the husks protect the kernels and keep them steaming. Different result. Not worse. Different.
Grilled Corn On The Cob With Garlic Herb Butter
Prep:
7 min
Cook:
13 min
Total:
31 min
Servings:
6 servings
Ingredients
- 6 ears fresh corn with husks
- water for soaking
- 3 tablespoons whipped garlic herb butter (or regular melted butter as substitute)
- salt to taste
Method
- Soak and Prep
- 1 Fill clean sink with cold water; submerge unshucked ears fully. Weight them down with a plate or similar if they float. Soak 12–17 minutes, not too long to avoid sogginess but enough for silk to loosen and husks hydrate. Drain thoroughly. Shake off excess water hanging off husks. Moist husks mean steam and protect kernels but watch weight—too wet leads to flare-ups, dry ruins steaming effect.
- Initial Grill: Husks On
- 2 Preheat grill to medium heat—not scorching but firm enough to induce texture change. Place soaked corn directly on grill grates with husks still attached. Close lid; listen to soft hissing steam and smell that faint grassy smell breaking through. Grill roughly 5–7 minutes. Flip carefully. Grill another 5–7 minutes. Kernels go from rough and doughy to juicy-resilient. Husks color shifts from lime green to charred brown in spots; avoid blackened brittle husks, flare soon if this happens.
- Shuck and Silk Removal
- 3 Off grill, cool a few minutes—handle heat but keep warmth for easy silk removal. Pull husks back slowly; silk peels off with little resistance now. Silky threads clinging? Use damp paper towel or soft kitchen brush to remove stubborn bits. Husk can be left attached for rustic grip—looks good and keeps fingers clean, but keep husks clear of grill edges in next step to avoid burning.
- Final Char and Finish
- 4 Return shucked ears to grill, direct contact, medium-high heat (a notch above the first stage). A few quick turns—3–4 minutes per side. You want kernels to blister and get golden speckles. Hear faint popping, smell that sweet caramelizing scent. Husk edges outside grill. Char adds crunch contrast; skip this if worried about flare-ups or for softer bites.
- Serve
- 5 Slather warm ears with whipped garlic herb butter or melted butter if out of fresh spread. Salt after buttering to uplift flavors, not before—it pulls moisture out prematurely. Serve immediately. Leftovers reheat well, just quick char on pan or grill. Resist microwaving for better texture.
Nutritional information
Calories
115
Protein
3g
Carbs
15g
Fat
6g
Frequently Asked Questions About Corn on the Cob on the Grill
How long do you soak corn before grilling? 12 to 17 minutes. Long enough for the husks to hydrate and protect the kernels. Longer than that and you’re just wasting time.
Can you grill corn without soaking it? Technically yes. Husks will char fast though. Kernels take longer. By the time the corn cooks through, the husk is ash. Not ideal.
What temperature should the grill be for corn on the cob? Medium heat for the first stage when husks are on. Medium-high for the final char when it’s shucked. Medium is around 350–400 degrees. Medium-high is 400–450. Don’t overthink it. If you can’t hold your hand over the grates for more than a few seconds, it’s hot enough.
How do you know when grilled corn is done? Kernels go from dull and rough to shiny and tight. Takes about 10 to 14 minutes total with husks on. When you shuck it, the silk peels easily. When you take a bite, the kernel releases juice. That’s done.
Can you make Mexican corn on the cob on the grill? Absolutely. Cook the corn the same way. Then brush with mayo or Mexican crema instead of butter. Cotija cheese. Tajín seasoning. Lime juice. Same grilling technique. Different finish.
How do you reheat leftover grilled corn? Grill it again. Quick char on medium heat. Pan works too—butter in a skillet, roll the corn through it for a minute or two. Don’t microwave. It gets rubbery.
Is grilled corn better than boiled corn on the cob? Different. Grilled gets texture. Char. Sweetness that concentrates. Boiled is softer, milder. For barbecue and summer eating, grilled wins. For corn on the cob used in other dishes, boiled is fine.
You’ll Love These Too
Explore all →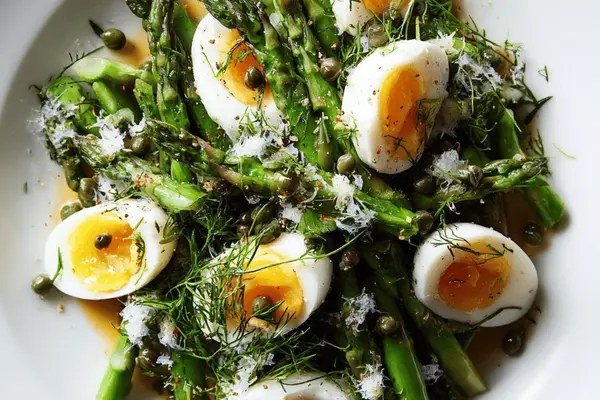
Asparagus Mimosa with Soft-Boiled Eggs
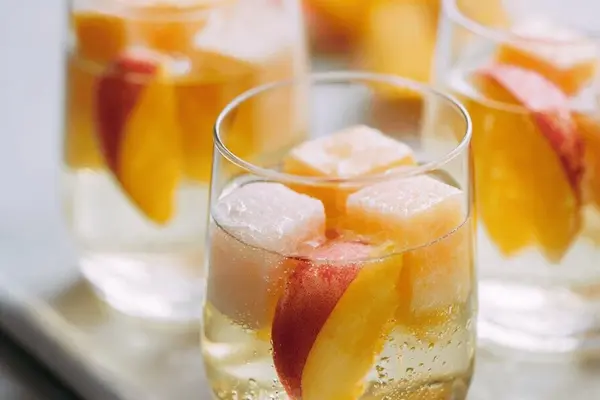
Grapefruit Wine with Peach Ice Cubes
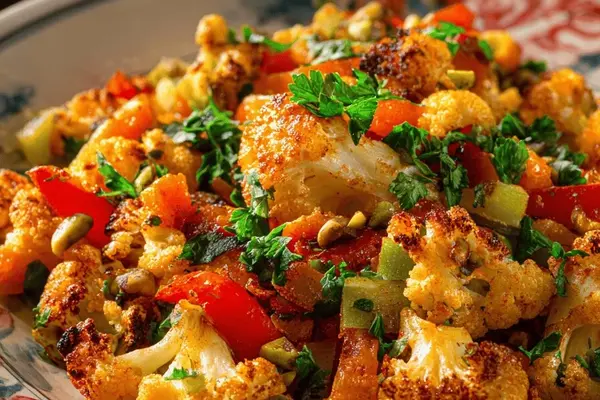
Cauliflower Couscous with Pistachios
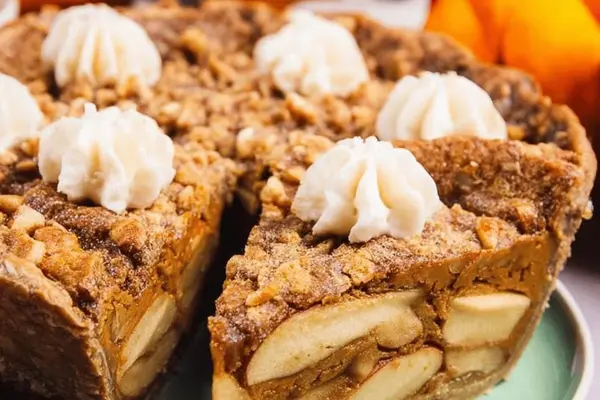
Pumpkin Pie Recipe with Pecan Crust
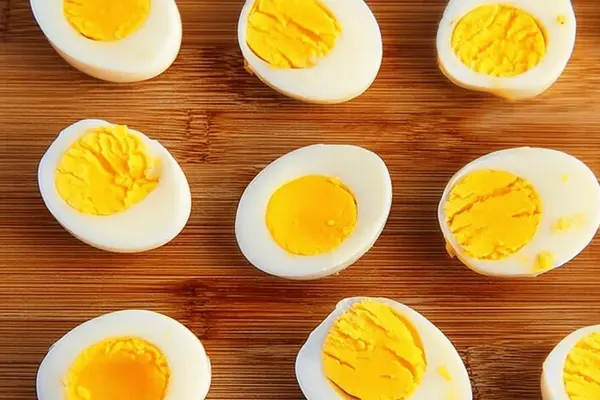
Easy Hard-Boiled Eggs with Baking Soda
Pumpkin Parmesan Bites with Smoked Paprika
Baked Sweet Potato Pie with Quinoa
Chocolate Fun Dip with Cake Mix & Whipped Cream
Chocolate Swirl Babka with Espresso
Shrimp Scampi Shrimp with Garlic Butter

Making Sugar Cookies with Butter & Colored Sugar
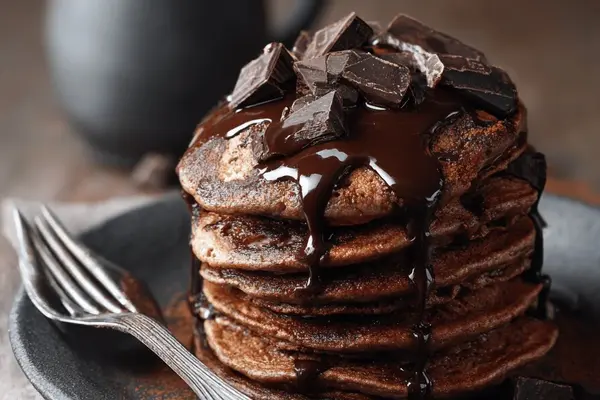
Fluffy Chocolate Pancakes with Egg Whites
Honey Mustard Dressing Recipe
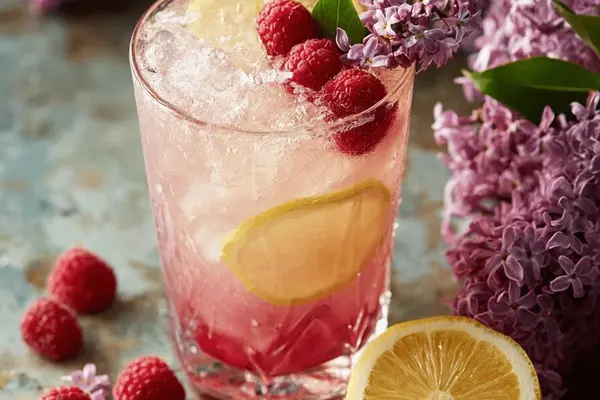
Lilac Fizz Lemonade with Vodka & Elderflower
Persimmon Ginger Chutney with Cranberries
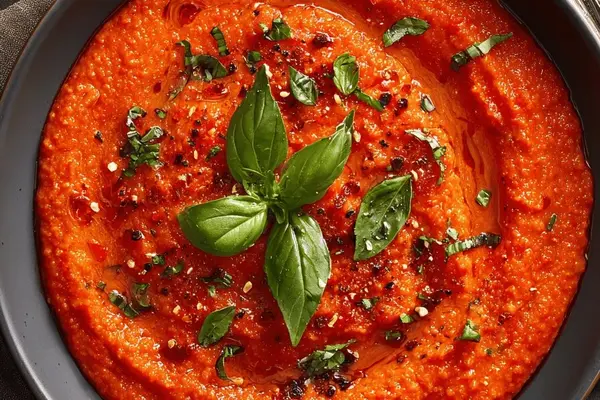
Red Pepper Tomato Sauce with Garlic
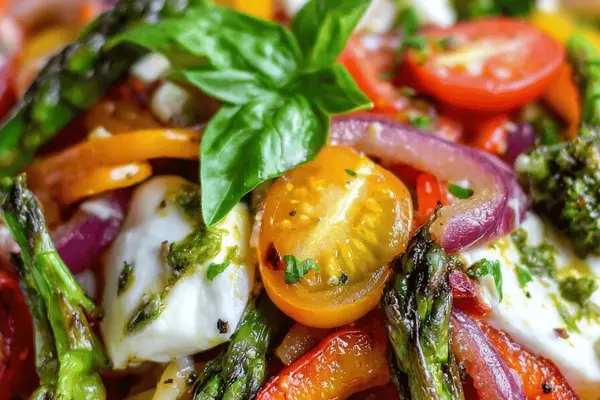
Vegetable Pasta with Fresh Basil
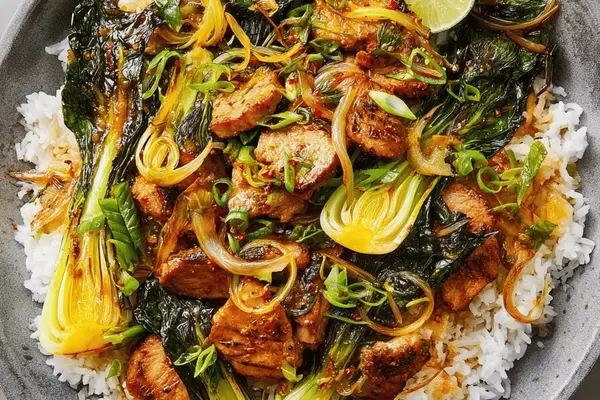
Ginger Pork Stir-Fry with Lime & Bok Choy
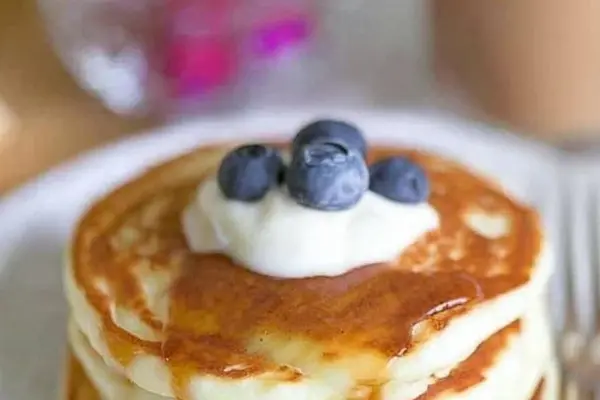
Fluffy Pancakes Recipe with Buttermilk