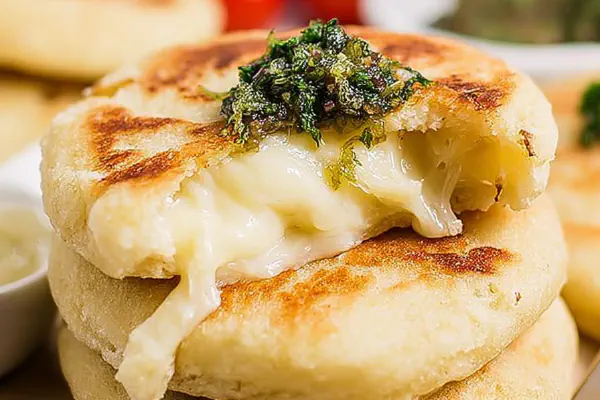
Cheesy Arepas Twist
E
By Emma
Certified Culinary Professional
•
Recipe tested & approved
Corn dough mixed with Cotija and a touch of sharp white cheddar, salted just right. Warm water and browned butter bind into pliable dough. Formed into stuffed patties, cooked til golden and crispy. Traditional method altered for a sharper cheese kick and browned butter aroma, balancing richness and tang. Cooking teaches feel and sight over the clock. Crispy outsides, melty cheesy core inside. Cast iron skillet preferred for sear and heat retention. Keeps warm in oven; texture matters more than timing. A staple snack or side, with a personal twist on cheeses elevating the standard arepa experience.
Prep:
22 min
Cook:
11 min
Total:
33 min
Servings:
8 servings
#Latin American
#snack
#cheese
#corn dough
#cast iron skillet
Before You Start
Started messing around with stuffed arepas years ago. Tried traditional Cotija only. Meh. Needed more pop. Tossed in sharp cheddar—boom, hit a balance of sharp and mellow. Browned butter instead of plain melted added nutty aroma along with crisp edges. Masa dough texture critical—too wet dude it cracks, too dry it breaks. Water temp matters too. Warm but not hot. Resting dough a game changer—hydration gets dough pliable, no cracks. Sealing edges well prevents messy melty escapes on skillet. Cast iron skillet preferred—heat retention and iron taste matter. If that’s not in your arsenal, electric griddle on medium-low gives consistent temps. Watch for visual cues: first side golden, crust forming, second side crackling, color deepen. Texture and smell your guide. Dips optional but salsa verde or guac hug these nicely. Learned that letting arepas rest on wire rack keeps crisp from steam. Paper towels? Buh-bye crispiness. This iteration is work from past experiments—a little twist, a little methodology. Trust the feel and smell more than your timer. Cooking ain’t just following steps; it’s living the process.
Ingredients
- 4 cups white or yellow masa harina
- ¾ cup crumbled Cotija cheese
- 1 ¼ teaspoons coarse Kosher salt
- 3 ⅔ cups warmed water
- ¼ cup browned unsalted butter
- 1 cup shredded sharp white cheddar cheese
In The Same Category · Snacks
Explore all →
Garlic Herb Cheese Nuggets

No-Bake Pumpkin Brownie Bites

No Bake Horse Cookies
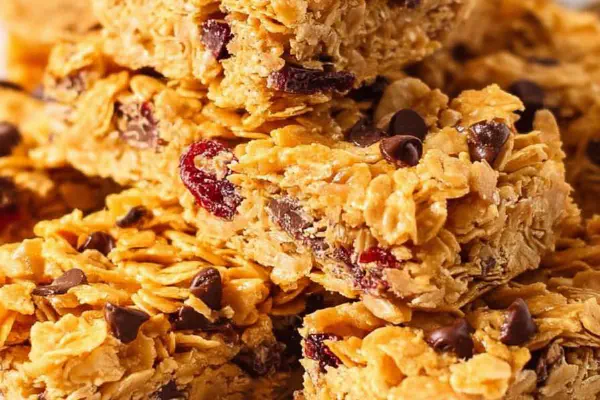
Crunchy Peanut Bars
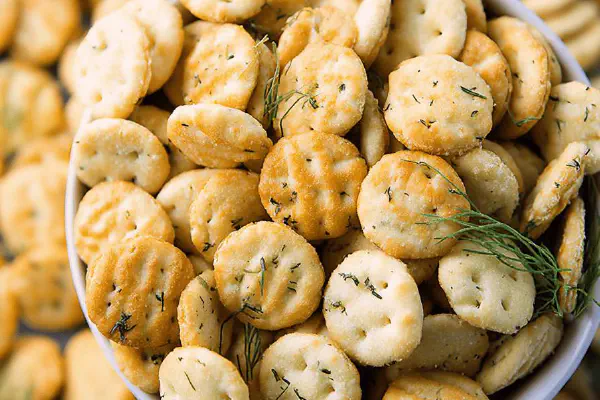
Garlic Dill Oyster Crackers

Soft Pretzel Bites
Stuffed Pepperoni Pizza Rolls
Pickled Eggs with Shallots
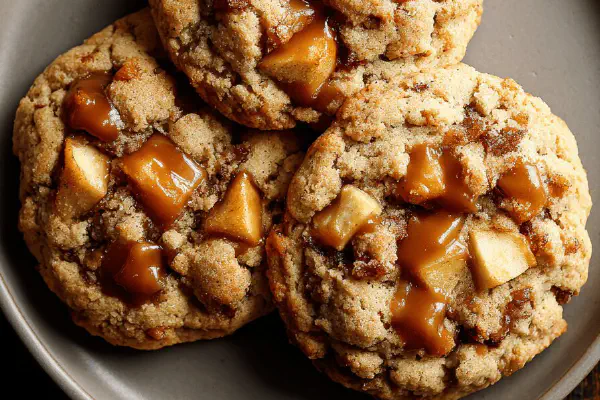
Apple Caramel Cookies

Caramel Chocolate Pretzels
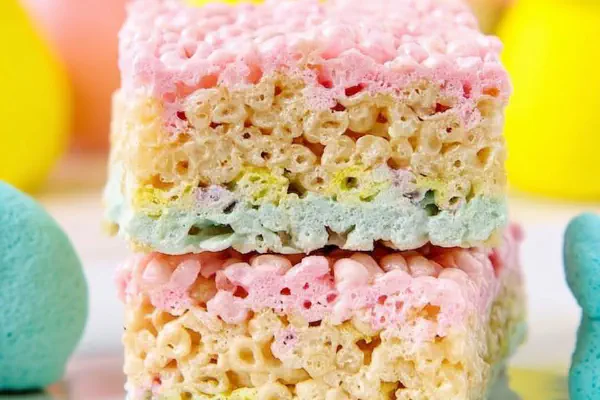
Peeps Layered Krispies
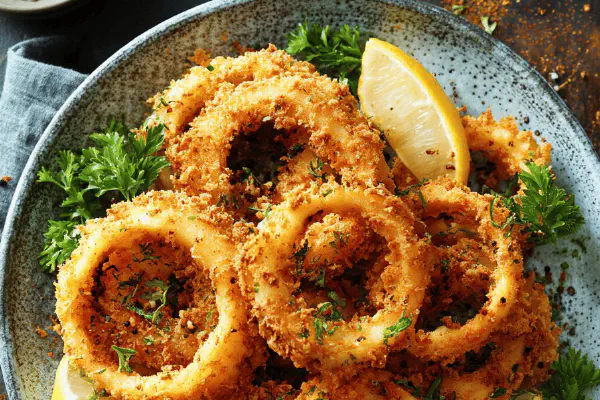
Beer Battered Onion Rings

Crispy Coconut Chicken Fingers
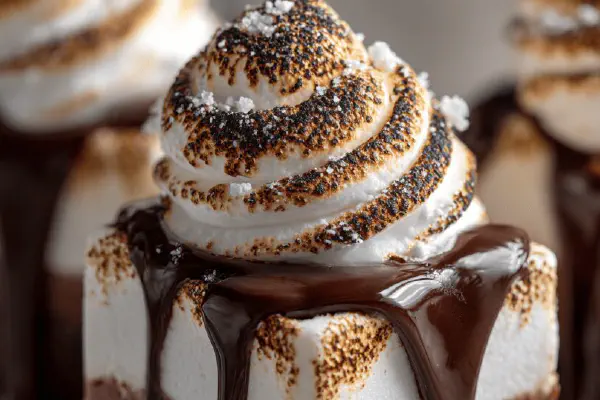
Marshmallow Hot Chocolate Cubes
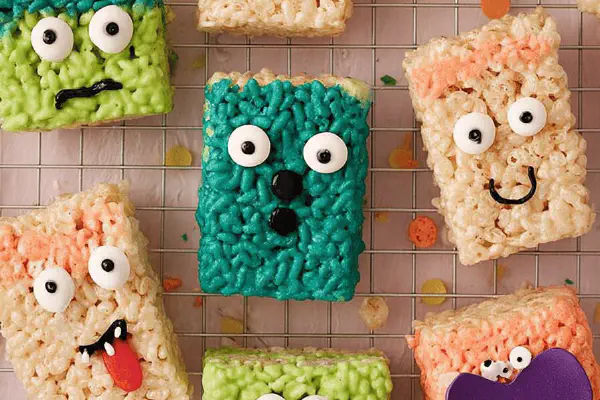
Monster Rice Treats
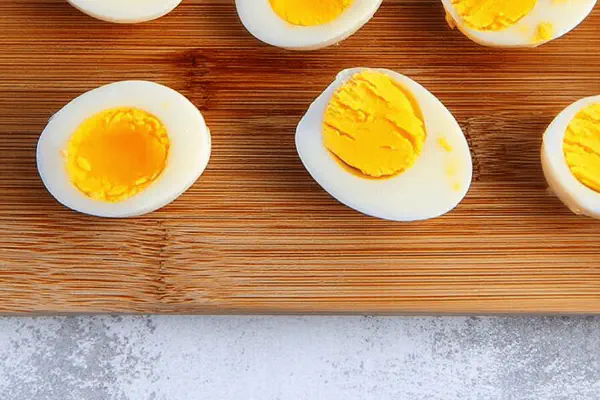
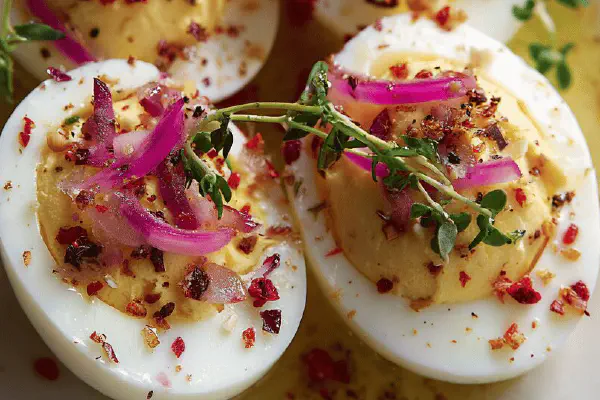
Hard-Boiled Eggs Twist

Bacon Cheddar Biscuits Remix
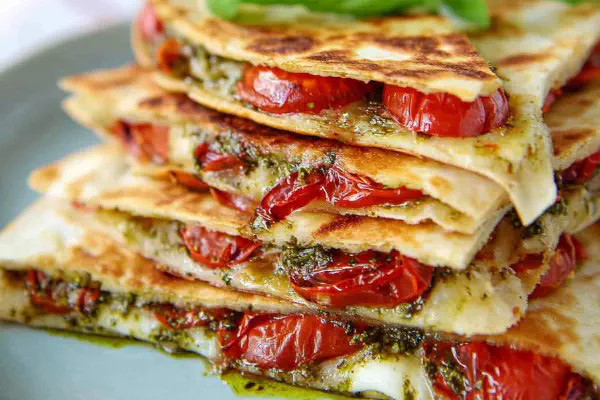
Caprese Pesto Quesadillas
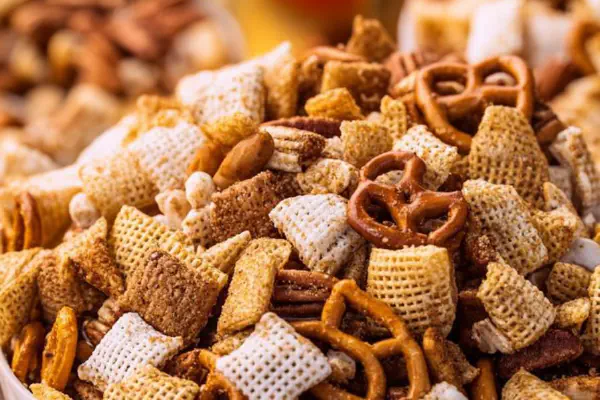
Spiced Pumpkin Chex Mix

Canned Biscuit Pretzel Bites
About the ingredients
Masa harina is cornerstone, use either white or yellow, no shortcuts. Sub corn flour here or you’ll get mushy disasters. Cotija cheese meant to be crumbly and salty; you can swap for queso fresco if you want less bite but remember it won’t melt much. Sharp white cheddar swapped for mozzarella for a tangy kick and stretchiness; mozzarella can be bland or watery, so try aged cheddar for stronger flavor and creaminess. Salt amount tuned up slightly from normal to balance extra moisture from butter. Warm water not hot water is non-negotiable—hot water cooks flour prematurely. Browned butter? Use regular unsalted butter if rushed but flavor profile shifts to softer. Keep dough covered during resting to prevent drying, use kitchen towel, plastic wrap traps moisture too much causing slimy dough in humid kitchens. If dough feels too sticky after kneading, dust lightly with masa but careful not to add too much or arepas turn dense or dry.
Method
- Mix masa, Cotija, and salt in large bowl. Crumble cheese unevenly for texture contrast. Stir once, not too vigorous to avoid drying flour edges.
- Add warmed water plus browned butter. Brown butter adds nutty depth otherwise missing with regular melted butter. Stir to come together into soft dough resembling playdough. Slightly tacky yet firm enough to hold shape without cracking.
- Cover loosely with kitchen towel. Rest 12 minutes, letting masa hydrate fully. Hydration key for pliable dough and flavor melding.
- Knead dough on clean surface for 3 minutes until satiny smooth. Dodging lumps or dry patches avoids crumbly arepas. Slight stickiness helps binding.
- Divide into 16 equal balls using scale or eyeball—aim for uniform size for even cooking.
- Flatten each ball to roughly ¼ inch thick, 5 inch diameter circle. Should bounce back lightly when pressed—too thin spells cracks, too thick means doughy centers.
- Spoon one heaping tablespoon cheddar onto half the patties. Use sharp cheddar for bite contrasting the mild Cotija in dough. Don't overstuff or cheese spills when sealing.
- Carefully lay plain dough circle over cheese mound. Pinch edges firmly, sealing like a pouch. Seal well or cheese leaks during cooking, ruining crisp edges.
- Gently pat sealed patties down to 3-4 inch diameter, ½ inch thickness. Uniform size ensures even heat penetration without undercooked dough centers.
- Heat cast iron skillet over medium-high heat. Patience here vital. Hot skillet means strong sizzle on contact; if butter foams violently, reduce heat. Electric griddle at 320°F works fine too.
- Melt small butter pat, coating skillet. Brown butter adds needed flavor and prevents sticking. Butter foaming signals proper temp.
- Place arepas, spaced apart, into skillet. Listen for gentle popping, smell corn and butter mingling. Cook for 4-5 minutes per side, reversing when golden brown and crust feels firm to touch without burning.
- Transfer cooked arepas to wire rack, not paper towel. Wire allows steam escape, preserving crisp crust.
- Keep finished arepas covered loosely in warm oven (~170°F) while cooking rest. Avoid soggy result by preserving heat without moisture buildup.
- Serve warm, cheese molten and edges crackly. Eats well alone or with crema, avocado, or pickled jalapeños.
Cooking tips
Hand feel and visual cues rule over strict timing here. Mixing masa and cheese till just incorporated prevents tough dough. Adding browned butter instead of melted butter brings aroma and golden crust later. The 12-minute dough rest hydrates flour fully; undervalue this step, and cracks or crumbly arepas follow. Kneading till smooth is vital; watery or crumbly signals problems to fix either water quantity or knead time. Forming balls and flattening evenly means even cooking—uneven shapes cook unevenly, raw centers or burned outsides common. Cheese filling needs to be sealed airtight—not doing so causes lava cheese eruptions on skillet, chaotic and greasy messes. Cooking on cast iron yields edge crispness and caramelization faster than pans; watch for color change not stopwatch. Butter foam at start means skillet ready; without butter sizzle, adjusting heat needed. Cooling on wire rack vents steam; paper towel traps moisture, ruining crispness. Keeping warm in low oven keeps arepas from toughening or sogging as you finish batch. Always taste early; adjust salt or cheese amounts to your preference. Avoid overcrowding skillet to keep temps stable and prevent soggy bottoms. Patience and sensory checks trump timers every time.
Chef's notes
- 💡 Mix cheese unevenly - chunkier bits for texture contrast. Cheese melting unevenly means pockets of flavor. Avoid overmixing, coats masa unevenly which affects dough feel. Slightly tacky dough means water right; too dry or sticky toss small water or masa adjustments. Brown butter needs watch; foam signals skillet temp but burning ruins aroma. Use sensory cues not timer.
- 💡 Rest dough covered loosely - kitchen towel’s best. Plastic wrap traps moisture, leads to slime. Hydration changes dough elasticity; 12 minutes minimum. Knead smooth, but quick. Too much kneading tightens dough, too little leaves lumps or cracks. Stickiness ok but not sloppy. Use hands feel; massaging more than folding. Knead on cool surface to avoid dough overheating.
- 💡 Uniform patties critical. Weigh or eyeball but aim for balance. Thinner than ¼ inch spells cracks, thicker means raw dough center. Pattys bounce back lightly when pressed indicates elasticity. Seal edges firmly; loose seals become cheese floods under heat. Use pinch and gentle press. Flatten after sealing to even thickness, usually 3-4 inch diameter. Size controls cooking timing mostly.
- 💡 Skillet type shifts outcome. Cast iron holds heat, offers caramelization and crisp. Electric griddles ok but temp control vital, 320°F recommended. Butter melts then foams when skillet ready; watch butter foam, not color first. Sizzle sound on contact tells heat. If butter smoking or foaming burnt, reduce heat immediately. Overcrowded pan drops temp too fast - cook few at once for crust.
- 💡 Cooling matters. Wire rack only. Paper towel traps steam, mushes crust. Keep arepas warm in low oven (170°F) covered loosely. Too hot or sealed traps moisture causing soggy edges, too cold makes dough stiffen. Rotate racks if batch large. Consider serving shortly after cooking for best crackly edges and melty centers contrast.
Common questions
Can I swap Cotija cheese?
Yes. Queso fresco for milder salt, less melting. Cheddar holds moisture differently. Mozzarella stretches but bland. Aged cheddar adds creaminess but shifts flavor balance. Changes texture too, expect less crumbly dough if swap.
What if dough cracks?
Usually hydration issues. Add warm water incrementally. Dough too dry breaks, too wet gets sticky mess. Resting helps too; hydration is key for pliability. Knead just enough to smooth. Don’t rush sealing or cracking worsens during cooking.
How long cook arepas?
About 4-5 minutes each side over medium-high heat or skillet at 320°F. Watch color, smell butter nuttiness, listen for popping crackle. Timer helps but sensory signals rule. Side goldens crisp, edges firm but inside soft. Avoid burning or undercooked centers.
How store leftovers?
Wrap cooled completely, fridge for 3-4 days. Reheat in skillet to restore crust. Microwave adds sogginess—avoid. For longer, freeze flattened patties before cooking. Thaw in fridge, then cook fresh. Wire rack cooling essential after cooking, no paper towels.
You’ll Love These Too
Explore all →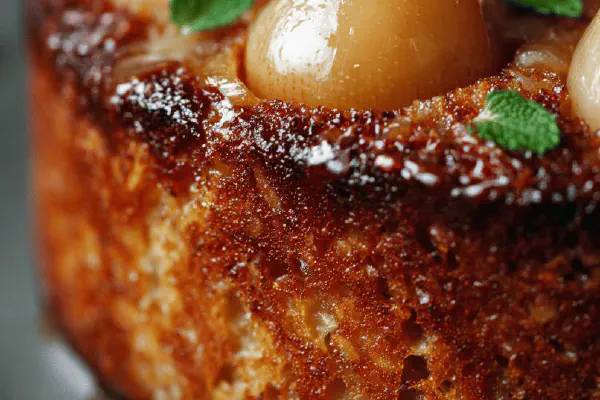
Almond Paste Pear Cake
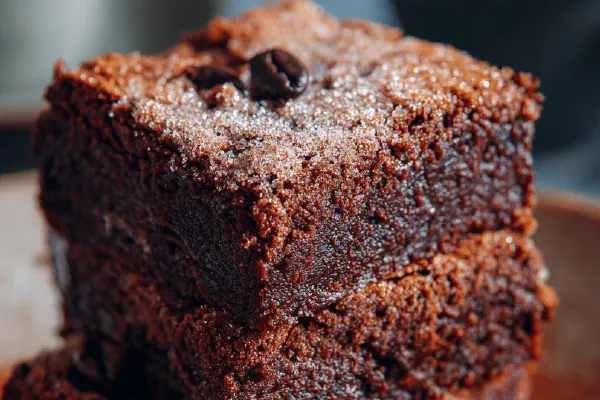
Black Bean Brownies Twist
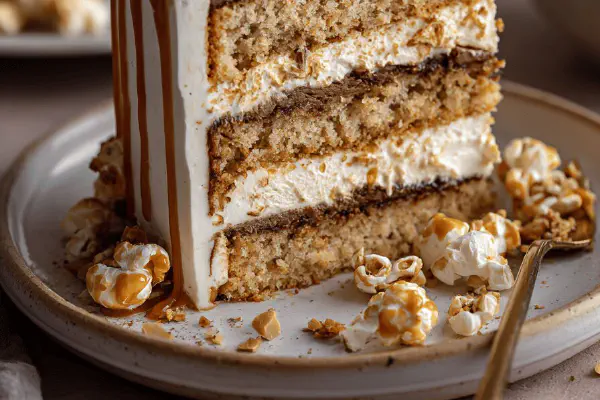
Caramel Popcorn Peanut Cake
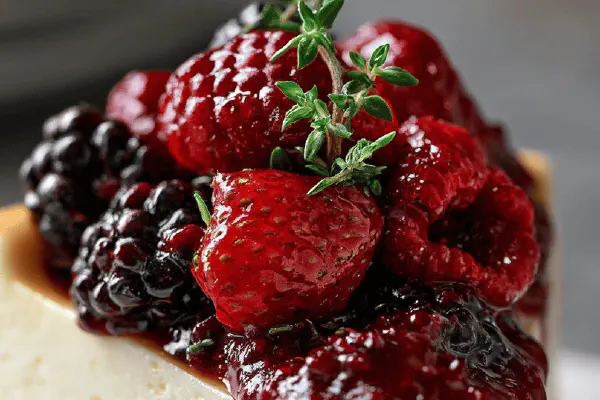
Cheesecake with Fruity Sauce
Peeps Layered Krispies
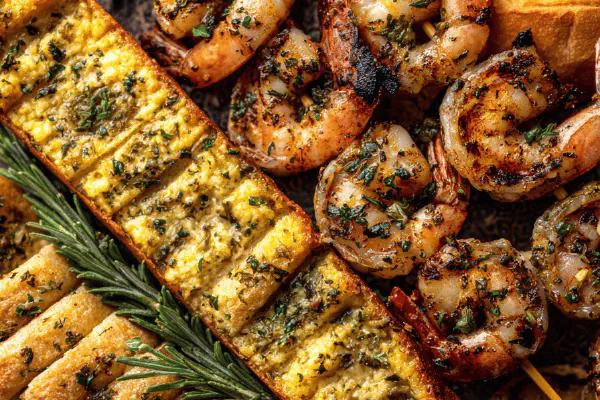
Grilled Garlic Butter Shrimp
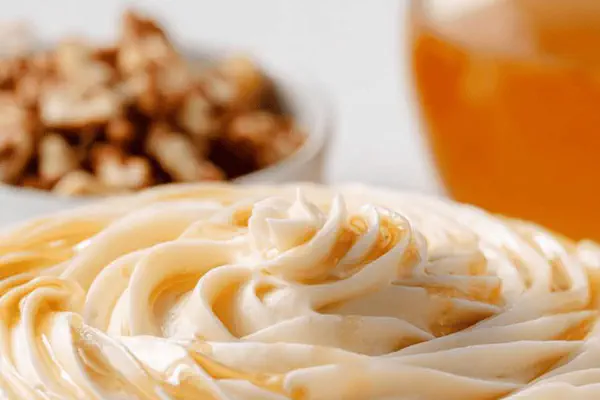
Maple Cream Cheese Frosting Twist
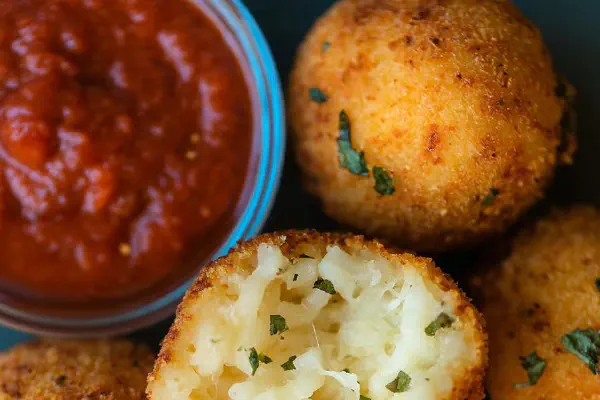
Cheesy Basmati Arancini
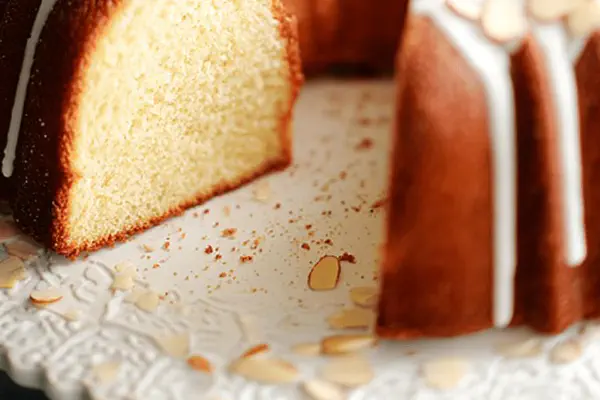
Almond Pound Cake Twist

Spicy Four-Bean Crockpot Chili
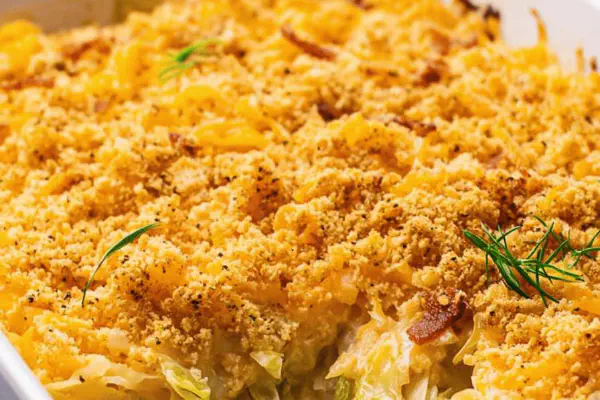
Cabbage Bacon Bake
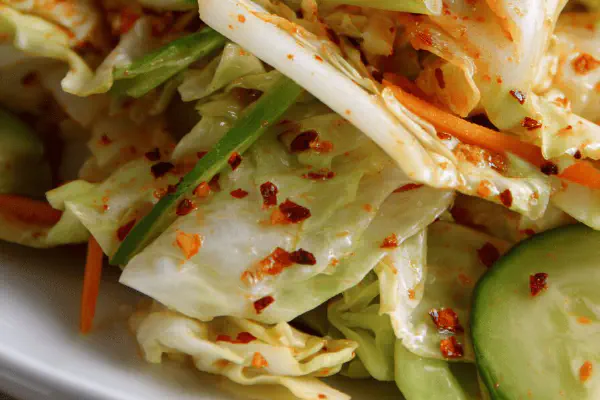
Quick Pickled Kimchi Salad
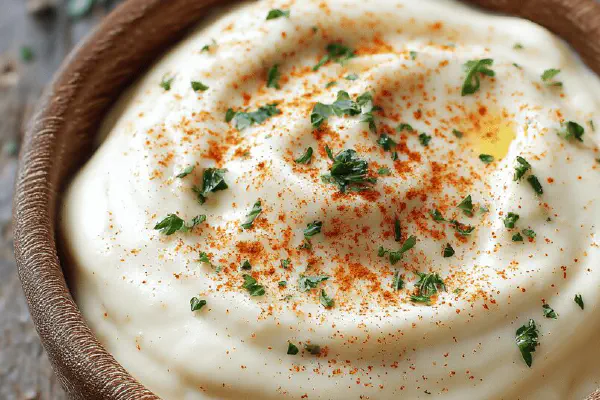
Garlicky Whip Sauce
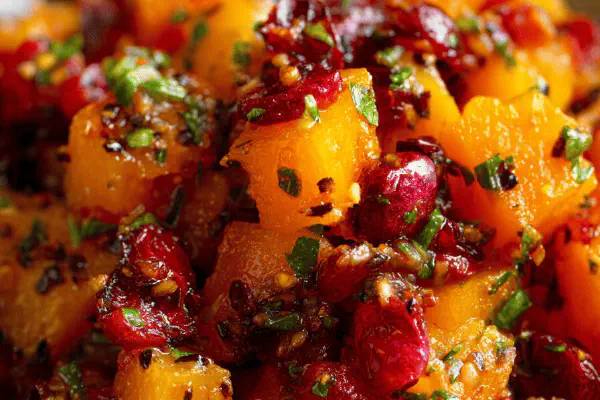
Persimmon Ginger Chutney

Peach White Chocolate Risotto
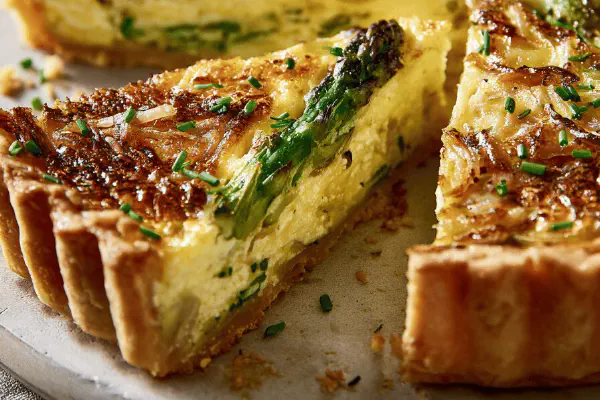
Asparagus Gruyère Quiche
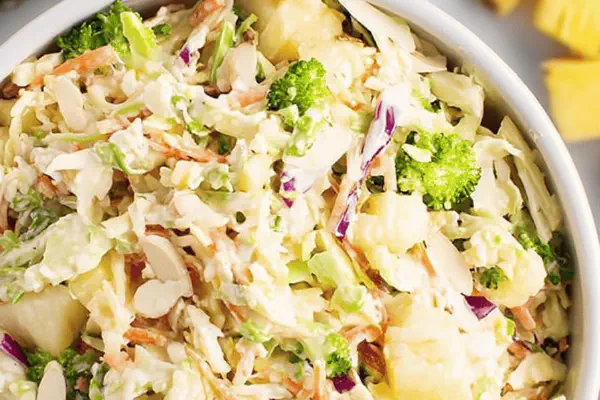
Tropical Broccoli Slaw
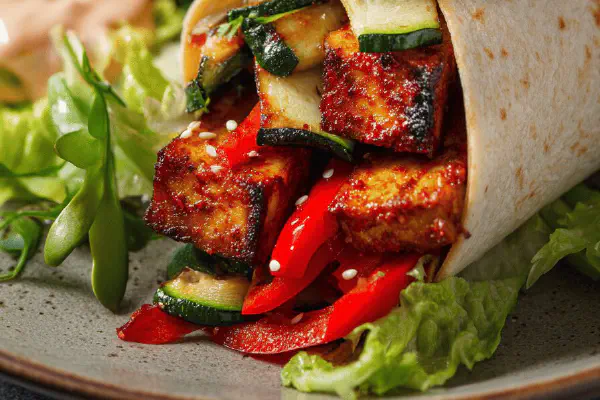
Tofu Veggie Wraps
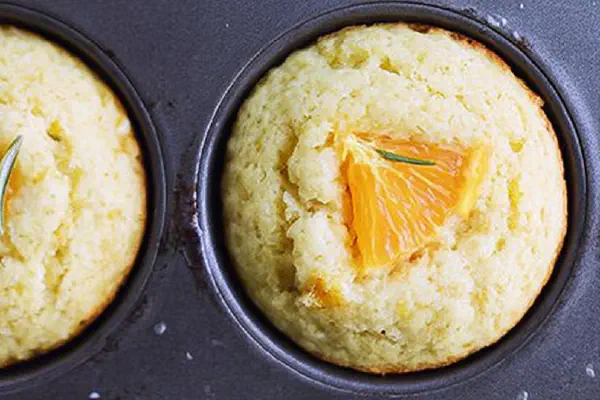
Olive Oil Orange Rosemary Muffins
Quinoa Chicken Apricot Salad