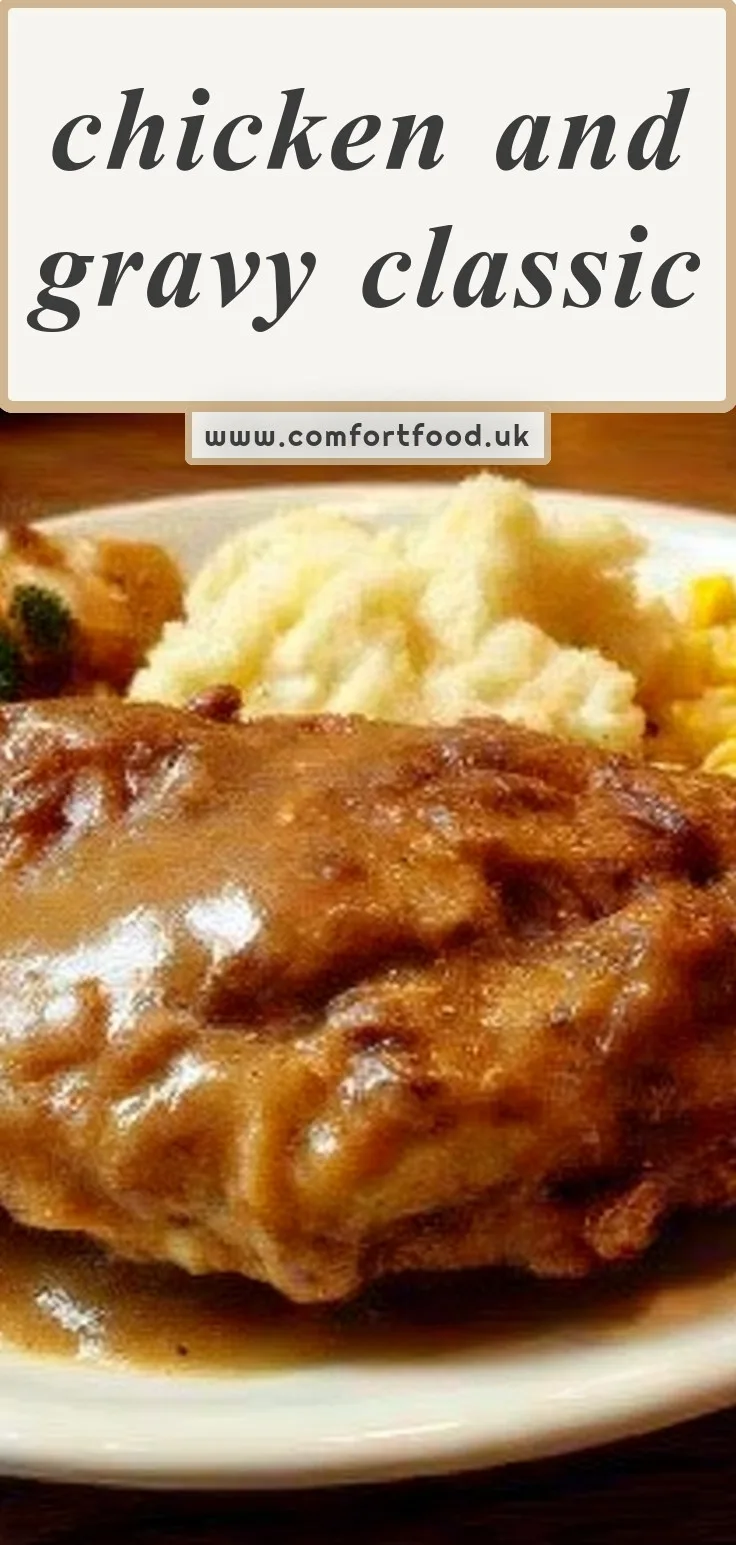
Chicken and Gravy Classic
By Emma
Certified Culinary Professional
·
Recipe tested & approved
Chicken and Gravy Classic uses simple pantry staples like flour, onion soup mix, and vegetable oil to create a home-style chicken dinner simmered in a rich gravy over 45 minutes.
Prep:
10 min
Cook:
45 min
Total:
55 min
Servings:
4 servings
I made this chicken and gravy recipe last Tuesday and honestly it’s one of those things that just works. You brown some chicken, dump gravy mix and onion soup mix over it, let it simmer for like 45 minutes and you’re done. The kind of dinner that doesn’t require you to think too hard after a long day.
Why You’ll Love This Recipe
- Only needs stuff you probably have already
- The onion soup mix does most of the flavor work for you so you don’t have to measure out a bunch of spices
- Browning the chicken in flour first gives you this crispy outside that softens into the gravy as it cooks
- It’s a classic Southern recipe that tastes like someone’s grandma made it
- You can walk away for 30 minutes while it simmers and not worry about it
- The gravy thickens itself without you having to stand there whisking anything
The Story Behind This Recipe
My mom used to make onion soup mix chicken in her electric skillet every other week when I was growing up. I never thought about it until I moved out and realized I didn’t know how to make anything that tasted like home. Called her last month and she walked me through it over the phone while I was standing in my kitchen with four chicken thighs thawed on the counter.
She kept saying “just let it bubble quietly” which I didn’t understand until I actually did it. The smell is what reminded me why I wanted this recipe in the first place.
What You Need
You’ll need 4 chicken pieces and honestly it doesn’t matter if they’re thighs or breasts or drumsticks. I used thighs because they were on sale but my mom swears by drumsticks. Salt and black pepper for seasoning the chicken before it hits the pan, don’t skip this part even though there’s soup mix going in later.
Flour for dredging goes in a shallow dish or plate. I just dump maybe a cup in there and it’s always enough with some left over. Vegetable oil for browning, probably 2 or 3 tablespoons but I never measure it, just enough to coat the bottom of your skillet so the chicken doesn’t stick.
Then you need 1 packet of gravy mix and 1 packet of onion soup mix. I used brown gravy mix but chicken gravy works too. The onion soup mix is the thing that makes this taste like someone’s grandma cooked it, that’s where all the savory flavor comes from.
3 cups of water to mix with those packets. I thought about using chicken broth instead but my mom said water’s fine because the mixes already have so much going on. She was right, it didn’t need it.
How to Make Chicken and Gravy
Start by seasoning your chicken pieces with salt and black pepper on both sides. Then dredge each piece in the flour, making sure you get it coated all over including the edges where the skin folds. I shake off the excess but you want a good layer still clinging to it.
Heat your vegetable oil in a large skillet over medium-high heat until it’s shimmering. You’ll know it’s ready when a pinch of flour sizzles immediately. Put the floured chicken in and don’t move it around, just let it sit there and brown. Around 5 minutes per side is what it took for me to get that golden-brown color and crispy outside.
The smell when it starts browning is that nutty toasted thing that tells you you’re doing it right. Don’t worry about cooking it through at this stage, you’re just building flavor on the outside.
Once the chicken’s browned on all sides, move it to a large skillet with a lid. If you’re using the same skillet you just browned in, drain most of the grease first or your gravy’s gonna be oily. I learned that one the hard way. My mom uses her electric skillet for this part and honestly it works better because the heat stays more even.
Grab a medium bowl and whisk together the gravy mix, the onion soup mix and 3 cups of water until there’s no lumps floating around. Pour this mixture over the chicken, making sure it gets in between the pieces. Put the lid on and turn the heat down to low.
Now you just let it simmer. It should be bubbling quietly under that lid, not going crazy. After about 30 minutes the smell changes from just chicken to this onion soup mix chicken thing that makes you want to eat it right then. But you gotta wait the full 30 to 45 minutes total so the chicken cooks through and the gravy thickens up.
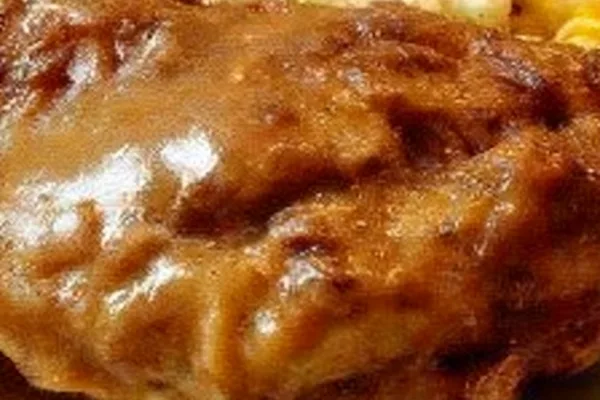
You’ll know it’s done when you poke the thickest part with a fork and the juices run clear. The gravy should coat the chicken in this glossy layer that’s not too thick but not watery either. Mine took 42 minutes but every stove’s different.
One thing I noticed is the flour that browned on the chicken sort of melts into the gravy as it simmers and that’s what thickens it without you having to do anything extra. It’s happening under the lid the whole time you’re not looking at it.
What I Did Wrong the First Time
I didn’t drain the grease after browning and the gravy ended up with these little oil pools floating on top. It still tasted fine but it looked kind of gross and the gravy never got as thick as it should’ve. Had to skim the oil off with a spoon halfway through which was annoying.
Also I lifted the lid like four times in the first 20 minutes because I was nervous about it burning. Every time you do that you let steam out and it takes longer to cook. Just trust that it’s doing its thing in there and leave it alone.
Chicken and Gravy Classic
Prep:
10 min
Cook:
45 min
Total:
55 min
Servings:
4 servings
Ingredients
- Salt to taste
- Black pepper to taste
- Flour for dredging
- Vegetable oil for browning
- 4 chicken pieces (your choice)
- 1 packet gravy mix
- 1 packet onion soup mix
- 3 cups water
Method
- 1 Season the chicken pieces generously with salt and black pepper. Dredge each piece in flour, coating all sides to build a crisp exterior once browned.
- 2 Heat a good splash of vegetable oil in a large skillet or dutch oven over medium-high heat. Place the floured chicken into the hot oil and brown thoroughly on all sides. The chicken isn’t cooked through yet; I always stop when the skin crisps up and develops a golden-brown color, around 5 minutes per side, creating that nutty, toasted aroma.
- 3 Transfer the browned chicken into a large skillet with a tight-fitting lid. Mom swears by using her electric skillet here. If using the same skillet you browned chicken in, drain excess grease first to avoid greasy gravy.
- 4 In a medium bowl, whisk together the gravy mix, onion soup mix, and 3 cups of water until fully combined with no lumps. Pour this sauce over the chicken evenly. You’ll hear the gentle bubbling soon after placing the lid on.
- 5 Place the lid securely and let it simmer on low heat, just enough to maintain a quiet, steady bubble. After about 30 minutes you’ll start smelling the savory meld of onion and gravy scents. Continue simmering for 30 to 45 minutes in total until the chicken is tender and cooked through. Test by piercing the thickest part; clear juices signal readiness.
- 6 Once finished, the gravy thickens slightly, coating the chicken with a glossy, flavorful layer. The meat should feel tender but still hold shape, and the aroma fills the kitchen with warm home cooking vibes.
Nutritional information
Calories
320
Protein
30g
Carbs
12g
Fat
18g
Tips for the Best Chicken and Gravy
Use bone-in chicken if you can get it because the bones add this depth to the gravy while it simmers that boneless just doesn’t give you. The marrow seeps out a little and makes everything taste richer without you doing extra work.
If your gravy looks thin after 45 minutes don’t panic and add cornstarch or anything. Just take the lid off for the last 10 minutes and let some of that liquid evaporate while the chicken finishes. Mine was perfect after I did this.
The flour left in your dredging dish after coating the chicken shouldn’t go to waste. I whisked a tablespoon of it into the gravy mixture before pouring it over and it helped thicken things up from the start.
Check your heat halfway through by lifting the lid just once. You should see tiny bubbles breaking the surface every few seconds, not a rolling boil. If it’s going too hard your chicken will get tough and the gravy will reduce too much.
Your chicken releases moisture as it cooks and that’s actually making the gravy at the same time the soup mix is working. That’s why you end up with more liquid at the end than you poured in at the beginning even though some evaporated.
Serving Ideas
I put this over mashed potatoes the first time and the gravy soaks right in. White rice works too if you want something that doesn’t compete with all that onion flavor.
My roommate ate hers with those frozen egg noodles you just boil for like 8 minutes. She dumped them right in the skillet with the gravy still in there and it turned into this one-pot thing that was actually better than plating it separate.
A bag of those steam-in-bag green beans on the side is all you really need for a vegetable. The gravy from the chicken drips over onto them and suddenly they taste like something instead of just green beans.
Variations
You can throw in sliced mushrooms during the last 20 minutes of simmering. I did this on Thursday with the leftovers reheated and the mushrooms soaked up that onion soup flavor like little sponges. Just dump them in around the chicken and put the lid back on.
Using cream of mushroom soup instead of gravy mix gives you this thicker, creamier situation that’s less Southern and more like stroganoff. My mom said her sister does it that way and serves it over biscuits which sounds good but I haven’t tried it yet.
Ranch dressing mix in place of onion soup mix sounds weird but my coworker swears by it for her kids who don’t like onions. I’d probably cut back on the salt if you do this because ranch packets are already pretty salty on their own and you don’t want to overdo it.
FAQ
Can I use boneless skinless chicken breasts for this? Yeah but they’ll dry out faster than thighs. I’d check them at 30 minutes instead of waiting the full 45. The gravy won’t be as rich either since there’s no skin or bones adding fat and flavor while it simmers.
Do I have to brown the chicken first? Technically no but you’ll lose that crispy-turned-soft texture and the nutty flavor from the browned flour. I tried skipping it once when I was really tired and it just tasted flat, like boiled chicken in soup packet water.
What if my gravy is too salty? The onion soup mix already has a ton of salt so if you went heavy on seasoning the chicken first that might be why. Next time use less salt at the beginning or skip it entirely and just do pepper before dredging. You can’t really fix it after except maybe add more water and simmer longer.
Can I make this in a slow cooker? You’d still need to brown the chicken in a skillet first then transfer everything to the slow cooker. Mix your gravy and soup packets with the water and pour it over, then cook on low for like 4 hours. I haven’t done it but my mom’s friend does and she says it works fine, the chicken falls off the bone.
How do I store leftovers? Put the chicken and gravy together in an airtight container in the fridge. It’ll keep for 3 or 4 days. The gravy thickens up a lot in the fridge so when you reheat it you’ll probably need to add a splash of water to loosen it back up.
Can I freeze this after cooking? Yeah it freezes okay for about 2 months. The texture of the chicken changes a little when you thaw it, gets more stringy, but the flavor’s still there. I’d freeze the chicken and gravy separately if you can because the gravy reheats better on its own and you can adjust the consistency easier.
What if I don’t have a lid for my skillet? Aluminum foil works if you wrap it tight around the edges. You want to trap the steam inside so the chicken cooks through and the gravy doesn’t evaporate too fast. I’ve done it with foil before when my glass lid cracked and it was fine.
How do I know when the chicken is actually done? Stick a fork in the thickest part and if the juices run clear not pink you’re good. Or if you have a meat thermometer it should read 165°F in the thickest part of the meat. The chicken will also feel tender when you poke it, not rubbery or resistant.
Why is my gravy lumpy? You didn’t whisk the packets and water together enough before pouring it over the chicken. Those soup mix packets especially clump up if you don’t really get in there with the whisk. If it’s already lumpy you can try smashing the lumps against the side of the skillet with your spoon while it simmers but it’s annoying.
Can I add vegetables to this while it cooks? Carrots and potatoes would need to go in at the start because they take forever. I wouldn’t add anything that gets mushy like zucchini or tomatoes. Onions besides what’s in the soup mix would be fine, just slice them and lay them around the chicken before you pour the gravy over.
Do I need to flip the chicken while it’s simmering? No just leave it alone. The gravy’s bubbling around it and the steam under the lid is cooking the top. Flipping it just makes the coating fall off into the gravy and then your chicken looks sad and naked.
What’s the best onion soup mix brand to use? Honestly they all taste pretty much the same. I’ve used Lipton and the Kroger brand and some fancy one my mom had in her pantry and couldn’t tell the difference. Just grab whatever’s cheapest because you’re mixing it with gravy mix anyway.
Can I use chicken broth instead of water? You can but it’s not necessary because the gravy mix and onion soup mix already have so much flavor. I tried it once thinking it would be better and it just tasted too chicken-y, like the onion flavor got drowned out. Save your broth for something else.
Why did my flour coating fall off in the pan? Either your oil wasn’t hot enough when you put the chicken in or you moved the chicken around too much. Let the oil get shimmery before adding the chicken then just leave it alone for the full 5 minutes per side so the crust has time to set.
How much oil do I actually need for browning? Enough to coat the bottom of your skillet when you swirl it around. For my 12-inch skillet that’s maybe 2 or 3 tablespoons but I just pour until it looks right. Too little and the chicken sticks, too much and you’re deep frying it which isn’t the point.
Can I use a different type of gravy mix? Turkey gravy or chicken gravy instead of brown gravy works fine. I wouldn’t use like pork gravy because that’s got sage in it usually and it clashes with the onion soup flavor. Brown gravy’s just the most neutral so it plays nice with everything else going on.
What if my chicken is still pink after 45 minutes? Your heat’s too low or your chicken pieces are bigger than mine were. Turn the heat up just a tiny bit and give it another 10 or 15 minutes with the lid on. Thick breasts especially can take longer than thighs which cook faster because they’re fattier.
Do I season the chicken under the skin or on top? Just on top of the skin is fine since you’re dredging it right after anyway. Getting salt under the skin is a whole thing and this isn’t that kind of recipe. You’re going for quick and easy not restaurant technique.
Can I double this recipe? Yeah but you’ll need a bigger skillet or use two separate ones. If you crowd too much chicken in one pan it won’t brown right and the gravy won’t circulate around all the pieces evenly. I’d just make two batches if you’re feeding more than 4 or 5 people.
What can I do with the leftover flour from dredging? I usually toss it because it’s got raw chicken germs all over it from touching the meat. Some people save it and use it to thicken the gravy but honestly the gravy thickens itself from the flour already on the chicken so you don’t need it.
Why does my gravy taste bland? You might’ve gotten a weak batch of onion soup mix or used low-sodium by accident. Next time add a little extra black pepper or a pinch of garlic powder before you pour the gravy over. Or just use a different brand of soup mix because they’re not all equally salty and oniony.
Is it normal for the gravy to be darker after cooking? Yeah the flour that browns on the chicken melts off into the gravy while it simmers and that darkens everything. Plus the onion soup mix has caramel color in it that deepens as it cooks. If it’s really dark like burnt-looking then your heat was too high though.
The gravy at the end should taste like this classic Southern recipe that your mom or grandma would make without overthinking it, just chicken and gravy doing what they do best together in one pan.
You’ll Love These Too
Explore all →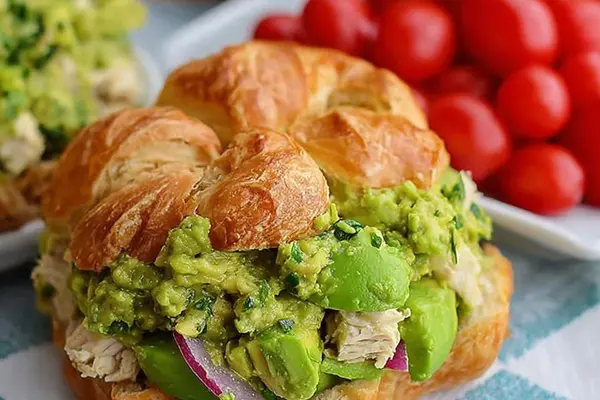
Chicken Salad with Avocado and Basil Pesto
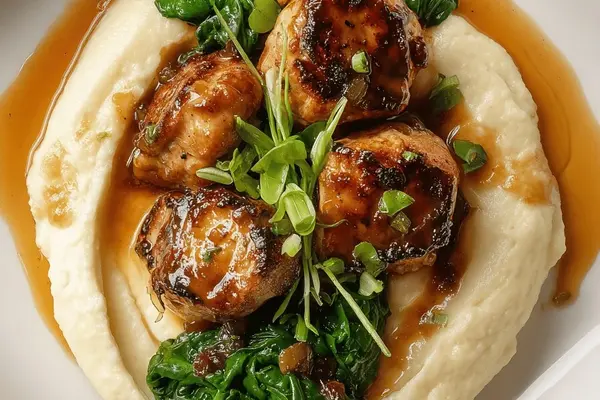
Sweetbreads of Veal with Duck Fat
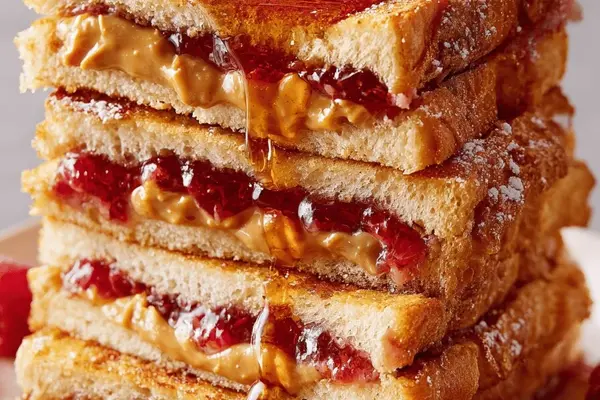
Peanut Butter Jam French Toast Sandwiches
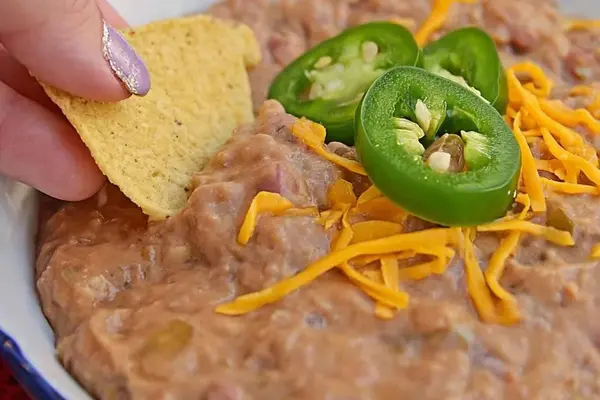
Bean Pinto with Garlic, Cumin & Cheddar
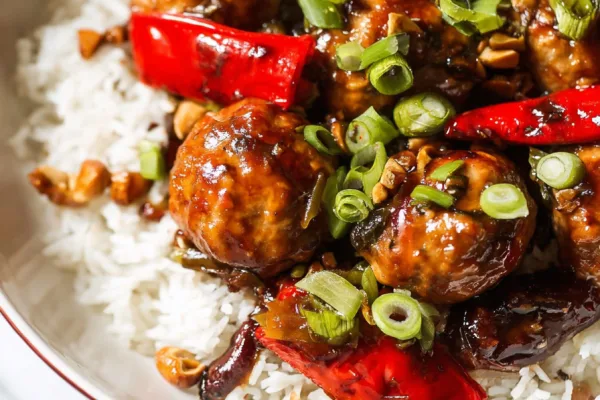
Kung Pao Chicken Meatballs
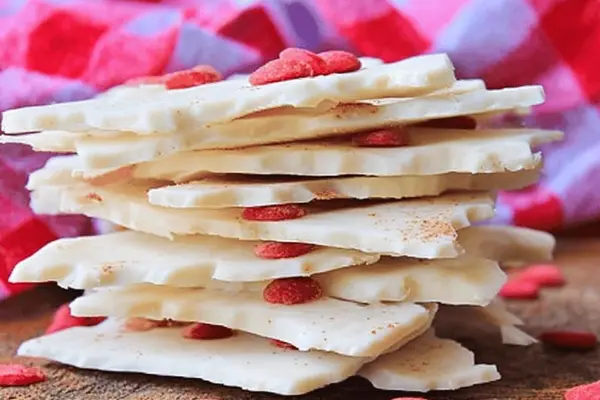
Cinnamon Chocolate Bark with White Chocolate

Cinnamon Scones with Honey and Ginger
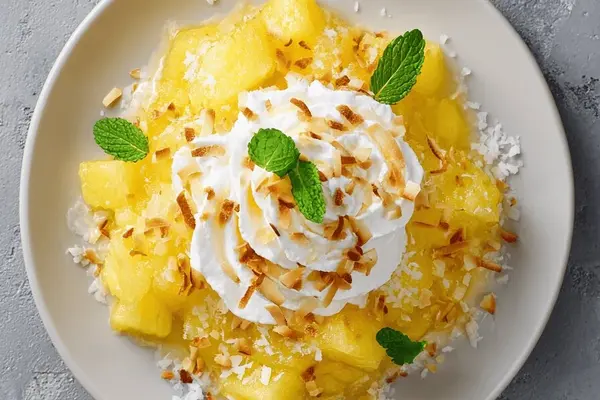
Pineapple Granita with Lime and Maple Spirit

Zucchini Dip with Feta and Roasted Garlic
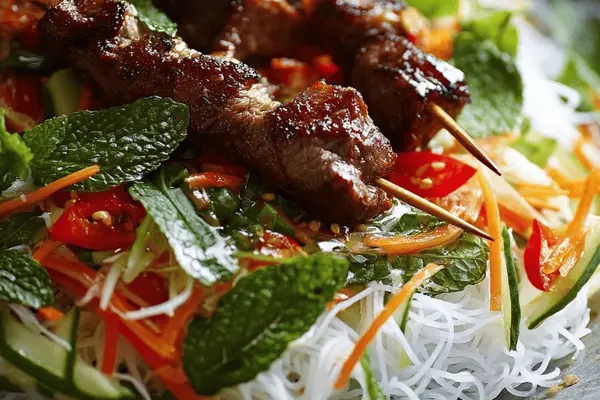
Pork Lemongrass Noodle Salad Recipe
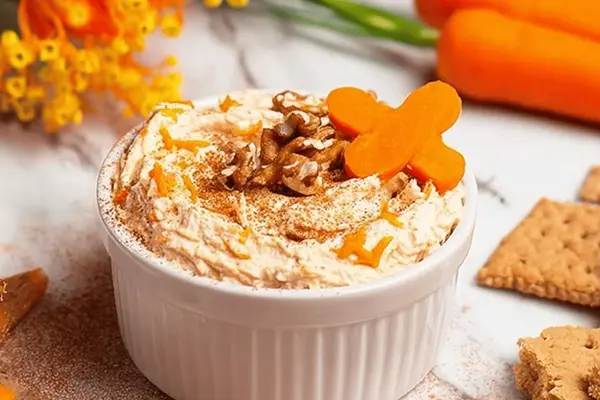
Cream Cheese Carrot Dip with Cinnamon
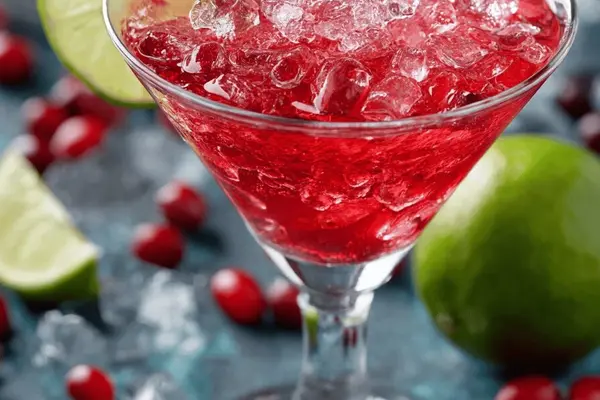
French 75 Cocktail with Gin and Cranberry

Keto Peanut Butter Balls – No-Bake
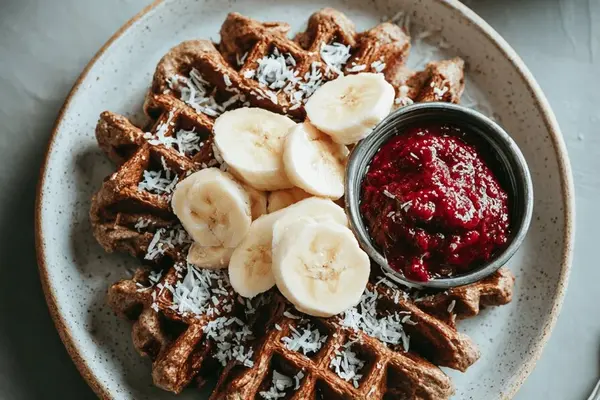
Buckwheat Waffles with Sunflower Seed Flour
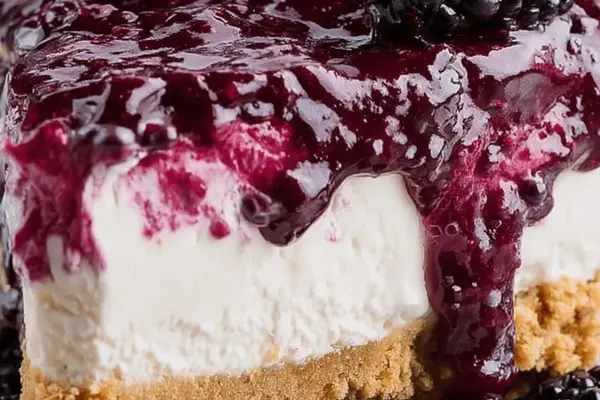
No Bake Blackberry Cheesecake with Greek Yogurt
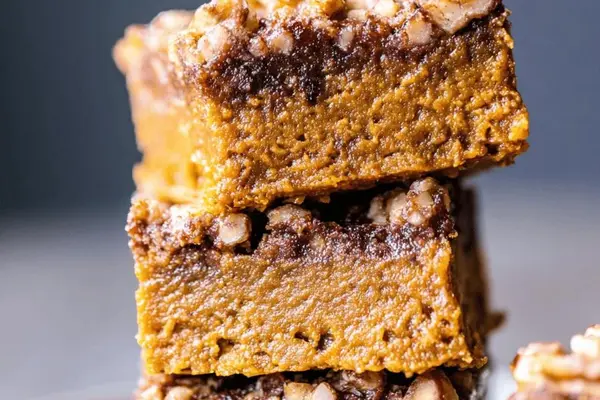
7 Layer Bars with Dates, Walnuts & Pumpkin
Shredded Pork BBQ with Garlic & Lime
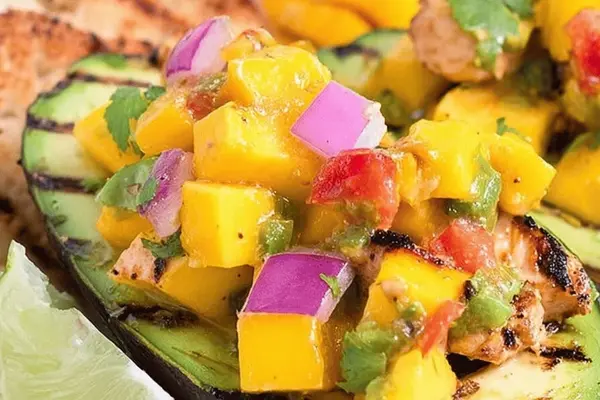
Grilled Chicken With Avocado and Mango Salsa
Meatballs in Crock Pot with Tangy Sauce
