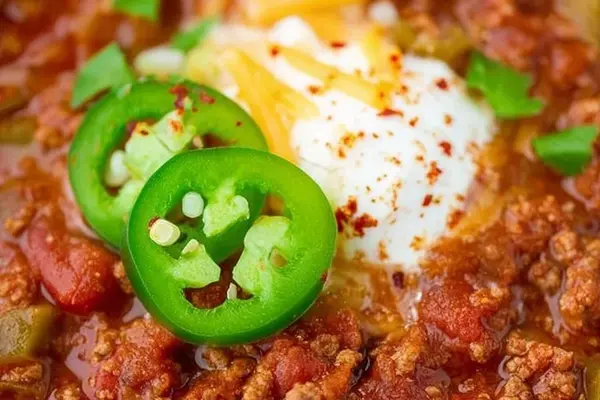
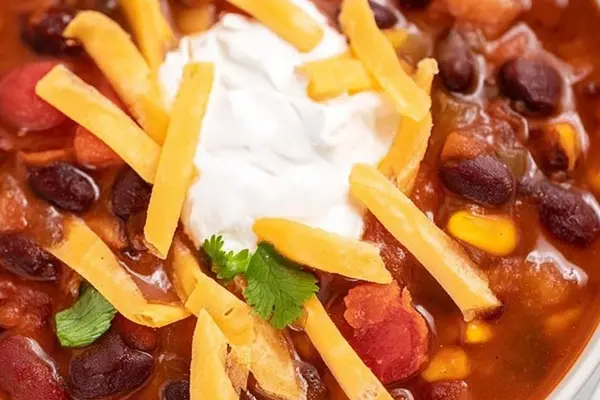
Chunky Veg Chili
E
By Emma
Certified Culinary Professional
•
Recipe tested & approved
A hearty vegetarian chili with layers of smoky spice, creamy beans, and vibrant veggies. Onion, bell pepper, and garlic sautéed until translucent, then spiced with cumin, smoked paprika, and oregano. Tomato sauce, Rotel tomatoes, and mixed beans build depth. Pureeing part of the chili thickens the texture without losing chunkiness. A straightforward, flexible base for cold days or meal prep. Easy swaps included for pantry rescue or flavor twists.
Prep:
12 min
Cook:
28 min
Total:
40 min
Servings:
8 servings
#vegetarian
#chili
#beans
#fall recipes
#meal prep
#spicy
#comfort food
Before You Start
Onions softening in olive oil. The smell hits. Garlic joins. Red bell pepper adds sweetness. The edges of the onion turn translucent, signaling the right cook stage—not raw but not mush. Spices go in: cumin, chili powder, smoked paprika. Aroma changes instantly — warm dusty, smoky heat. Stir, breathe it in. Add broth and a medley of beans. Simmer. The kitchen steams up. The chili thickens, darkens. Beans are soft, skin wrinkling but holding. A splash of puree thickens it further, giving richness without losing bulk. This step is the game changer. No watery boring chili here. You’ll learn to listen to your pot, watch the textures—no strict timers needed. This chili’s about layering flavors and textures, subtle but punchy. It’s filling, with body and soul. Perfect for those who don’t want beans to disappear into a paste. Flexible, forgiving. And yes, a better way to warm the soul when the chill bites.
Ingredients
- 1 large yellow onion diced
- 1 red bell pepper chopped
- 3 cloves garlic minced
- 3 tablespoons olive oil
- 2 tablespoons chili powder
- 1 tablespoon ground cumin
- 2 teaspoons smoked paprika
- 1 teaspoon dried oregano
- 1 teaspoon salt
- ½ teaspoon black pepper fresh cracked
- 1 bay leaf
- 3 cups vegetable broth low sodium preferred
- 1 ½ cups tomato sauce
- 1 cup sweet corn frozen or fresh
- 1 can Rotel diced tomatoes with green chilies drained
- 1 can kidney beans drained and rinsed
- 1 can black beans drained and rinsed
- 1 can chili beans with sauce
- Optional substitute: chipotle powder instead of smoked paprika for heat; cannellini beans instead of kidney for creaminess
In The Same Category · Main Dishes
Explore all →
Grilled Spatchcock Chicken with Pesto Mayo
Lemon Ginger Chicken Thighs
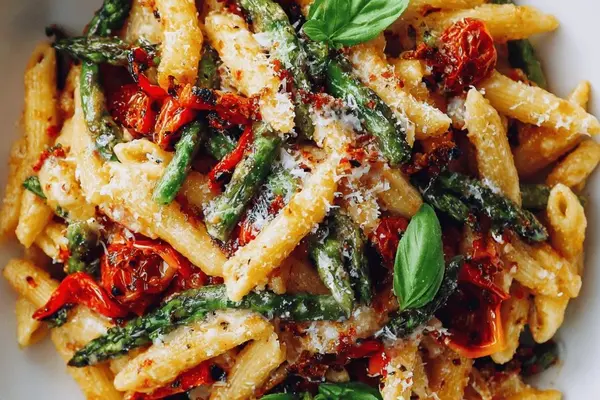
Pasta with Roasted Peppers and Asparagus
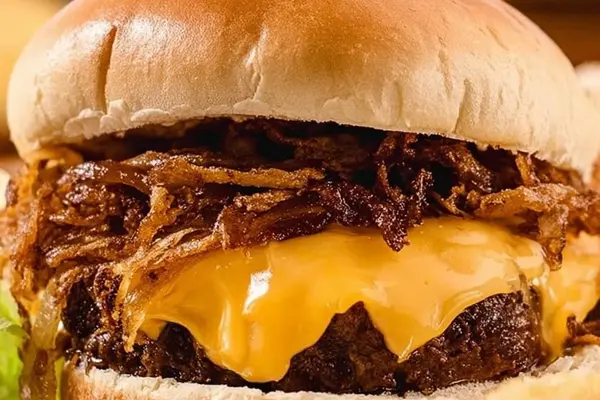
Oklahoma Onion Smash Burger
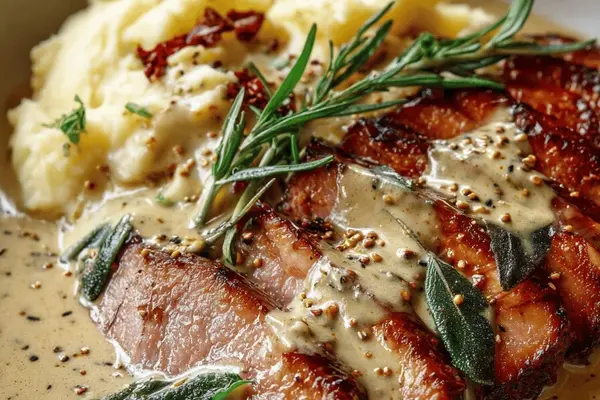
Smoked Ham Steaks with Sage Cream

Baked Meatball Penne Casserole

Savory Brisée Dough

Rustic Baked Macaroni Cheese
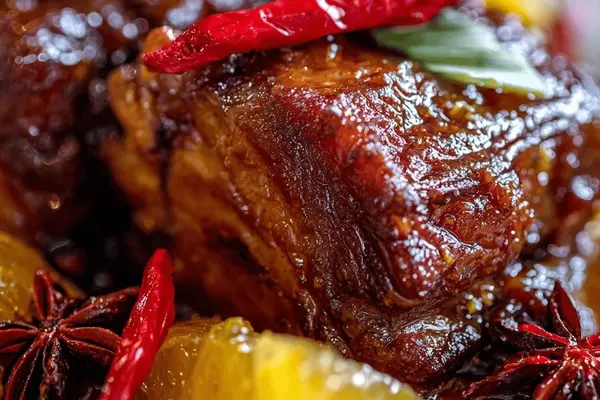
Braised Pork Shoulder Orange Cinnamon

Twisted Ranch Chicken Bake

Kielbasa Potato Sauerkraut
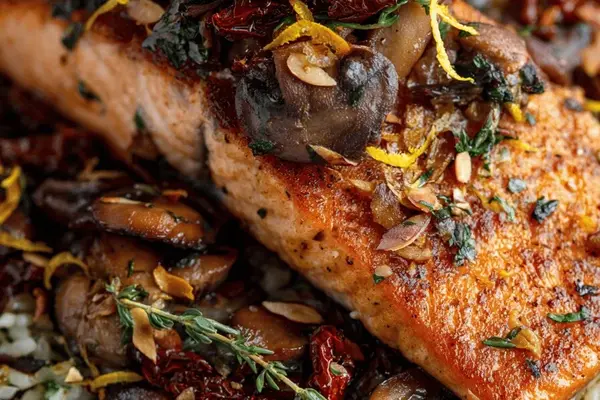
Roast Salmon Mushrooms Orange Twist
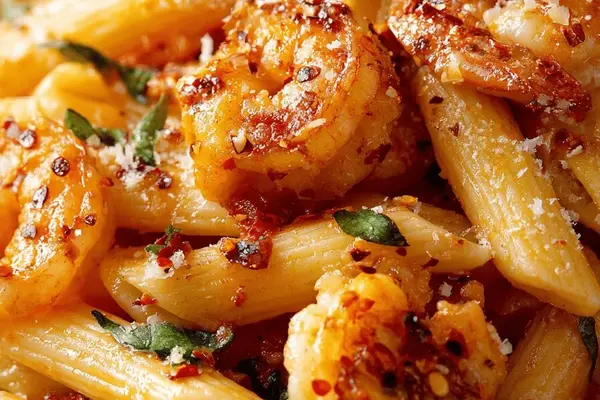
Shrimp Spicy Penne Twist
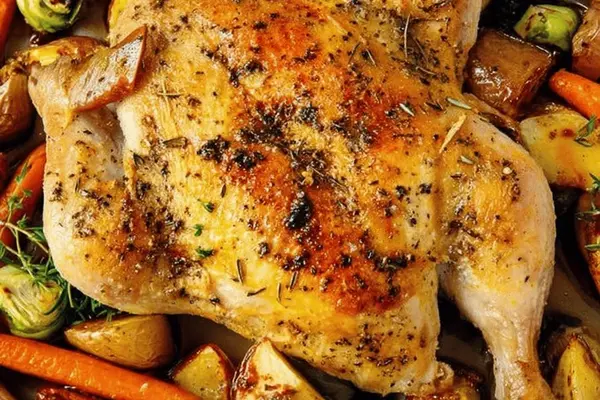
Herbed Spatchcock Chicken
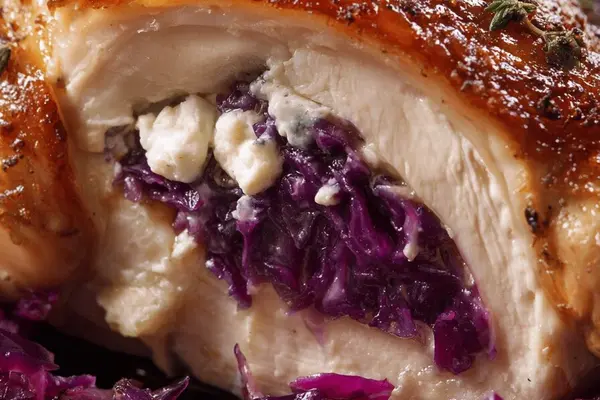
Stuffed Chicken with Goat Cheese & Red Cabbage
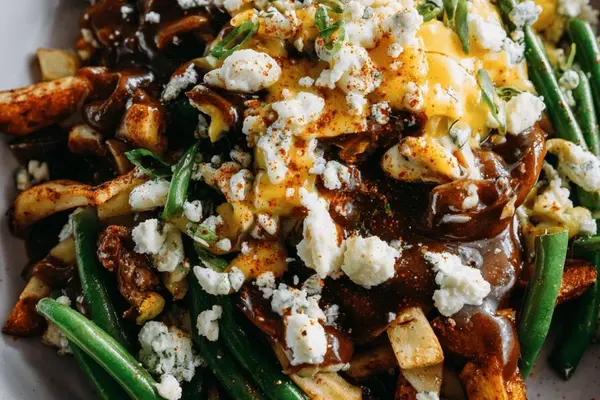
Veggie Poutine Twist

Braised Pork Corn Quesadillas
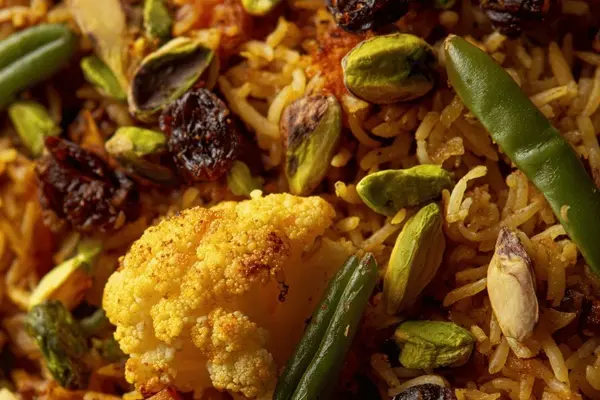
Cauliflower Pistachio Biryani
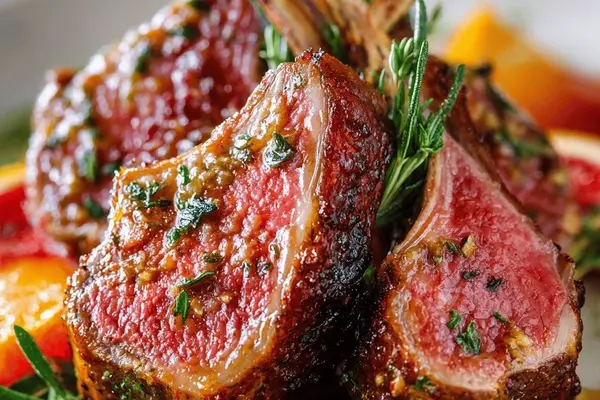
Honey Citrus Lamb Racks
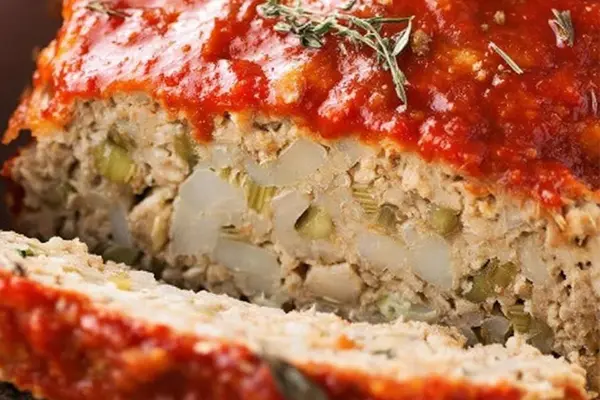
Italian Chicken Loaf
About the ingredients
Use yellow onion for the mild sweetness but white or red work if that’s what’s on hand. Red bell pepper adds vibrant color and sweetness; green bell pepper makes it sharper, more rustic. Fresh garlic preferred, but garlic paste or powder usable (start smaller amounts). Olive oil chosen for flavor and health; any neutral oil works but watch smoke point. For spices: chipotle powder instead of smoked paprika kicks it up with smoky heat, great if you want deeper flavor. Beans: kidney, black, and canned chili beans build layers of texture and taste. Rinse kidney and black beans well to remove excess salt and starch, keeps broth clearer. Rotel tomatoes bring subtle heat and acidity. Frozen or canned corn fine; fresh if seasonal. Bay leaf matters — don’t omit and if forgotten, remove promptly to avoid bitterness. Vegetable broth low sodium preferred for control. Tomato sauce thickness impacts final chili consistency. Adjust liquid for thicker or thinner chili. Play with beans, adding cannellini keeps creamier texture; pinto makes it heartier. Fresh or dried oregano can be swapped for thyme but oregano is more traditional. Always taste and tweak salt and spice levels in the end.
Method
- Heat olive oil in a large heavy-bottom pot over medium-high. Toss in onions, red bell pepper, and garlic. Stir every minute. When onions soften, edges turn translucent, about 6 minutes, stop. Smell the garlic and pepper aroma bursting.
- Dump in chili powder, cumin, smoked paprika, oregano, salt, black pepper, and bay leaf. Stir constantly. Spices should coat veggies evenly and bloom in oil. Does it smell earthy and vibrant? Keep stirring, 1-2 minutes tops or spices burn. Beware bitter burnt spices.
- Add vegetable broth, tomato sauce, corn, Rotel tomatoes, drained kidney, black, and chili beans. Stir to combine. The pot fills with vivid red and yellow specks. Bubbles start to form. Crank heat higher until rolling boil, then immediately cut heat to low simmer. Lid partially on to avoid watery chili.
- Simmer gently for 25-30 minutes. Steam rises, chili thickens, colors deepen. Stir every 7 minutes or so. Watch for bean skins starting to wrinkle and break. Beans soften but aren’t mushy. Vegetables should be tender yet retain some bite. Not dull.
- Fish out bay leaf. Leave it in too long and it tastes soapy. Don’t skip this. Turn off heat now. Time to thicken.
- Scoop out 1 cup of chili, carefully transfer to blender or food processor. Pulse on medium setting to get creamy, not soupy. Hot blending tricky — vent blender lid slightly to release steam in bursts to avoid accidents. Blend chunks into smooth richness. Return puree to pot and stir well. This step thickens without losing bean chunks and preserves texture.
- Taste and adjust salt or spice here. If it needs heat, toss in a pinch of cayenne or chipotle. If too thick, splash broth.
- Hold for a few minutes off heat. Chili tastes better after settling, flavors marry.
- Serve with lime wedges, shredded cheese, or avocado slices for added texture contrast.
Cooking tips
Sauté onions, bell pepper, and garlic until onions start turning translucent—don’t rush, that sweetness is key. Add spices last so they bloom and toast but avoid burning. Burned spices turn bitter; stir constantly and remove heat if needed. When adding liquids and beans, pour broth slowly to avoid splashes and burn spots. Bring chili to a rolling boil to activate flavors but reduce to low simmer immediately to avoid liquid evaporating too quickly and beans getting tough. Keep lid partially on, helps maintain moisture with less risk of burning bottom. Stir every few minutes, scrape pot base to prevent sticking. Recognize finishing by observing wrinkled bean skins—markers beans are tender but intact. Pureeing part of chili is a trick learned from multiple batches — thickens broth, adds creaminess without losing the chunky feel. Use blender cautiously with hot liquids; release steam safely by holding lid slightly or vented blender lids. Return puree slowly to keep chili texture uniform. Adjust final seasoning with salt, pepper, or extra heat after pureeing. Let chili rest off heat for flavors to meld before serving. Serve with fresh acid or cooling cream to balance depth and spice.
Chef's notes
- 💡 Onions soften slow. Wait for translucency—no rushing. Garlic hits next, aroma grows thick in the pan. Bell pepper edges soften but keep bite. Sauté over medium-high; stir every minute. Not charred edges though, just light blistering.
- 💡 Spices last in. Chili powder, cumin, smoked paprika or chipotle powder swap. Toast gently, stir constantly or bitterness creeps fast—burnt is bitter straight away. Smell changes: dust, earth, smoky warmth mixed. 1-2 minutes max, then liquids.
- 💡 Broth and tomato sauce layered slow, helps avoid splashes and scorching bottom. Beans same time, drained well or broth gets murky and thickens odd. Rotel tomatoes bring subtle heat and acidity, frozen corn adds occasional sweet pops. Keep stirring early boil.
- 💡 Simmer with lid half on. Steam escapes but liquid stays steady. Watch beans. Wrinkles on skins indicate tenderness. Not mush though, firm bite needed. Stir every 7 minutes or so. Scorch risk high if unattended. Adjust heat as you watch bubbles.
- 💡 Partial puree step key. Scoop one cup chili hotter than you think—vent blender by lifting lid or hold slight crack. Pulse to chunky smooth, avoid total liquid pool. Return puree tool keeps chili thick, chunky texture intact—no pasty loss here.
Common questions
Can I swap chipotle powder for smoked paprika?
Yes, chipotle powder adds smoky heat, stronger. Use smaller amounts if unsure. Watch for bitterness when toasting—burnt spices bitter real fast. Adds warmth, depth but different profile.
Beans too soft or mushy?
Lower simmer heat next time. Wrinkling skins means done, no mush means better mouthfeel. Stir less often maybe. Also canned beans vary, rinse thoroughly avoids salty broth. Fresh beans need longer cook time, soak well.
How to store leftovers?
Refrigerate covered up to 4 days. Freeze portions in airtight containers. Reheat gently to avoid drying out or burning bottom. Add broth if thickened too much after chilling. Stir well before serving. Some flavor shifts but still solid.
What if no blender on hand?
Use immersion blender partially or mash with fork. Chunkier texture but still thickens. Alternative: potato masher works but blend less uniform. Puree step adds creaminess, rough mashing works in pinch. Adjust seasoning afterward.
You’ll Love These Too
Explore all →
Instant Pot Chicken Burrito Bowl
Slow Cooker Italian Beef
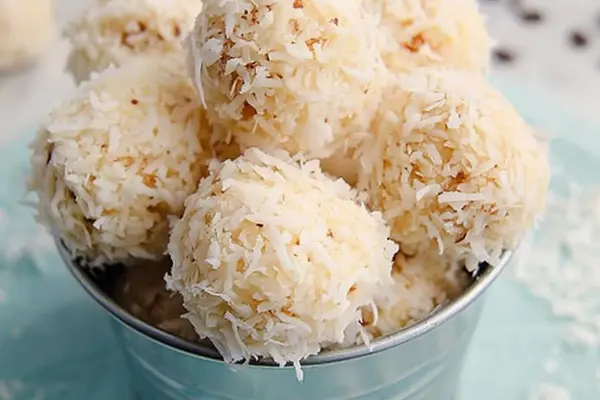
Coconut Pecan Balls

Savory Chicken Cheese Sphere

Vanilla Almond Shortbread
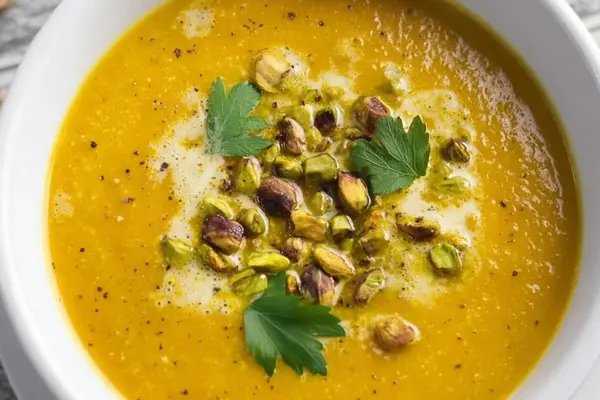
Nutty Pumpkin Potato Soup
Savory Herb Chicken Thighs
Old-School Creamy Caramels
Creamy Bacon Egg Salad

Mocha Double Chocolate Mousse

Crispy Mexican Tortilla Pie

Herb Egg Tea Sandwiches
Creamy Quick Polenta Twist

Bacon Cheddar Biscuits Remix

Mini Lime Coconut Cupcakes

Whisky Ginger Fizz

Blueberry Cinnamon Rolls
Herb-Crusted Beef Rib Roast
Lego Block Cake
Lemon Arugula Tortellini Skewers