
Clarified Butter: Make It at Home

By Emma
Certified Culinary Professional
·
Recipe tested & approved
Make clarified butter at home with unsalted butter by gently heating and skimming milk solids. Perfect for high-heat cooking, seafood dipping, and Indian dishes.
Prep:
5 min
Cook:
12 min
Total:
17 min
Servings:
1 serving
Heat the butter. Don’t stir. The white stuff floats. Skim it. Pour off the gold. Done.
Why You’ll Love This Clarified Butter
Takes 17 minutes total — most of that is just watching it melt. You make it at home instead of paying for store bottles. The smoke point goes way up, which means it won’t burn in your pan like regular butter. Works for popcorn, lobster, crab legs, basically anything that needs a clean fat with no dairy taste left. Stays shelf-stable too. Not sure why homemade always tastes better than store-bought, but it does.
What You Need to Make Clarified Butter
One cup of unsalted butter — that’s all. European cultured butter works too if you want a bit of tang in there. Some people swap in ghee blended with a splash of rendered chicken fat. Not necessary. The butter alone is plenty. You’ll also need a medium saucepan, a spoon for skimming, and a heatproof container to pour into. Cheesecloth is optional — helps if you want it ultra-clear, but it’s not a deal-breaker.
How to Make Clarified Butter at Home
Medium heat. Butter goes in the pan. Don’t touch it. Just listen — it’ll make a quiet melting sound at first. Edges might start to brown after a few minutes. That’s when you drop the heat to low. The smell gets nutty around there. That’s good. That’s your cue.
White foam floats to the top while it’s melting. Skim it off with a spoon. Tilt the pan a little. Use the spoon to pull the foam toward the edge and up and out. Do this over and over. Foam keeps coming until it doesn’t. Takes maybe 3 or 4 passes. Maybe more depending on your butter. Just keep going until nothing new comes up.
How to Get Perfectly Clear Clarified Butter
Look at the bottom of the pan. Murky white stuff settling there — that’s milk solids. Those are what you’re leaving behind. Slowly pour the clear gold liquid into your container. Stop before you hit the solids. Leave maybe a quarter inch of the liquid at the bottom with them. Easier to just stop early than to fish out bits later.
Want it crystal-clear? Grab a double layer of cheesecloth and strain it one more time. Catches the tiny stuff you can’t see. Discard whatever brown crud is left in the pan — that’ll taste bitter if it makes it into your final product.
Making Ghee vs Clarified Butter — What’s the Difference
Ghee is just clarified butter taken further. You let it cook longer, the milk solids brown more, and you get a deeper flavor. For this recipe you’re stopping before that happens — you’re pulling off the heat once you catch the nutty smell but before things get dark. Clarified butter is milder. Ghee is more intense. Both have high smoke points. Both work for popcorn, for searing, for indian cooking, for dunking lobster and crab legs in. Start with this recipe, taste it, and if you want something richer next time, just let it go a minute or two longer.
Clarified Butter: Make It at Home
Prep:
5 min
Cook:
12 min
Total:
17 min
Servings:
1 serving
Ingredients
- 1 cup unsalted butter (or swap with cultured European butter for tang)
- Optional twist Substitute: 1 cup ghee blended with a splash of clarified chicken fat for richness
Method
- 1 Heat butter in a medium saucepan over medium heat. No stirring allowed. Watch, listen for melting sound shifting to quiet simmer.
- 2 Once melted, reduce heat to low if edges start to brown or you catch nutty aromas. That’s your cue to ease down.
- 3 A white foam will appear on surface—the whey proteins. Tilt pan slightly and carefully skim foam off with a spoon. Repeat multiple times until no more foam shows.
- 4 Check bottom of pan. You’ll see murky white milk solids settling. Slowly pour the clear golden liquid into a heatproof container, leaving solids behind. Alternatively, use a heat-safe fat separator for cleaner division.
- 5 For ultra-clear butterfat, strain through a double-layered cheesecloth to trap small bits. Discard any browned sediment left in pan. This step removes lingering impurities that can affect shelf life and flavor.
- 6 Use immediately in recipes that require high smoke points or store in an airtight container at room temperature for weeks. Refrigerate for longer storage but expect solidification.
- 7 Common slipups? Stirring early breaks the separation process. High heat scorches milk solids too soon, giving bitter notes. Too much foam left reduces clarity and smoke point.
- 8 Efficiency tip: Melt just enough butter to avoid wasting leftovers. Use a wide pan to speed melting and enhance easy skim. Don’t rush skimming — patience pays off in clean butter.
- 9 Practical swaps: European cultured butter adds tang, great for richer flavor profile. Try blending a small amount of rendered duck fat with clarified butter for a deep savory twist.
- 10 If butter browns before foam is fully skimmed, bail to avoid burnt taste. Start over or use browned butter left for nutty dishes instead.
Nutritional information
Calories
200
Protein
0g
Carbs
0g
Fat
22g
Frequently Asked Questions About Clarified Butter
Can I stir the butter while it’s melting? No. Stirring breaks the separation. The milk solids won’t settle cleanly. Just leave it alone and watch.
What if the butter starts to brown before I finish skimming? Lower the heat immediately. If it’s already getting dark brown — like, actually brown, not just nutty smelling — start over. Use that batch for brown butter recipes instead. Don’t salvage it into the clarified batch.
How long does homemade clarified butter last? Room temperature in an airtight container? Weeks. Refrigerated? Longer. It won’t go bad fast because you’ve removed the dairy. But sealed containers keep it fresher than sitting open.
Is clarified butter the same as ghee? Almost. Ghee is clarified butter that’s been cooked longer until the milk solids brown. This stops earlier. Both are purified butter with high smoke points. The taste difference is real but subtle.
Can I use salted butter instead? Technically yes. But the salt stays in the finished product and you can’t control how much ends up in there. Unsalted is cleaner.
Why would I make this instead of buying ghee? Cost. Control. It’s five minutes of work. Homemade is fresher and tastes better than most store bottles.
You’ll Love These Too
Explore all →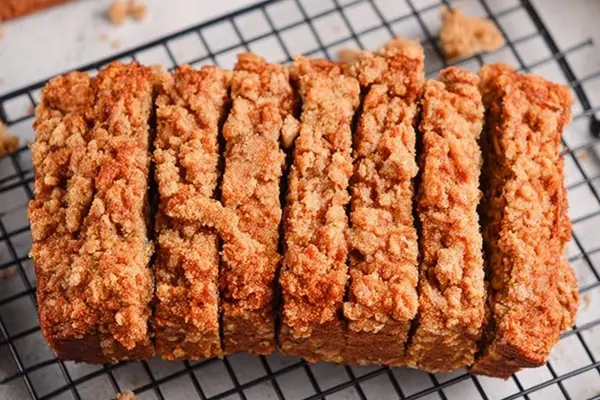
Banana Bread With Walnuts & Cinnamon Streusel
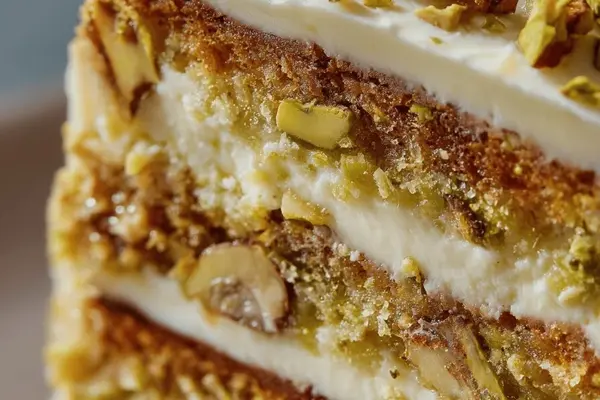
Pistachio Layer Cake with Honey Buttercream
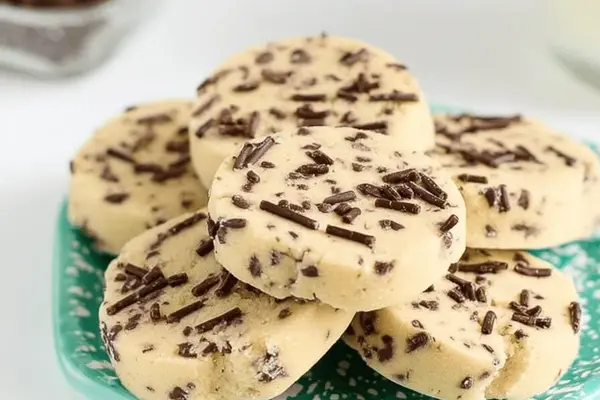
Chocolate Chip Shortbread Recipe
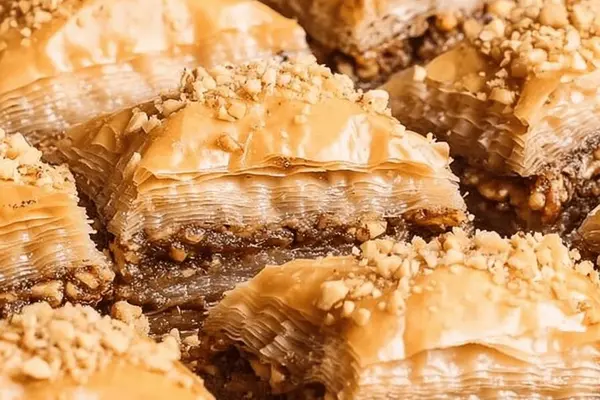
Honey Nut Baklava Recipe with Walnuts
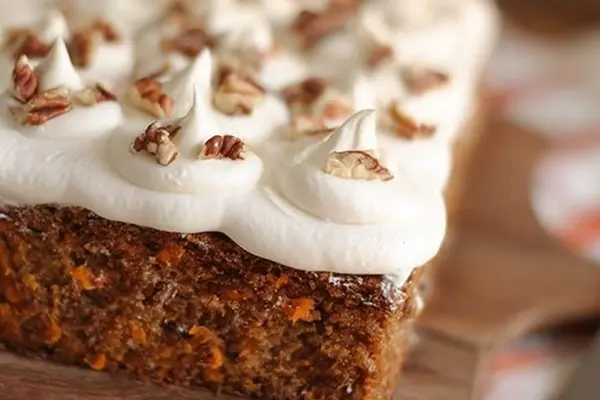
Sweet Potato Cake with Walnuts & Marshmallow

Curried Fish Stew with Sweet Potatoes

Chocolate Cupcakes with Cream Cheese Frosting

Creamy Mushroom Sauce with Veal

Herbed Asparagus Omelette with Manchego

Slow Cooker Chicken Tacos with Cream Cheese

Curry Omelette Breakfast Sandwich Recipe

Lemon Sundae Tart with Vanilla Ice Cream
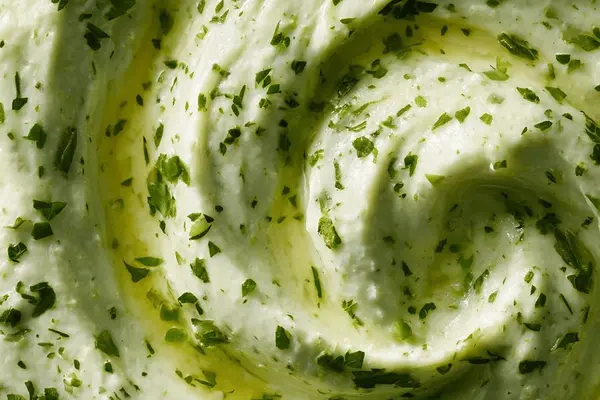
Green Tahini Yogurt Sauce with Parsley

Roasted Salmon with Pomegranate Seeds
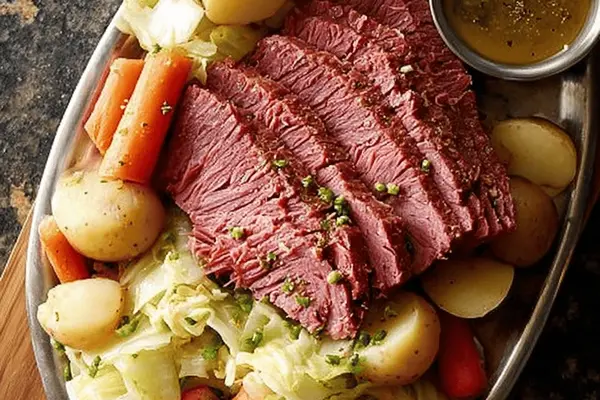
Slow Cooker Corned Beef with Cabbage

Mini Cheesecake Cupcakes with Lemon Frosting

Creamy Herb Ranch Mash with Greek Yogurt

Soba Noodle Dish with Chickpeas

Lactose-Free Strawberry Ice Cream with Coconut