
Conversation Heart Bark with Candy Wafers

By Emma
Certified Culinary Professional
·
Recipe tested & approved
Separate the wafers by color first—takes 2 minutes, saves everything that comes after. Melt in bursts. Stir hard between. Three minutes total if you don’t overthink it. Then comes the layering. Dark first. Pink swirled over that. White on top. Conversation hearts pressed in while it’s still warm enough to grab them. Twelve minutes to write it. Five minutes to actually make it. Then you wait.
Why You’ll Love This Candy Bark
No oven. No bake time stress. Just melted chocolate and candy wafers doing their thing on a tray.
Conversation hearts make it look fancy—like you planned this for a party. You didn’t. Takes 17 minutes.
Works cold right out of the fridge. Snaps when you bite it. The chocolate layer underneath stays crispy because the bark sits thin, not thick and chewy.
Store it at room temp and it lasts. Not that it will. People eat it fast.
Conversation heart candy on top means it’s actually fun to eat. Not just chocolate. There’s the sweetness, the crunch, the little messages nobody reads anyway.
What You Need for Conversation Heart Bark
Candy wafers. Not chocolate chips. Wafers melt smoother—12 oz total, whatever colors feel right. White, pink, dark. Could go all pink if that’s your thing.
Conversation hearts. About 40 pieces. The small candies with the words stamped on. They soften slightly when warm chocolate touches them, but not enough to fall apart. Just enough to stick.
Parchment paper or a silicone baking mat. One or the other. Stick matters here—parchment prevents cracking when you try to peel it away later.
Sea salt. Optional. Just a pinch sprinkled between layers if you want something salty cutting through the sugar rush. Don’t go heavy.
Coconut oil. Keep a teaspoon nearby. Only if your melted wafers seize up and go thick and grainy. Add it in tiny amounts. Fixes it fast.
How to Make Candy Bark
Line the tray first. Parchment or silpat—doesn’t matter which. Matters that you do it. Bark sticks otherwise and cracks when you try to flip it.
Separate wafers by color into microwave-safe bowls. This takes longer than it sounds if you’re being picky about it, so don’t be. Rough piles work fine.
Melt each color in the microwave using bursts. Twenty-five seconds, then stir hard. Stir like it owes you money. Then twenty more seconds. Stir again. Keep going until it’s creamy and smooth with no grainy chunks anywhere. This part matters. Grainy chocolate bark is wrecked bark.
If it gets too thick while you’re stirring, add a teaspoon of coconut oil. Melts right in. But go slow—too much oil and it won’t set.
Spread the darkest color first across the parchment. Thin layer. Think 1/8 inch. Smooth it out while it’s still warm because once it cools even a little, spreading becomes impossible. Work fast.
The second you finish with dark, drizzle the pink wafer over top using a spoon or a small piping bag if you have one. Make it uneven. Streaks look better than coverage. Let it sit there for maybe thirty seconds, then swirl it slightly with a toothpick.
White layer goes on next. Same deal—drizzle unevenly, don’t overthink coverage. This is where the candy bark gets its look, so the messier you are the better it turns out.
Grab a toothpick or wooden skewer and drag it through all the layers. Not hard. Just enough to create some swirls. Press too much and it all blends into brown sludge instead of staying striped.
How to Get Candy Bark Crispy with Perfect Swirls
Timing is everything here. Conversation hearts go on while chocolate’s still warm but not wet. Maybe ten, fifteen seconds after you finish swirling. If it’s too cold they won’t stick. If it’s too hot they’ll sink and disappear into it.
Press gently. Gently. Like you’re setting them down to take a nap, not cementing them into the chocolate. They’ll stay.
Watch the set. Sometimes it takes ten minutes. Sometimes longer depending on how thick you spread it. If the surface still looks wet after ten minutes, chill the tray briefly in the fridge. Ten minutes there speeds it up. But watch it—condensation can dull the finish if you leave it too long. Humidity is the enemy.
Flip it once it’s firm. The parchment peels right off if you did it right. If it sticks, the layer was too thick. Happens. Just keep peeling slow.
Cut with a sharp chef’s knife into chunks. Wipe the blade between cuts to keep chocolate from dragging and sticking. Rough chunks look better than neat pieces anyway.
Candy Bark Tips and Common Mistakes
White blooming—those weird white streaks that show up during storage—happens sometimes. Not a problem. Temperature swings cause it. When you bite into a cold piece, it warms up and softens back to normal. Tastes fine.
Store it at room temp in an airtight container if your kitchen stays cool. If it’s warm out, use the fridge. Humidity kills crispness. Condensation is your actual enemy here, more than temperature.
Don’t overthink the melting. Candy wafers melt easier than chocolate chips. They want to melt. Bursts in the microwave work better than slow heat anyway—less chance of seizing.
Conversation heart candies will soften slightly against warm chocolate. This is normal. Not a mistake. They stay intact and taste better slightly soft than rock hard.
If you’re adding sea salt, sprinkle it between layers while chocolate’s still warm. It’ll stay put. Add it after and it just slides off.
Don’t try to peel parchment away while bark is still warm. Wait until it’s completely firm. Otherwise it cracks and breaks into weird pieces. Cool pieces don’t care—they peel clean.
Conversation Heart Bark with Candy Wafers
Prep:
12 min
Cook:
5 min
Total:
17 min
Servings:
12 servings
Ingredients
- parchment paper or silicone baking mat
- 12 oz candy wafers assorted colors — replaced vanilla wafers with white almond bark for nuttier taste
- conversation heart candies about 40 pieces
- optional: pinch of sea salt for layering twist
Method
- 1 Line baking tray with parchment or silpat. No shortcuts here, stick matters to prevent sticking and cracking during cut.
- 2 Separate candy wafers by color into microwave-safe bowls. Melt each in bursts: 25 seconds, stir vigorously, more bursts of 20 seconds until creamy, no grainy chunks. Add 1 tsp coconut oil per color if too thick.
- 3 Drain heat quickly to avoid seizing chocolate. Swirling too long cools it and causes grainy finish.
- 4 Spread darkest chocolate first — think milk or dark almond bark — in thin 1/8 inch even layer across tray. Smooth quickly while warm. Thicker layer messes with bite and slows setting.
- 5 Immediately drizzle pink melted candy over dark layer using spoon or small piping bag. Drizzle unevenly to get natural streaks.
- 6 Top that with white melted candy wafer. No need to perfect coverage, kind of haphazard drizzle works best.
- 7 Quickly, with toothpick or skewer, drag through layers to swirl colors. Don’t press too hard or it blends into mushing instead of swirled look.
- 8 Add conversation hearts while chocolate is still warm but not wet enough to sink. Press gently, just enough to adhere.
- 9 If surface is sticky after 10 mins, chill briefly in fridge to speed set. Watch close or condensation dulls finish.
- 10 Once firm, flip bark from tray and cut into chunks with sharp chef ’s knife. Wipe blade between cuts to avoid sticking.
- 11 Store in airtight container at room temp or fridge if your kitchen is warm. Humidity kills crispness.
- 12 If chocolate blooms (white streaks) during storage, biting into cold piece warms it up and it softens nicely again.
Nutritional information
Calories
150
Protein
1g
Carbs
18g
Fat
8g
Frequently Asked Questions About Conversation Heart Candy Bark
How long does candy bark actually stay crispy? Few days at room temp. Maybe a week in the fridge, longer if it’s sealed tight. Humidity gets to it first—that’s what kills the crunch, not time.
Can I use regular chocolate instead of candy wafers? Yeah. Tempering gets annoying though. Wafers are easier because they’re already made to melt smooth. Chocolate chips seize if you look at them wrong.
Why did my chocolate seize? Water got into it. Even a drop. Or it got too hot. Coconut oil fixes it sometimes. Sometimes it’s just ruined. Start over if it’s grainy and won’t smooth out.
Do the conversation hearts have to go on top? Don’t have to. Could press them into the dark layer before the pink drizzle. Different look. Both work. Try it your way.
How do I cut it if chocolate is too brittle? Let it sit at room temp for five minutes. Takes the edge off the brittleness. Blade warms it slightly while you cut and it behaves better.
Is the sea salt actually necessary? Nope. Makes it less one-note sweet if you add it. Doesn’t matter either way.
You’ll Love These Too
Explore all →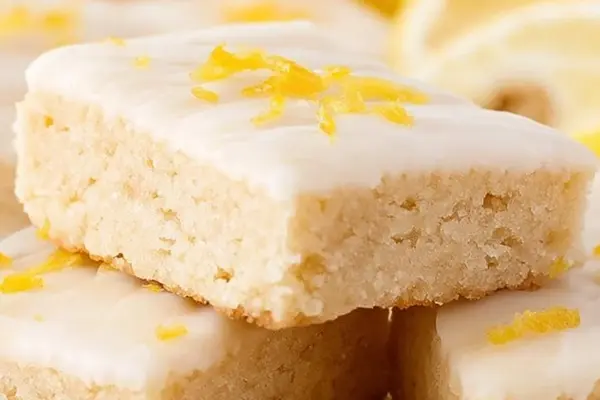
Shortbread Millionaire with Lemon Glaze
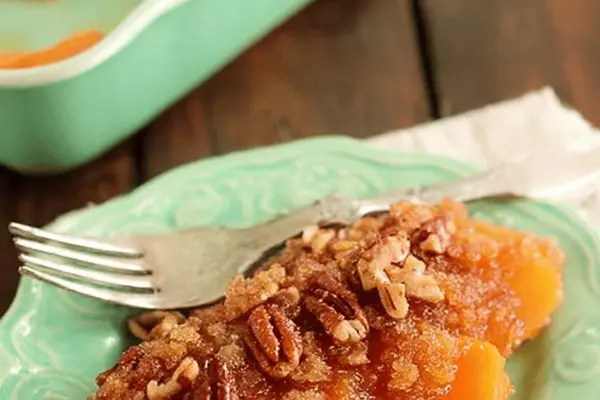
Candied Sweet Potatoes With Pecans

Eggnog Chai Cheesecake Recipe

Asparagus Soup with Poached Eggs

Braised Pork Quesadillas with Poblano

Caramelized Shallot Dip with Greek Yogurt

Piña Colada Recipe with Rum and Coconut Cream

Crispy Chicken Croquettes with Cornstarch

Cinnamon Whisky Shot with Cream Soda

Fish Tacos with Cod, Pineapple & Cilantro

Crispy Tofu Sticks with Honey Mustard
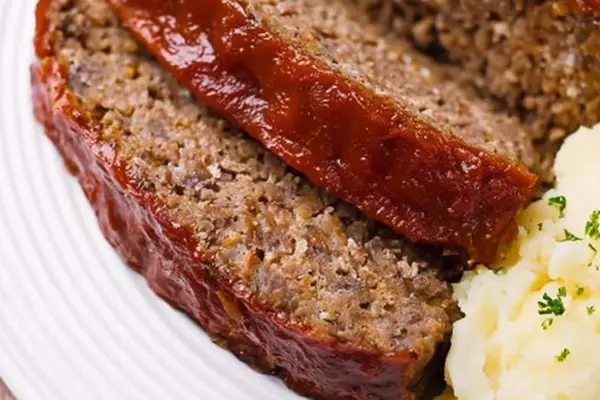
Slow Cooker Meatloaf with Panko and Worcestershire

Baked Meatball Penne Casserole with Mozzarella

Parmesan Cream Balls with Balsamic

Rustic Pici Pasta with Spelt & Chickpea Flour

White Sangria Recipe with Strawberry & Pineapple

Vegetarian Soup with Quinoa and Zucchini
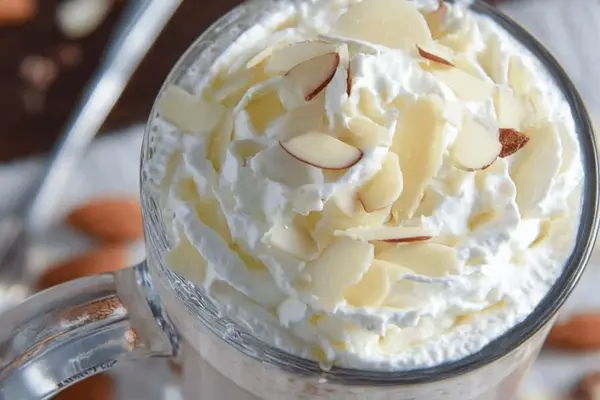
Almond White Hot Cocoa Recipe

Coconut Lime Scones Recipe with Coconut Cream
