Cookie Monster Cupcakes with Buttermilk

By Emma
Certified Culinary Professional
·
Recipe tested & approved
Boiling water hits the batter and it goes thin—that’s the whole trick right there. Twenty-two minutes in the oven and they smell like chocolate took over your kitchen. That’s when you know.
Why You’ll Love These Cookie Monster Cupcakes
Takes 42 minutes total if you don’t get distracted. Mix, bake, done. Party dessert that looks like it took actual effort. Candy eyes make them ridiculous in the best way—kids lose their minds. Chocolate hits hard but the buttermilk keeps it from being too much. Cookie stuck in the frosting makes it funny and good at the same time. Room temperature frosting stays creamy longer. Cold chocolate and the texture of a real cookie in there—works better than it should.
What You Need for Cookie Monster Cake
All-purpose flour. Not cake flour. All-purpose gives you the crumb you want—structure that holds but still stays soft. One and a half cups.
Granulated sugar. Three quarters cup. Cocoa powder—unsweetened, the dark stuff. A third cup. Baking soda and baking powder, three quarters of each. Salt. Half a teaspoon. Two eggs beaten until they go pale. That part matters. One cup buttermilk at room temperature, not cold from the fridge. The tang cuts the chocolate richness. A third cup vegetable oil. Teaspoon of vanilla.
Boiling water. One cup. It sounds wrong but it’s what makes the crumb actually work. The batter gets thin and that’s the point. Half a cup unsalted butter softened for frosting. Three and a half cups powdered sugar. Two to three tablespoons heavy whipping cream—sometimes you need it, sometimes you don’t. Two candy eyes per cupcake. Twelve chocolate chip cookies halved. That’s one per cupcake with one left over for snacking.
How to Make Cookie Monster Cupcakes
Set oven to 345. Get the liners in the tins. This part’s easy and nobody messes it up.
Sift flour and sugar together into a wide bowl. Add cocoa powder, baking soda, baking powder, salt. Lumps hide in cocoa so don’t skip the sifting. It’s boring but it’s the difference between smooth frosting and gritty. Separate bowl—beat the eggs until pale. Pour in buttermilk, oil, vanilla. The buttermilk adds this bright thing that keeps chocolate from getting flat and one-note.
Wet into dry. Stir gently. Stop when you can’t see the flour anymore. That’s it. Overmix means dense cupcakes nobody wants. Switch to electric mixer, medium speed. Beat exactly three minutes. The air incorporated here lifts the whole thing. You’ll feel the batter get lighter.
Boiling water. Sounds insane. Add it slowly while the mixer’s running—first a few spoonfuls, then a thin stream. Batter thins out. That’s correct. Fill liners about seventy percent full. Too much and they spill over the pan. Too little and they come out flat and dry.
Center rack. Twenty-two minutes. Kitchen smells like chocolate and that’s how you know something’s happening. The edges pull slightly from the pan. Toothpick near the center comes out with a few moist crumbs but no wet batter. That’s doneness.
How to Get Cookie Monster Cupcakes Perfect
Cool in the pan eight to twelve minutes. Not longer. Not shorter if you can help it. Wire rack for the rest. Completely cool before frosting. Warm tops make frosting melt and get sticky.
Beat softened butter and powdered sugar until pale and creamy. If it fights back, add heavy cream a teaspoon at a time. Test it by scooping frosting on a spoon and flipping upside down. If it stays, you’re there. If not, add powder sugar slowly until it holds.
Pastry bag with a large star tip. Twist the end. Push frosting to the tip so no air pockets form or spikes come out weird. Pipe straight up and down for peaks. Quick flick at the top if you want. Don’t overhandle it or the frosting collapses.
Candy eyes pressed on right after piping while frosting’s still soft. They stick better. Half a cookie wedged into the frosting center like Cookie Monster mid-chew. The chocolate cookie shows. That’s the whole thing right there.
Cookie Monster Muffin Troubleshooting and Tips
Dry cupcakes mean your oven runs hot. Check temperature with a separate thermometer. Not trusting the dial will save you. Over-beat frosting and it gets grainy. Add more cream and beat again. Cookies breaking when you halve them means they’re too hard. Softer cookies won’t snap.
Buttermilk at room temperature matters more than people think. Cold buttermilk changes the mix temp and the bake comes out uneven. Let it sit on the counter for thirty minutes if you’re in a hurry—doesn’t take long. Boiling water sounds wrong every single time. It is not wrong. It’s what makes the crumb work.
Frosting can be made the day before and refrigerated in an airtight container. Bring it to room temperature and beat again for a minute before piping. Cookie pieces can go in the day-of. Doesn’t matter. The cupcakes stay moist covered loosely at room temperature for two days. Refrigerated they last four days but let them come to room temperature before eating or they taste cold and dense.
Cookie Monster Cupcakes with Buttermilk
Prep:
20 min
Cook:
22 min
Total:
42 min
Servings:
12 servings
Ingredients
- 1 and 1/2 cups all-purpose flour
- 3/4 cup granulated sugar
- 1/3 cup unsweetened cocoa powder
- 3/4 teaspoon baking soda
- 3/4 teaspoon baking powder
- 1/2 teaspoon salt
- 2 large eggs
- 1 cup buttermilk, room temperature
- 1/3 cup vegetable oil
- 1 teaspoon vanilla extract
- 1 cup boiling water
- 1/2 cup unsalted butter, softened
- 3 and 1/2 cups powdered sugar
- 2-3 tablespoons heavy whipping cream
- 2 large candy eyes per cupcake
- 12 chocolate chip cookies, halved
Method
- For The Cupcakes
- 1 Prepare cupcake liners in the tins, preheat oven to 345°F. Flour and sugar should always be sifted together—avoids lumps sneak.
- 2 In a wide bowl toss together flour, sugar, cocoa powder, baking soda, baking powder, and salt. Dry mix must be even—lumps mean uneven rise.
- 3 In a different container, beat eggs until pale; add buttermilk, oil, and vanilla extract. Buttermilk here adds a tang that brightens chocolate rich notes.
- 4 Pour wet into dry. Stir gently until just mixed. Avoid overmix or risk dense cakes.
- 5 Switch to electric mixer, medium speed. Beat batter 3 minutes exactly. It's the air incorporated here that lifts up crumb.
- 6 Add boiling water gradually, first a few spoonfuls, then the rest in a thin stream while mixing slowly. Batter thins out—that's right.
- 7 Scoop into liners filling about 70% full. Overfill, they spill; underfill, cupcakes end up flat and dry.
- 8 Bake in center rack for roughly 20 minutes. The smell of cocoa fills kitchen, edges pull slightly from pan, and toothpick inserted near center comes out with a few moist crumbs but no batter.
- 9 Cool in pan 8 to 12 minutes. Remove cupcakes to wire rack and cool completely—warm tops make frosting melt into sticky disaster.
- For The Frosting
- 10 Beat butter and powdered sugar until pale and creamy. If it resists, add heavy whipping cream, a teaspoon at a time.
- 11 Test frosting’s hold by scooping and flipping spoon upside down; if it stays, you’re set. If not, powder sugar in small increments until stiffness achieved.
- 12 Fill pastry bag fitted with large star tip. Twist end, push frosting to tip—no air pockets, or spikes form oddly and ruin look.
- 13 Pipe frosting vertically, straight up and down for defined peaks. A quick flick at the top adds charm but avoid overhandling or frosting deflates.
- Assembling
- 14 Press two candy eyes immediately on top of frosting before it firms up fully.
- 15 Halve a chocolate chip cookie. Stick one half in frosting center like cookie monster chewing mid-bite.
- 16 Admire work. Be ready for sweetness—relentless, almost obscene.
- 17 Storage: cupcakes stay moist covered loosely at room temp up to 2 days or refrigerated for 4, but let come to room temp before serving.
- 18 Substitutions: whole milk instead of buttermilk works; cake texture less tangy but still fine. Butter can be swapped with margarine but reduces flavor depth.
- 19 Troubleshooting: Dry cupcakes? Check oven temperature accuracy. Over-beat frosting? Add more cream and beat again. Cookie breakage? Use softer cookies if problems persist.
Nutritional information
Calories
620
Protein
5g
Carbs
96g
Fat
30g
Frequently Asked Questions About Cookie Monster Cupcakes
Can I use whole milk instead of buttermilk? Works fine. Cake texture gets less tangy but you won’t notice much difference. Still good. Just that brightness gets muted a little.
Why does the batter get thin when you add boiling water? That’s the whole point. Thin batter means it’ll rise in the oven and stay tender instead of dense. Don’t fight it. Trust the thin.
How do I know when the cupcakes are actually done? Smell. That chocolate smell fills the kitchen when they’re close. Toothpick near the center. A few moist crumbs is right. Wet batter and they need more time. Bone dry and you overbaked.
Can I make these the day before a party? Yeah. Bake them, cool completely, frost the day-of. Or frost them too. They keep fine covered loosely at room temp. The frosting stays creamy that way. Cold frosting gets hard.
What happens if I overmix the batter? Dense cupcakes that feel like pucks. Nobody wants those. Mix until the flour disappears. That’s it. Stop.
Can I substitute the candy eyes with something else? Sure. Chocolate chips work. Sprinkles. Gummy candies. Candy eyes are just the bit that makes it look like a character. Pick what sticks to frosting.
You’ll Love These Too
Explore all →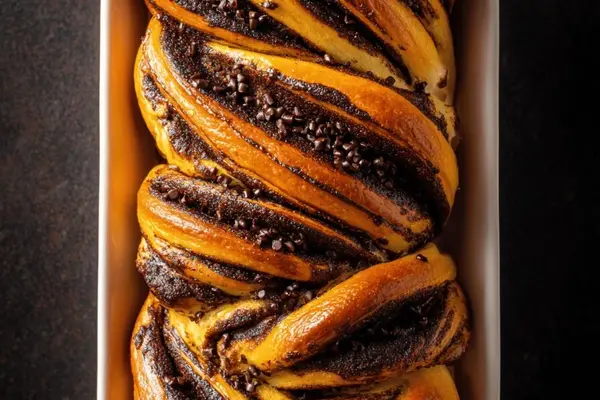
Chocolate Swirl Babka with Espresso

Mongolian Beef Noodles with Sesame Oil

Peach White Rum Cooler with Elderflower

Dark Chocolate Chip Muffins with Sour Cream

Slow Cooker Beef Tomato Sauce with Red Peppers

Vegetarian Appetizers: Chickpea & Quinoa Bites

Pineapple Chicken Salad with Avocado
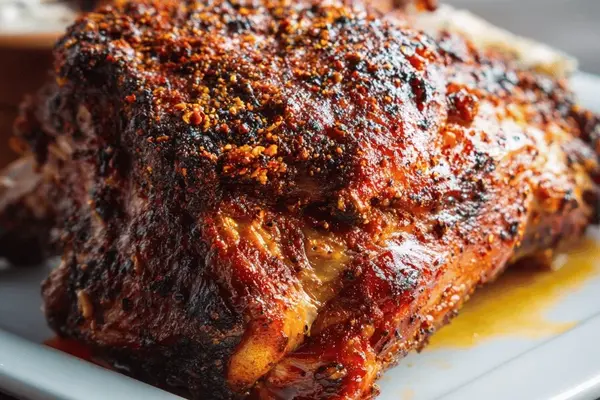
Dry-Rubbed Pork Shoulder: Slow Roasted
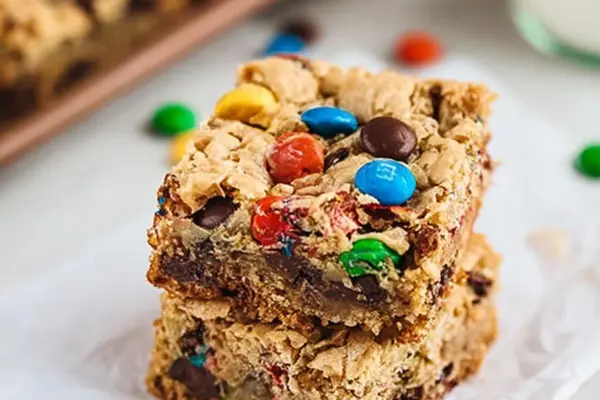
Monster Cookie Bars with Oats & M&Ms
Fruit Skewers with Pineapple & Marshmallows
Oven Baked Hard Eggs in Muffin Tin

Chicken Salad Chick with Pepperoncini
Greek Yogurt Bowls with Strawberries
Pimento Mac and Cheese Squares Recipe

Compound Butter with Mushrooms and Walnuts
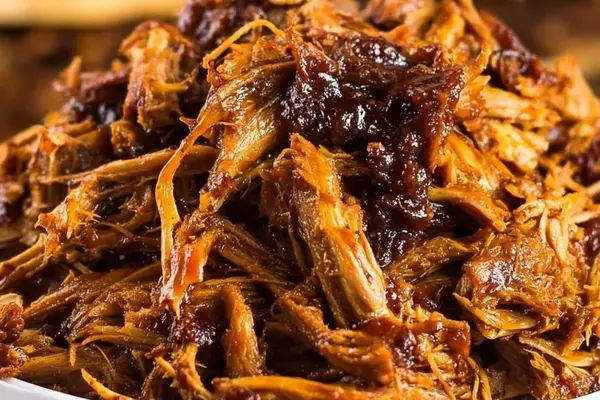
Dr Pepper Pulled Pork Slow Cooker
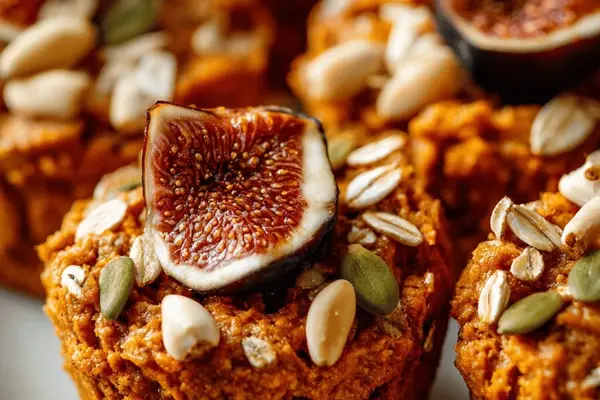
Sweet Potato Muffins with Whole Wheat

Scalloped Potatoes and Gruyere with Roasted Garlic

Grilled Cheese with Turkey, Bacon & Gruyere