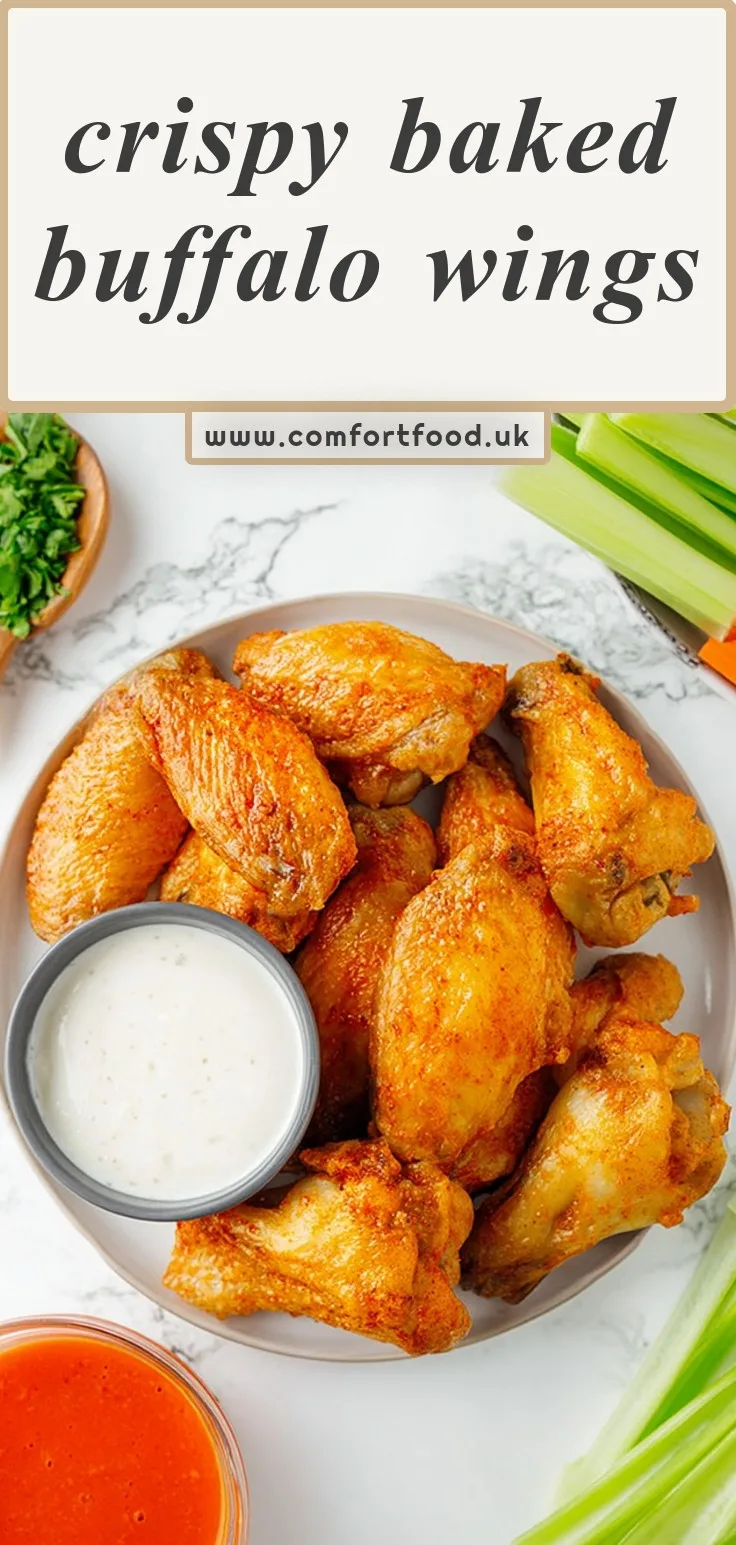
Crispy Baked Buffalo Wings
By Emma
Certified Culinary Professional
·
Recipe tested & approved
I made crispy baked buffalo wings last Tuesday and they actually worked. The trick isn’t the sauce or the oven temperature alone, it’s the overnight fridge rest with baking soda that dries out the skin so it crisps without any oil bath.
Why You’ll Love This Recipe
- No deep fryer required and no oil splatter to clean up after
- The baking soda and salt combo pulls moisture from the skin overnight, which is why these actually get crispy in a regular oven
- You can prep them Monday night and bake them Tuesday after work
- Wire rack setup means the fat drips away and the wings crisp on all sides
- That dry rub with garlic powder onion powder and chili powder gives you flavor before the sauce even hits
- They’re 320 calories per serving which is lower than fried and you don’t lose the crunch
The Story Behind This Recipe
I got tired of baked buffalo wings that came out rubbery or wings that needed so much oil they might as well be fried. A friend mentioned the baking soda trick for turkey skin and I wondered if it’d work on wings. Tested it last Tuesday after a long day and didn’t expect much but the skin actually crisped up.
The fridge rest felt like extra work at first but now I just do it the night before and forget about it. It’s become my default method because I can make baked buffalo wings on a weeknight without standing over a pot of hot oil and worrying about smoke alarms.
What You Need
You need chicken wings that you’ve rinsed and patted dry with paper towels. I mean really dry, like you’re annoyed at how many towels you’re using. The drier they start the better the baking soda works overnight.
1 teaspoon of baking soda is what makes this whole thing happen. It raises the pH of the skin so it breaks down faster in the oven and crisps instead of steaming. Don’t skip it and don’t use baking powder by accident because I’ve done that and it tastes weird.
1 tablespoon of kosher salt pulls out even more moisture while the wings sit in the fridge. If you only have table salt use less, maybe 2 teaspoons, because it’s finer and saltier by volume.
The dry rub is 1 teaspoon garlic powder, 1 teaspoon onion powder and 1 teaspoon chili powder. Not garlic salt. Powder. The rub goes on right before baking and it creates this thin crust under the buffalo sauce that I didn’t expect to care about but now I do. Chili powder adds a background warmth without making them actually spicy before the sauce hits.
You’ll also want buffalo sauce ready for tossing after they bake, but that’s not part of the prep here.
How to Make Crispy Baked Buffalo Wings
Rinse your chicken wings under cold water and then pat them completely dry. I use way too many paper towels for this but wet skin won’t crisp no matter what you do. Toss them in a big bowl with the baking soda and kosher salt until every wing has a light coating.
Lay the wings flat on a plate or sheet pan, don’t cover them, and stick them in the fridge for 12 to 24 hours. I did mine Monday night and baked them Tuesday after work. The uncovered part feels wrong at first because you’re used to wrapping everything but the air circulation is what dries the skin out. When you pull them out Tuesday the skin looks tighter and feels tacky, which is exactly what you want.
Preheat your oven to 450 degrees Fahrenheit. Set up a wire rack over a rimmed baking sheet so the fat can drip down and the hot air hits every side of the wing. If you skip the rack and just use a pan they’ll steam on the bottom and get soggy.
Mix your garlic powder onion powder and chili powder in a small bowl. Toss the wings in the spice mix right there on the counter, just enough to coat them evenly. The skin’s sticky from the fridge rest so the spices grab on without any oil.
Arrange the wings in a single layer on the rack with a little space between each one. Slide the pan into the oven and set a timer for 15 minutes. About 12 minutes in you’ll start hearing little pops and crackles, that’s the skin rendering and crisping. The smell of roasting chili powder hits around the same time.
Flip each wing with tongs after 15 minutes. They’ll have some color on the first side but they’re not done yet. Bake for another 10 minutes, maybe 12 if your wings are big. I check with an instant read thermometer and pull them when they hit 165°F in the thickest part. The edges should look golden and starting to blister in spots.
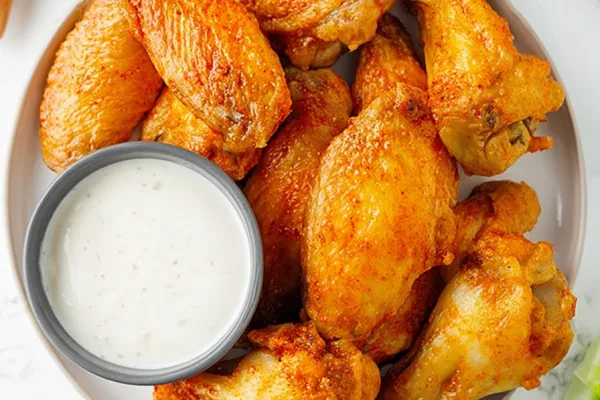
The second I pulled them out I tossed half in buffalo sauce and left half plain because my husband doesn’t like things too wet. The ones I tossed right away stayed crispy under the sauce, which shocked me honestly. The dry rub underneath the buffalo sauce wings added this layer I didn’t think would matter but it does.
What I Did Wrong the First Time
First time I made these I covered the wings with plastic wrap in the fridge because I was worried they’d dry out too much or smell up everything. They didn’t crisp at all. The whole point of the overnight rest is exposing the skin to air so moisture evaporates, and I blocked that completely. Pulled them out of the oven after 30 minutes and they were cooked through but still rubbery and pale. Had to finish them under the broiler which burned some spots before others even crisped. Now I just leave them uncovered and deal with rearranging the fridge shelf to fit the pan.
Crispy Baked Buffalo Wings
Prep:
10 min
Cook:
30 min
Total:
40 min
Servings:
4 servings
Ingredients
- Chicken wings rinsed and patted dry
- 1 teaspoon baking soda
- 1 tablespoon kosher salt
- 1 teaspoon garlic powder
- 1 teaspoon onion powder
- 1 teaspoon chili powder
Method
- 1 Start by rinsing the chicken wings and pat them thoroughly dry. Toss them in a large bowl with baking soda and kosher salt to firm up the skin and draw out moisture. Lay the wings flat, uncovered, in the fridge for 12 to 24 hours. This overnight step is key to getting crispy skin without frying.
- 2 Preheat your oven to 450 degrees Fahrenheit. Prepare a broiler pan or set a wire rack over a rimmed baking sheet so the fat can drip away during cooking, helping the wings crisp from all angles.
- 3 Mix garlic powder, onion powder, and chili powder in a small bowl and evenly toss with the dried wings. The dry rub will add a subtle heat and flavor under the buffalo sauce later.
- 4 Arrange the wings in a single layer on the prepared baking rack. Slide into the oven and bake for 15 minutes. You should start hearing the skin crackling and smell those roasting spices.
- 5 Flip each wing and return to the oven for another 10 minutes. Depending on wing size, internal temperature should hit 165°F. Use an instant thermometer to confirm. Look for golden brown edges and a slightly blistered skin.
- 6 Once baked, immediately toss the wings in homemade buffalo sauce or serve it on the side. The contrast between the dry spice crust and tangy sauce is what I have found makes this method compelling. Serve hot and listen to the satisfying crunch as you bite into them.
Nutritional information
Calories
320
Protein
28g
Carbs
2g
Fat
22g
Tips for the Best Crispy Baked Buffalo Wings
Make sure your wings are similar in size so they finish at the same time. I had three massive ones in my batch that needed an extra 4 minutes while the smaller ones were already done and starting to dry out.
Don’t open the oven during the first 15 minutes. Every time you crack the door the temperature drops and the skin stops crisping. I learned this by checking too early and adding 6 minutes to my total time.
If you’re doubling the recipe use two racks on separate oven shelves and rotate them halfway through. The top rack always crisps faster so swap positions after the flip.
Your wings will look dry and almost dusty after the fridge rest and that’s exactly right. The first time I saw them like that I thought I’d ruined them but that tacky dried-out skin is what turns into the crunch.
The wire rack matters more than I expected because the underside needs airflow. Tried it once on parchment paper and the bottoms steamed and never crisped even after 40 minutes.
Serving Ideas
I put out celery sticks and ranch but honestly the wings don’t need it. The dry rub underneath makes them interesting enough to eat plain.
My sister served hers over a big pile of shredded iceberg with blue cheese crumbles and it turned into a main dish salad thing that worked. The warm fat from the wings wilted the lettuce just enough.
If you’re doing a party spread these hold up on a platter for about 20 minutes before they start to soften. After that hit them with 3 minutes under the broiler to re-crisp the outsides.
Variations
You can swap the buffalo sauce for barbecue sauce after baking and it works fine. The dry rub still makes sense under it but you lose that tangy-spicy contrast.
Lemon pepper instead of the chili powder in the rub turns these into a different thing entirely. I tried it last month and it was good but felt more like a deli wing than buffalo sauce wings.
If you want them spicier add cayenne to the dry rub, maybe half a teaspoon. The chili powder alone isn’t hot, it’s just warm in the background.
Korean gochujang mixed with honey as the tossing sauce instead of buffalo sauce surprised me in a good way. The dry rub still worked under it even though the flavor profile went somewhere else completely.
FAQ
Can I use frozen wings for this? Yeah but thaw them completely first and then dry them even more than you think you need to. Frozen wings hold extra moisture and if you don’t get that out the baking soda can’t do its job.
What if I don’t have 12 hours for the fridge rest? Minimum 8 hours or the skin won’t dry enough. I tried 6 once because I forgot to start them early and they came out okay but not crispy, just kind of firm.
Do I really need a wire rack or can I just use a baking sheet? You need the rack. Without it the bottom side sits in its own fat and steams instead of roasting. I’ve tried every shortcut here and this one actually matters.
Can I prep these two days ahead? Yeah up to 48 hours in the fridge is fine. Past that the salt starts to cure the meat and the texture gets weird, almost like ham.
What if I accidentally used baking powder instead of baking soda? They’ll still cook but taste metallic and bitter. Baking powder has acid in it already and it reacts wrong with the chicken skin.
How do I store leftover baked buffalo wings? Put them in an airtight container in the fridge for up to 3 days. They lose their crispness in storage no matter what you do.
Best way to reheat these? Oven at 400°F for 8 minutes on a wire rack brings back most of the crispness. Microwave makes them rubbery so don’t.
Can I use table salt instead of kosher salt? Use 2 teaspoons table salt max because it’s denser and saltier by volume. I over-salted a batch once with a tablespoon of table salt and they were inedible.
Why didn’t my wings get crispy even after following the steps? Either you didn’t dry them enough at the start, you covered them in the fridge or you skipped the wire rack. Also check your oven temp with a thermometer because some ovens run 25 degrees low.
How many wings fit on one rack? Depends on your pan size but I got 12 full wings on a standard half-sheet with a little space between each. If they’re touching they’ll steam each other.
Do I need to separate the drumettes and flats? No, I left mine as whole wings and they cooked evenly. If yours come separated already that’s fine too, just watch the flats because they finish a minute or two faster.
Can I add the buffalo sauce before baking instead of after? Don’t. The sugar in most buffalo sauces burns at 450°F and you’ll end up with bitter charred spots instead of crispy skin.
What brand of buffalo sauce works best? I used Frank’s RedHot mixed with melted butter but any buffalo sauce you like works. The wing itself is doing the heavy lifting here, not the sauce.
My oven only goes to 425°F, will that work? Add 5 minutes to the total bake time and they should still crisp. It’ll just take longer for the skin to render.
Can I make these in an air fryer instead? Probably but I haven’t tried it. The fridge rest would still apply but you’d need to adjust the time down since air fryers run hotter and faster.
Do I flip them more than once? Just once at the 15 minute mark. Flipping them multiple times drops the pan temperature too much and adds time without improving the crisp.
Can I use chicken drumsticks instead of wings? The method would work but drumsticks have more meat and thicker skin so you’d need to add at least 10 minutes to the cook time. The ratio of crispy skin to meat would be off too.
What does the chili powder actually do in the dry rub? Adds a background warmth without making them spicy. It also toasts in the oven and smells good, which is half the reason I keep it in there.
Why do the wings look shriveled after the fridge rest? The salt and baking soda pull moisture out overnight so the skin tightens up. That shriveled look is what you want because it means the skin is ready to crisp instead of steam.
How do I know when they’re done without a thermometer? Cut into the thickest part of one wing and check that the meat near the bone isn’t pink. The juices should run clear but honestly just get a cheap instant read thermometer because guessing adds stress.
Can I skip the dry rub and just do salt and baking soda? Yeah they’ll still crisp but you lose that flavor layer under the sauce. I’ve done it when I’m lazy and they’re fine, just more one-dimensional. The rub is what makes me prefer these over fried wings from a place down the street.
You’ll Love These Too
Explore all →
Sweet Potato Muffins with Whole Wheat

Pimento Cheese Appetizers with Bacon
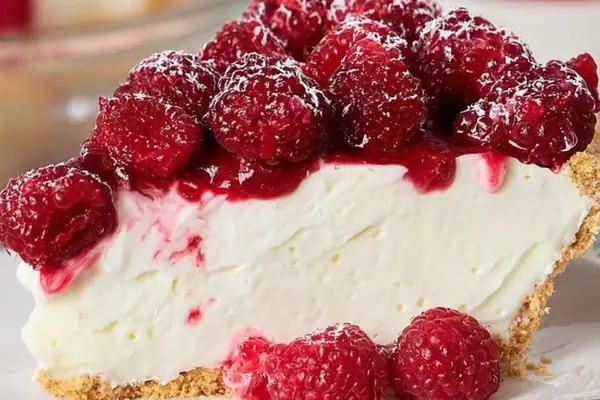
Raspberry Cream Cheese Pie Recipe

Ben & Jerry's Vegan Ice Cream with Maple
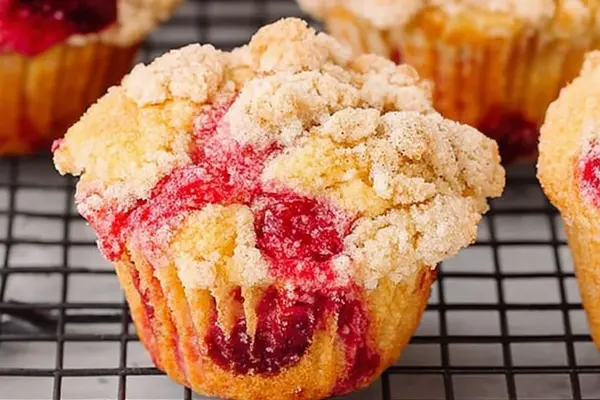
Cherry Cobbler Muffins with Cinnamon Streusel

Quinoa Pork Meatball Soup with Udon

Crunchy Beef Walking Taco with Black Beans
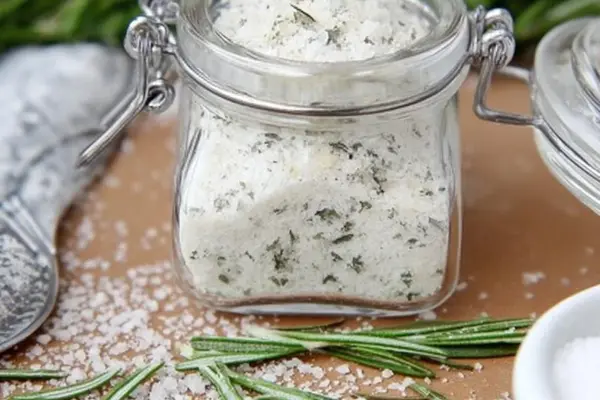
Lemon-Rosemary Salt Recipe with Sea Salt

Deviled Eggs Christmas: 3 Festive Styles

Egg White Stiff Peak Soufflé Omelette

Tofu Stir Fry with Bell Peppers & Zucchini

Grilled Chicken BBQ Calzones with Chipotle
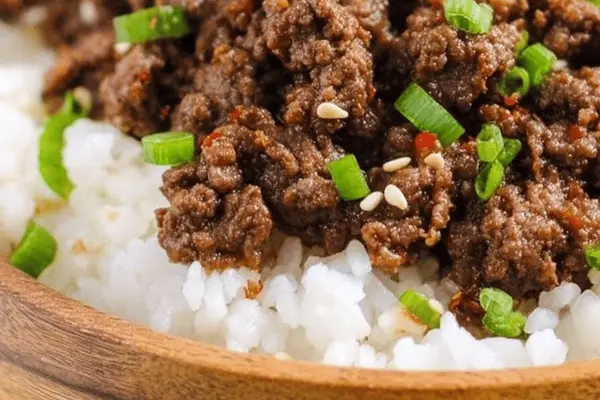
Korean Beef Bowl with Sesame Oil & Soy

Baked Zucchini With Parmesan Cheese
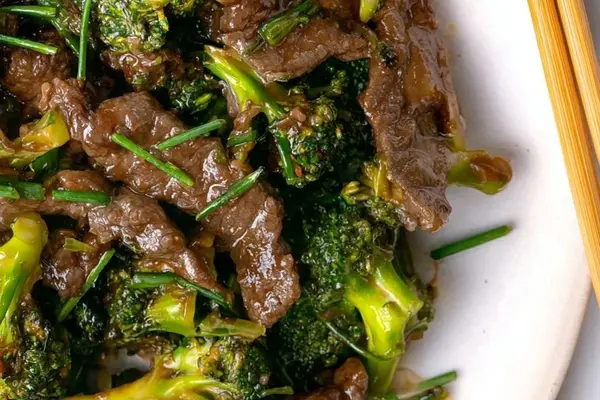
Beef and Broccoli Stir Fry Recipe

Cookie Dough Truffles with Bittersweet Chocolate
Homemade Self-Rising Flour Blend Recipe

Buffalo Chicken Dip with Blue Cheese
Blueberry Muffins with Yogurt and Honey