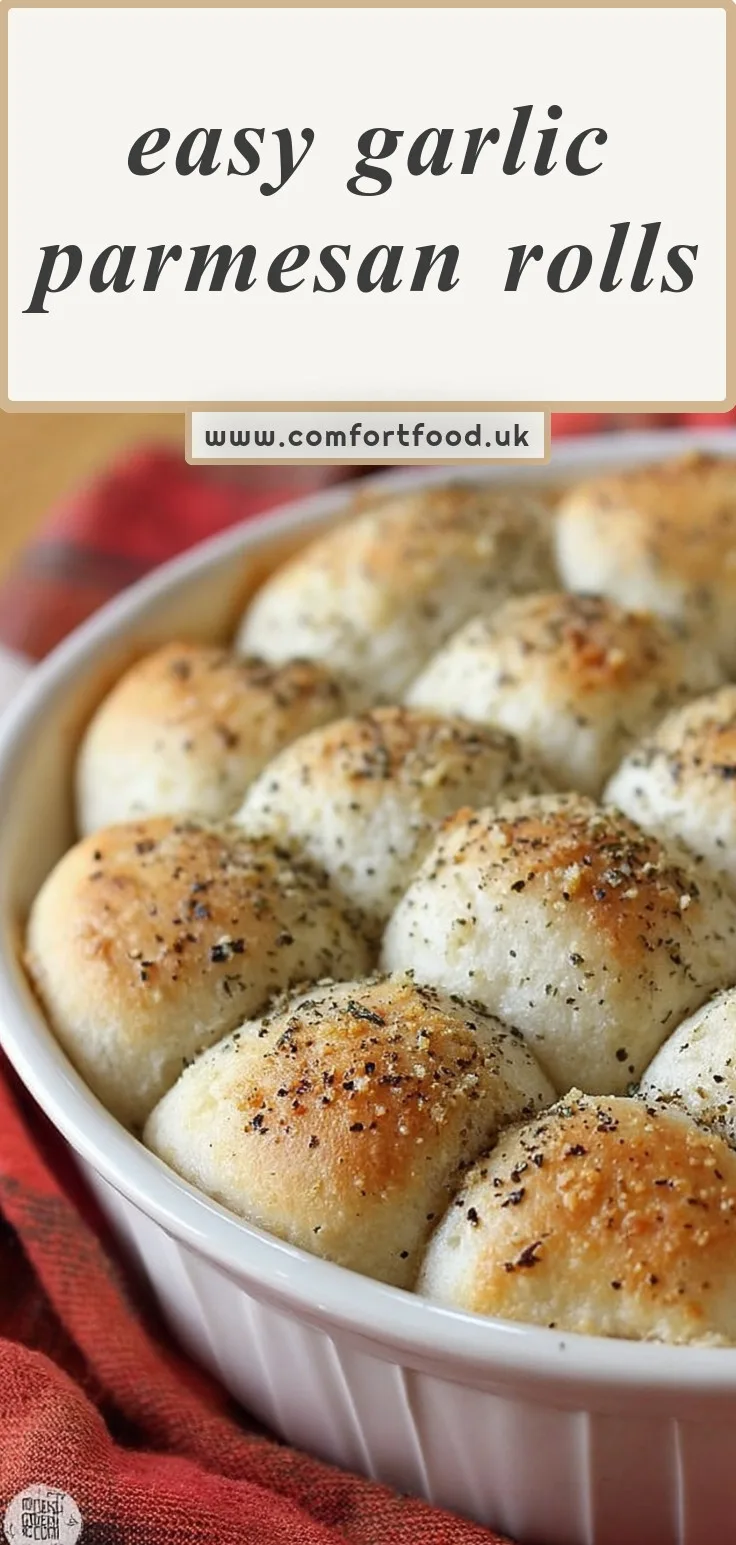
Easy Garlic Parmesan Rolls
By Emma
Certified Culinary Professional
·
Recipe tested & approved
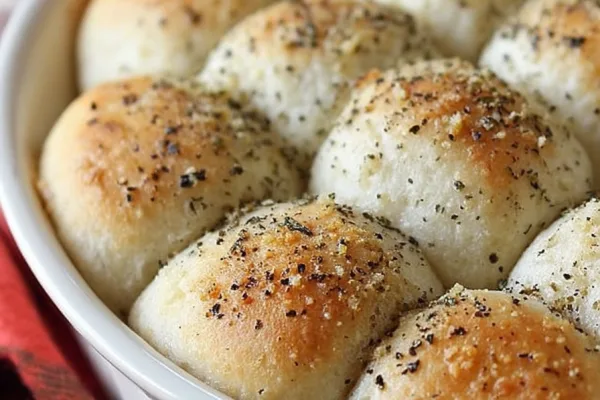
Easy Garlic Parmesan Rolls use a simple blend of milk, butter, yeast, and Parmesan for soft, golden bread rolls baked at 375°F in 20 minutes. Twelve servings with poppy seed garnish provide an aromatic finish.
Prep:
70 min
Cook:
20 min
Total:
90 min
Servings:
12 servings
I made these garlic Parmesan rolls last Tuesday and honestly they’re the kind of thing I’ll keep making because they don’t ask much from you but they taste like you tried. The dough comes together fast and the Parmesan gets this salty crust that’s weirdly addictive.
Why You’ll Love This Recipe
- Takes 90 minutes start to finish, most of that is just waiting
- Uses 3/4 cup flour to start then you add more as you go, so you’re never drowning in a sticky mess
- The garlic powder goes into the dough itself, not just brushed on top, which means every bite has it
- Poppy seeds give you this tiny crunch you don’t expect but it works
- These garlic rolls pull apart easily because you bake them touching in an 8-inch pan
- You can taste the Parmesan bread flavor before they even come out of the oven
The Story Behind This Recipe
I needed easy dinner rolls for a work thing and didn’t want to deal with anything complicated. I’ve made bread before but I wanted something that wouldn’t punish me if I was tired, which I was. The thing that surprised me is how much the 10-minute rest after kneading actually matters—it makes the dough so much easier to shape into those tight balls and they don’t fight back. I brushed extra butter on after baking even though the recipe doesn’t specifically say to, and that’s become my move now. These turned out better than I expected for something that uses dry yeast and a microwave to warm the milk.
What You Need
You’re starting with 3/4 cup all-purpose flour and that’s not a typo. You add more later but this first amount keeps the dough manageable when you’re mixing it with the wet stuff. I used to dump it all in at once and regretted it every time.
The tablespoon of sugar feeds the yeast but it’s not making these sweet. You need 1 teaspoon of dry yeast, the kind that comes in those little packets or a jar you keep in the fridge. I always check the date because dead yeast is a waste of everyone’s time.
Salt is 1/4 teaspoon and the garlic powder is also 1/4 teaspoon, which sounds small but it goes into the dough itself so it’s everywhere. That’s the whole point of these garlic rolls actually.
For liquid you’re heating 1/2 cup milk and 1/4 cup water with 2 tablespoons of butter until it hits somewhere between 120° and 130°F. The butter won’t melt all the way and that’s fine. You’ll add about another 1/2 cup of flour as you go, just enough to make the dough stop sticking to everything.
The 1/4 cup Parmesan cheese goes on top before baking and the poppy seeds are just a sprinkle but they give you that little crunch I mentioned before. You’ll want extra butter for brushing after they come out, even though it’s not in the official list.
How to Make Easy Garlic Parmesan Rolls
Mix your 3/4 cup flour with the sugar, yeast, salt and garlic powder in a big bowl. Just stir it around so the yeast doesn’t clump in one spot.
Heat your milk, water, and 2 tablespoons butter in the microwave in 15-second bursts. It should feel very warm on your wrist but not burn you. The butter will still have chunks and that’s what you want.
Pour that warm stuff into the flour and stir it a bit, then use an electric mixer on medium for 2 minutes. It’ll look wet and loose. Add 1/4 cup more flour, crank the mixer to high, and beat it for another 2 minutes until it starts looking thicker and pulling together. Now you stir in the rest of the flour, a little at a time, until the dough forms a ball that leaves the sides of the bowl.
Dump it onto a floured counter and knead for 6 to 8 minutes. Your hands will get tired but the dough will go from shaggy to smooth and it’ll bounce back when you poke it. That spring-back thing is how you know it’s done.
Cover it with a towel and let it sit for 10 minutes. This rest makes shaping so much easier and I don’t skip it anymore. While it’s resting I usually grease my 8-inch pan.
Cut the dough into 12 pieces and roll each one into a tight ball. Cup your hand over each piece and roll it against the counter in little circles until the surface gets taut. Arrange them in the greased pan close together but not smashed, cover with the towel again, and let them rise about 30 minutes until they’ve doubled and they’re touching each other.
Melt that last tablespoon of butter and brush it over the risen dough. The surface will look shiny and you’ll hear these tiny crackles as the butter sinks in, which is weirdly satisfying. Sprinkle the Parmesan cheese evenly over everything and then scatter poppy seeds on top.
Bake at 375ºF for 20 minutes. They’ll turn this color that’s more than tan but not quite deep brown, and if you tap one it sounds hollow. Pull them out, run a knife around the edge, and flip the whole thing onto a rack. I always brush more melted butter on top at this point because why wouldn’t you.
What I Did Wrong the First Time
I didn’t let the dough rest after kneading and I tried to shape the balls immediately. They kept springing back and wouldn’t hold their shape, and I got frustrated and just threw them in the pan looking like lumpy disasters. They baked fine but they weren’t those tight round Parmesan bread rolls I was going for, just weird blobs touching each other. That 10-minute rest isn’t optional, it’s the thing that makes shaping possible without fighting the dough the whole time.
Easy Garlic Parmesan Rolls
Prep:
70 min
Cook:
20 min
Total:
90 min
Servings:
12 servings
Ingredients
- 3/4 cup all-purpose flour
- 1 tablespoon sugar
- 1 teaspoon dry yeast
- 1/4 teaspoon salt
- 1/4 teaspoon garlic powder
- 1/2 cup milk
- 1/4 cup water
- 2 tablespoons butter, divided
- additional all-purpose flour, about 1/2 cup
- 1/4 cup Parmesan cheese
- poppy seeds
Method
- 1 Measure 3/4 cup flour, sugar, dry yeast, salt, and garlic powder into a large mixing bowl and stir gently to combine all dry ingredients evenly.
- 2 Heat milk, water, and 2 tablespoons of butter in a microwave-safe bowl in 15-second bursts until the mixture feels very warm but not hot, testing around 120° to 130°F. Butter should still be partly solid.
- 3 Pour the warm milk mixture into the dry ingredients and stir briefly. Use an electric mixer at medium speed for 2 minutes, scraping sides occasionally to incorporate flour evenly.
- 4 Add 1/4 cup flour; increase mixer speed to high and beat for 2 minutes until the dough thickens noticeably. Stir in just enough of the remaining flour to bring the dough together into a ball that pulls from the sides.
- 5 Turn the dough onto a lightly floured surface and knead by hand for 6 to 8 minutes. The texture should become elastic and slightly tacky. Press lightly with two fingers and notice it springs back quickly, showing proper gluten development.
- 6 Cover the dough with a clean towel and let it rest for 10 minutes to relax the gluten, which helps with shaping later.
- 7 Divide the dough into 12 equal pieces. Shape each portion into a tight ball by cupping hands around and rolling against the counter to build surface tension.
- 8 Arrange the dough balls in a greased 8-inch round or square pan. Leave space but keep them close enough to gently touch when they rise.
- 9 Cover the pan with a towel and let the dough rise in a warm spot until doubled in size, about 30 minutes. You’ll see the dough puff and fill the pan, surface looking shiny and slightly domed.
- 10 Once risen, melt the last tablespoon of butter in a microwave-safe dish. Brush this butter lightly over the dough surface, listening for quiet crackles as it soaks in.
- 11 Sprinkle 1/4 cup Parmesan cheese evenly across the buttered rolls and finish with a scattering of poppy seeds for a slight crunch and color contrast.
- 12 Preheat oven to 375ºF. Place the pan in the oven and bake the rolls for 20 minutes or until golden brown spots appear and the rolls sound hollow when tapped.
- 13 Remove the pan from the oven. Run a knife around the edges to loosen the rolls, then flip the entire batch onto a wire rack.
- 14 Brush additional melted butter on the tops if you want extra richness. Serve the rolls warm, smelling deeply of garlic and fresh Parmesan—the crust slightly crisp, interior tender and inviting.
Nutritional information
Calories
145
Protein
3g
Carbs
18g
Fat
7g
Tips for the Best Easy Garlic Parmesan Rolls
The temperature of your milk mixture actually matters more than I thought it would. If it’s under 120°F the yeast just sits there doing nothing, and if it’s over 130°F you’ll kill it and wonder why your dough never rose. I test it on my wrist like you would baby formula.
When you’re adding that last half cup of flour, stop before you think you should. The dough should still feel slightly tacky when you dump it out to knead, not dry. You can always add more flour on the counter but you can’t take it back out once it’s mixed in.
Don’t skip greasing the pan even if it’s nonstick. I tried it once and spent 10 minutes prying garlic rolls out in pieces, which defeated the whole pull-apart thing they’re supposed to do.
The butter you brush on after baking seeps into those little cracks between rolls and creates these pockets of flavor that the pre-bake butter doesn’t give you. It’s redundant on purpose.
Your 8-inch pan can be round or square, doesn’t matter, but the rolls need to be close enough to touch when they rise or they’ll spread out flat instead of puffing up tall.
Serving Ideas
I tore one of these apart and used it as a base for a fried egg sandwich the morning after I made them. The Parmesan bread flavor with a runny yolk was better than I expected.
They’re also good split horizontally for slider buns if you’re doing a party thing. The garlic powder in the dough means you don’t need to season the meat as much.
Sometimes I just eat one warm with more butter and call it a snack. They’re small enough that it doesn’t feel like you’re eating a whole meal but substantial enough that you’re not hungry 20 minutes later.
Variations
You can swap the Parmesan for shredded cheddar but it’ll melt differently and you won’t get that salty crust, just melted cheese that might burn in spots. I tried it once and went back to Parmesan.
Replacing garlic powder with fresh minced garlic sounds better but it throws off the moisture in the dough. You’d need to reduce the milk slightly and I haven’t figured out the exact amount yet.
If you want them sweeter you can up the sugar to 2 tablespoons and they’ll turn into something closer to Hawaiian rolls with a garlic twist. My coworker did this and people liked them but they’re not really dinner rolls anymore.
Sesame seeds instead of poppy seeds work fine and give you more crunch. The flavor’s a little nuttier but it doesn’t clash with anything.
FAQ
Can I use instant yeast instead of dry yeast?
Yes, use the same amount and you can skip heating the milk to 120°F, just make it warm to the touch. Instant yeast doesn’t need that specific temperature range to activate.
What if I don’t have an electric mixer?
You can stir it really hard with a wooden spoon for the same amount of time but your arm will be tired. The mixer just develops the gluten faster and more evenly.
Can I make the dough the night before?
After the first knead, put it in the fridge in a greased bowl covered with plastic wrap and it’ll rise slowly overnight. Let it come to room temperature for 30 minutes before you shape it into balls.
How do I know when the rolls are actually done baking?
Tap the top of one with your knuckle and it should sound hollow, not dense. The color should be deeper than tan but not dark brown, and the Parmesan will have some toasted spots.
Can I freeze these after baking?
Once they’re completely cool, wrap them tight in foil and freeze for up to a month. Reheat in a 300°F oven for about 15 minutes still wrapped, then unwrap and give them 2 more minutes to crisp up.
What do I do if my dough is too sticky after adding all the flour?
Add another tablespoon or two of flour while kneading until it stops sticking to your hands. Every flour brand absorbs liquid differently so you might need more than the recipe says.
Can I bake these in a different size pan?
A 9-inch pan will work but the rolls won’t touch as much during rising so they’ll be slightly wider and flatter. They’ll still taste the same, just different shape.
Why didn’t my dough rise during the 30-minute wait?
Your yeast was probably dead or the room was too cold. Yeast needs warmth to work, so if your kitchen is under 70°F put the covered pan in an oven that’s off with just the light on.
Can I leave out the poppy seeds?
Yeah, they’re just for looks and a tiny crunch. The rolls will taste exactly the same without them.
What’s the best way to reheat leftover rolls?
Wrap them in a damp paper towel and microwave for 15 seconds, or put them in a 325°F oven for 5 minutes. The microwave is faster but the oven gives you back some of that crust.
Can I use margarine instead of butter?
You can but the flavor won’t be as rich and the butter brushed on top is part of what makes these taste good. Margarine just doesn’t sink in the same way.
How do I store these if I’m not eating them right away?
Let them cool completely, then keep them in a sealed bag or container at room temperature for 2 days. After that they start getting dry.
Why do I need to flip the whole pan onto a rack?
The bottoms of the rolls get the most color and flipping them lets air circulate so they don’t get soggy sitting in the pan. Plus it’s easier to brush butter on the tops that way.
Can I double this recipe?
Yes, but mix each batch separately because the dough gets hard to handle if you try to knead a double batch at once. You can bake both pans at the same time if they fit in your oven.
What if I don’t have garlic powder?
You could use onion powder for a different flavor or just leave it out entirely and these become plain Parmesan rolls. The garlic is what makes them garlic rolls though.
Is there a way to make these without a microwave to heat the milk?
Heat the milk, water and butter in a small saucepan on the stove over low heat. Just watch it closely because it heats faster than you think and you don’t want it boiling.
Can I add herbs to the dough?
A teaspoon of dried Italian seasoning or rosemary mixed in with the dry ingredients works without changing the texture. Fresh herbs have too much moisture and will mess with how the dough comes together.
You’ll Love These Too
Explore all →
Buttermilk Corn Bread Recipe with Cinnamon
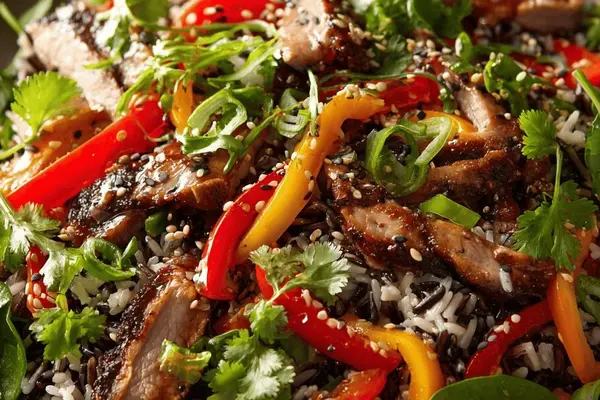
Grilled Pork Chops with Wild Rice & Sesame
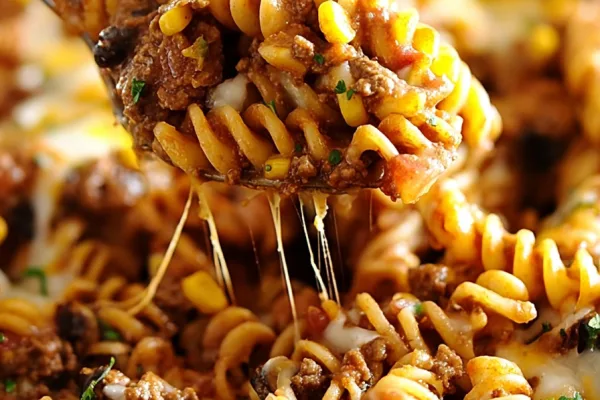
One Pan Taco Pasta

Artichoke Frittata with Goat Cheese

Marshmallow Pecan Fudge Twist Recipe
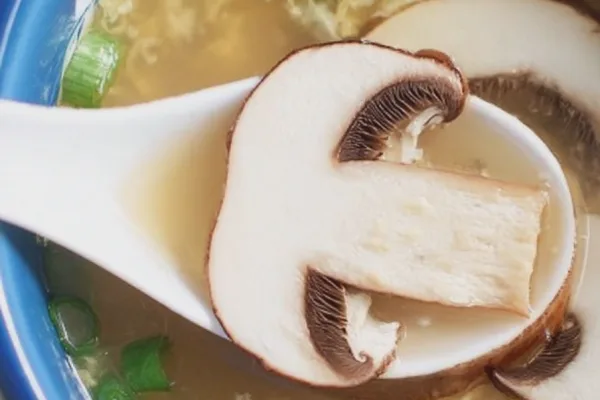
Egg Drop Soup Soy Sauce Mushrooms

Brie and Cheese Puff Pastry Bites

Miniature Brownies with Peanut Butter Frosting
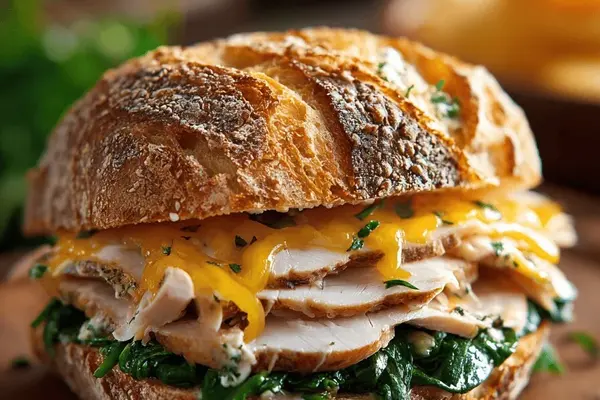
Turkey Cheddar Panini with Garlic Herb Butter
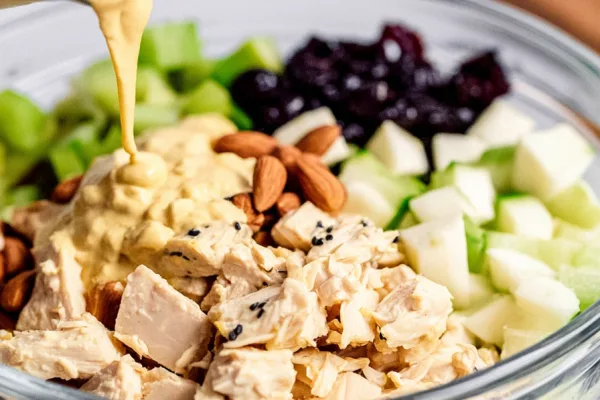
Curried Chicken Salad

Creamy Coconut Mussels with Lemongrass

Rustic Red Velvet Cake with Beet Powder
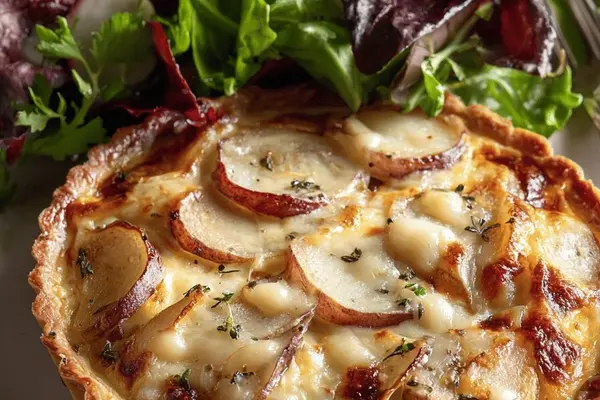
Cheese Casserole Potato with Gruyère

Wonton Filling Recipes with Ground Turkey

Pistachio Maple Croissants with Lemon Glaze
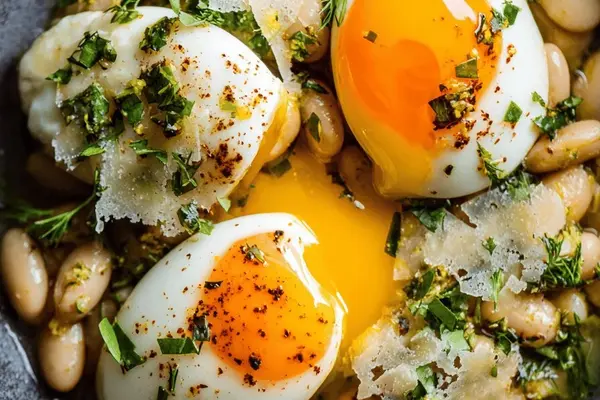
Baked White Beans with Soft Eggs & Lemon

Simplest Beef Lasagna with Ricotta

Cosmopolitan The Drink Recipe
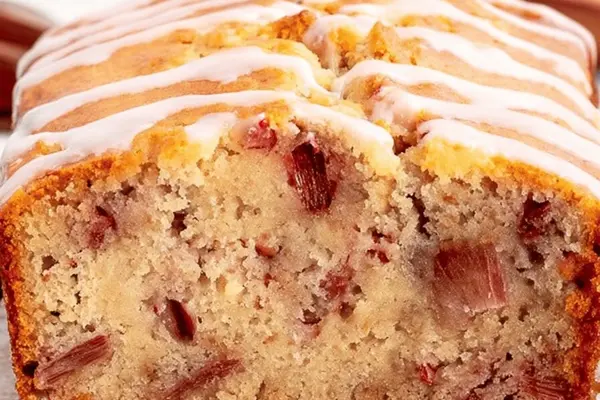
Easy Banana Loaf Recipe with Rhubarb
