Five Banana Bran Bread
By Emma
Certified Culinary Professional
Before You Start
Ingredients
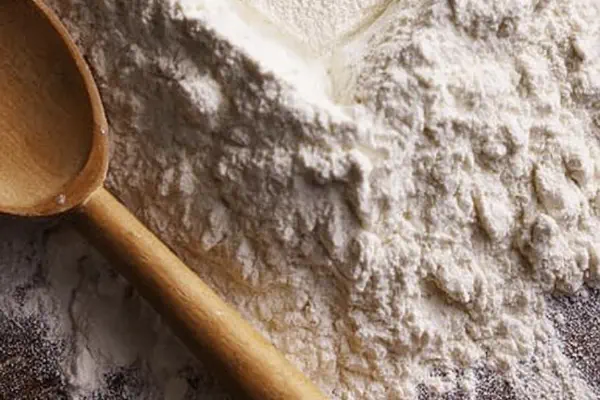
- 360 ml (1 1/2 cups) unbleached all-purpose flour
- 180 ml (3/4 cup) oat flour (can substitute with whole wheat flour)
- 40 ml (2 2/3 tbsp) wheat bran (increase from 30 ml for bite)
- 6 ml (1 1/4 tsp) baking powder (slightly more for rise)
- 6 ml (1 1/4 tsp) baking soda
- 480 ml (2 cups) very ripe mashed bananas (about 5 medium bananas)
- 100 ml (7 tbsp) packed light brown sugar (reduce slightly from original)
- 60 ml (1/4 cup) plain yogurt (0% fat; Greek yogurt works but thickens batter)
- 45 ml (3 tbsp) canola oil
- 2 large eggs
- Optional twist: 30 ml chopped toasted pecans or walnuts for crunch
In The Same Category · Breads
Explore all →About the ingredients
Method
- Rack placement mid-oven. Preheat oven at 175°C (350°F) because slight decrease helps prevent overbrowning on edges before inside cooks.
- Grease 25 x 10 cm (10 x 4 inch) loaf pan. Line with parchment, letting edges overhang two sides for easy lift-out.
- In medium bowl, whisk flours, bran, baking powder, baking soda. No lumps. Set aside.
- In large bowl, blend mashed bananas, brown sugar, yogurt, oil, eggs with electric mixer until smooth but don’t overbeat. Look for well-integrated wet mixture; fluffy not necessary.
- Add dry mix in two portions at low mixer speed or fold gently with spatula. Stop mixing as soon as flour disappears—overmixing makes dense tough crumb.
- Stir in optional nuts if using—adds textural contrast. Bananas provide moisture; nuts cut through softness.
- Pour batter into pan, smooth top with wet spatula. Batter thick but spreadable. Run knife through middle if batter domes to help even rise.
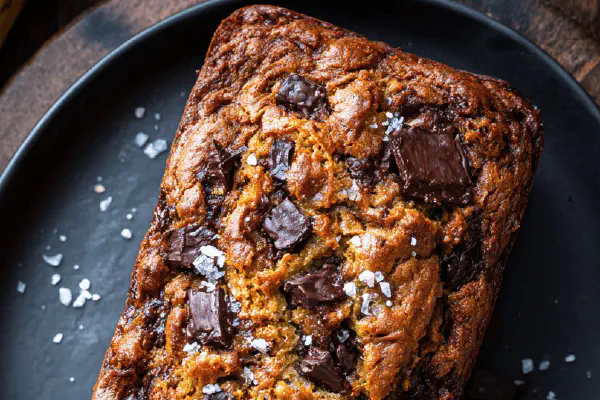
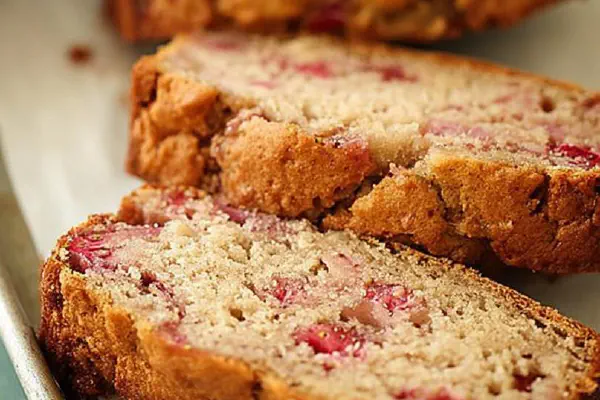
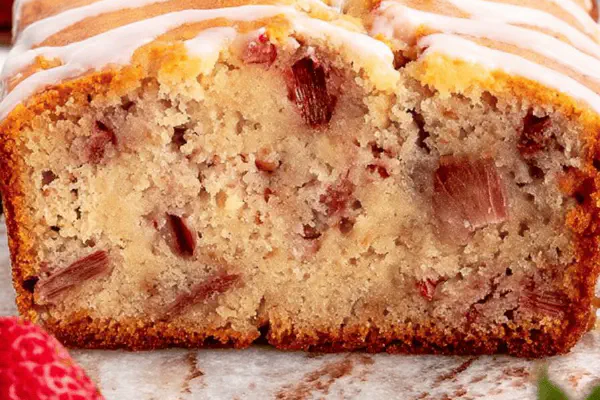
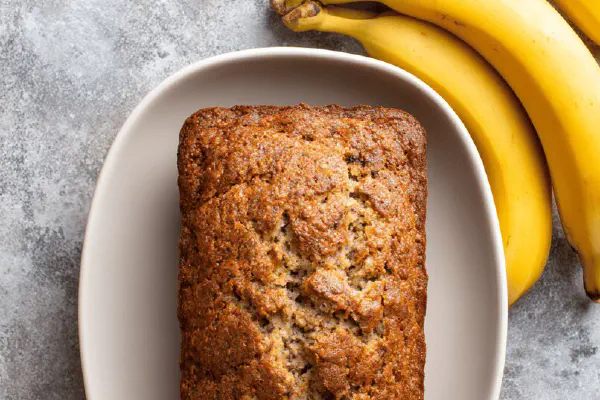
- Bake about 1 hr 15 minutes. Oven sounds change as bread browns and moisture decreases—a slow crackling starts. Edges turn golden brown, center springs back lightly when pressed.
- Test doneness with wooden skewer pushed into center. Must come out clean or with just few moist crumbs. Underbaked shows wet batter—back in oven a bit longer.
- Cool loaf on wire rack 15 minutes, still in pan. Then lift gently with parchment edges. Let cool another 20-30 mins fully before slicing. Warm slices often gummy.
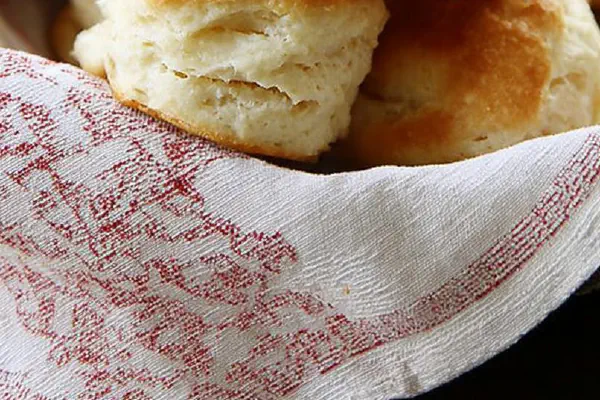
- Store wrapped in tea towel or loose plastic to avoid drying. Can freeze sliced in airtight bag.
- If bananas aren’t ripe enough, bake slightly longer. Too ripe makes more liquid—reduce yogurt by 15 ml in that case.
- Pro tip: toast bran lightly in dry pan before adding to intensify flavor and crunch.
- To switch oil: mild olive oil or melted butter fine. Butter adds richness but can caramelize faster on crust.
Cooking tips
Chef's notes
- 💡 Mid-oven rack placement matters; avoids overbrowning edges before crumb cooks. Oven set at 175°C not 180°C slows caramelization, evens bake. Watch oven sounds too—slow crackling signals moisture leaving. Use parchment edges to lift loaf easy, less tearing. If batter domes, run knife through middle; helps even rise, stops top cracking unexpectedly.
- 💡 Mix dry slowly into wet; flour fully gone but don’t overwork. Overmix means dense, tough crumb. Use electric mixer low speed or fold by hand in 2 portions. Wet mix clarity key—fluffy not needed, just well integrated. Greek yogurt thickens batter; add water or milk tablespoon if too stiff. And bran toast in dry pan first; sharpens nutty flavor and adds crunch texture unseen if raw.
- 💡 Baking time about 75 minutes; check skewer early if bananas underripe, may need longer. Skewer clean but with few crumbs ok. Undo batter means bake further. Cool loaf 15 mins in pan on rack; then lift using parchment edges. Let rest 20-30 minutes fully before slicing or crumb pitfalls—too warm means gummy, sticky slices. Wrap bread loosely in tea towel or plastic keeping slight airflow; traps too much moisture = soggy crust.
- 💡 Substitutions work but adjust liquids. Oat flour thicker hydration than whole wheat; swap whole wheat if you want nuttier grain, but batter thickens, resting helps. Maple syrup replaces cassonade sweetener but reduce wet ingredients 1-2 tablespoons to stop sogginess. Butter okay instead of oil but caramelizes faster on crust—watch browning closely. Nuts optional—toast first to deepen flavor, add texture contrast with moist crumb.
- 💡 If bananas too ripe, batter extra wet; reduce yogurt by 15 ml else crumb sinks. Nuts chopped toasted add crunch but might weigh crumb—fold gently near end. Visual cues: crust even golden brown, edges pull slightly from pan, surface springs back lightly to touch. Tent foil if crust darkens fast but interior needs more time. Don’t rush cooling; patience firms crumb, aroma shifts from raw banana green to caramelized banana warmth.
Common questions
How to tell banana ripeness?
Blackened skins best. Yellow with spots not enough. More liquid needs yogurt less. Look for softness too. Overripe bananas smell sweeter but wetter batter. Check before mixing dry in. Less ripe means longer bake times and firmer crumb.
What if batter too thick?
Add tablespoon water or milk if Greek yogurt. Can rest batter few mins if oat flour used; it hydrates slow. Watch folding not mixing too fast. Too thick means dense loaf; thin too much and crumb wet. Adjust liquids gently.
Why does crust burn fast sometimes?
Butter instead oil speeds browning. Oven hot spots. Rack position crucial—mid high better than low. Tent foil mid bake if darkening too much but inside raw. Watch and smell aroma changes; caramel notes replace raw sugar scents. Adjust bake time accordingly.
How best to store leftover bread?
Wrap loosely with tea towel or plastic. Tight plastic traps moisture—crust soggy. Freeze slices individually in airtight bag. Thaw at room temp. Can toast frozen slices for quick refresh. Avoid room temperature drying by wrapping but keep air flow to prevent mushy crust.
