Iced White Chocolate Mocha with Lemon Zest

By Emma
Certified Culinary Professional
·
Recipe tested & approved
Heat milk until it’s just about to boil — don’t let it actually bubble. Pour it over chopped white chocolate, wait a beat, then stir until it goes completely smooth. That’s the base. Then comes the weird part: the waiting. Five hours in the fridge sounds long. Tastes worth it.
Why You’ll Love This White Chocolate Mocha Drink
Makes an iced chocolate drink that actually tastes like something — not watered-down sweet. Nobody expects the lemon. It changes everything. Works hot or cold depending on the day and what you’re feeling. The citrus keeps it from getting cloying the way white chocolate usually does. No bake. No machines. Just milk, chocolate, and time doing the work for you. Takes 22 minutes of actual hands-on time spread out over a day. The refrigerator does most of it. Color shifts when you pour it — that green to white swirl thing happens every time and it still looks good.
What You Need for a White Chocolate Mocha
Whole milk. Not skim. The fat matters when chocolate’s involved. White compound chocolate — five and a half ounces, chopped into chunks. Regular white chocolate works too but compound melts smoother. No grainy texture that way. Green food coloring. Eight drops. That’s the specific amount — more and it tastes chemical, less and it barely shows. Lemon zest infusion. Five drops. This is the move that makes it taste different. Not like regular mocha, like something you can’t quite name but want more of.
How to Make a White Chocolate Mocha Base
Heat three-quarters cup of milk in a saucepan. Medium heat. You’re watching for the steam, not a rolling boil — there’s a difference and it matters. When it starts steaming hard, stop.
Off heat goes the chocolate. All of it at once into the hot milk. Don’t stir yet. Let it sit for thirty seconds. The heat softens everything.
Now stir. Gently. Low heat if you need it, but usually just stirring works. The chunks disappear. Takes maybe a minute. Two minutes max. When you see no white bits, you’re done.
How to Get the Color and Flavor Right
Pull it off heat. Pour in the rest of the milk — the cold milk that’s been sitting out. Stir it together. It’ll cool down fast once you add the cold part.
Into the fridge it goes. Five hours minimum. Six is better. The chocolate settles and the flavors do something overnight basically. Temperature matters — it has to be cold when you strain it.
Strain it through a fine sieve into a clean bowl. You’re catching the bits that didn’t dissolve all the way. Discard them. The milk should be pale and smooth now, almost white.
Green food coloring goes in — eight drops, counted. Lemon zest infusion next — five drops. Whisk it fast. The color blooms out from wherever the drops landed. Keep whisking until it’s even. The drink gets this pale green thing happening that shifts when light hits it.
White Chocolate Mocha Tips and Mistakes
Use cold milk for the second half or the chocolate gets grainy. Hot milk added to hot chocolate just keeps everything smooth and blendable. Cold stops it.
Straining isn’t optional. Those little solid bits ruin the texture. Fine sieve or cheesecloth — whatever you have that actually filters.
The lemon infusion is five drops exactly. Three drops tastes like nothing. Eight drops and it fights the chocolate. Five is the balance.
Don’t skip the waiting. Five hours isn’t arbitrary. The chocolate needs time to fully set and distribute evenly through the milk.
Green coloring should be food-grade liquid. Gel works but you need less. Start with four drops if you’re using gel.
Store it in a pitcher or bottle. Stir before pouring every time — the color settles toward the bottom. That’s normal.
Serve it cold. Over ice if you want it even colder. Straight from the pitcher if you like it just chilled. Both work.
Iced White Chocolate Mocha with Lemon Zest
Prep:
22 min
Cook:
6 min
Total:
28 min
Servings:
3 servings
Ingredients
- 525 ml (2 1/4 cups) milk
- 150 g (5 1/2 oz) white compound chocolate, chopped roughly
- 8 drops liquid green food coloring
- 5 drops lemon zest infusion
Method
- 1 Heat 175 ml (3/4 cup) milk in saucepan until just boiling.
- 2 Remove from heat. Add rough-chopped white compound chocolate.
- 3 Stir gently on low heat until all chunks dissolve fully, no lumps.
- 4 Take off heat. Pour in remaining milk and stir well to combine.
- 5 Cover, refrigerate mix for 5 hours to chill thoroughly.
- 6 Strain cold milk mixture through fine sieve into bowl. Discard bits.
- 7 Add green food coloring and lemon zest infusion.
- 8 Whisk briskly for vibrant color and flavor.
- 9 Return colored milk to serving pitcher. Stir occasionally before pouring.
- 10 Serve chilled. Color shifts slightly on movement.
Nutritional information
Calories
280
Protein
9g
Carbs
30g
Fat
14g
Frequently Asked Questions About White Chocolate Mocha
Can I make this as a hot white chocolate mocha instead of iced? Yeah. Just skip the refrigeration and serve it warm. Add the coloring and lemon right before drinking. Tastes different though — less smooth somehow. Cold version is better.
Will this work with regular milk chocolate instead? Probably, but it won’t be a white chocolate mocha anymore. Regular chocolate doesn’t need the lemon to balance it out.
How long does it actually stay good? Three or four days in the fridge. After that it separates a bit and tastes flat.
Can I use white chocolate chips instead of compound chocolate? Compound chocolate melts cleaner. Chips have additives that make them chunk up. You’d need to strain it harder, deal with grittiness. Not worth the hassle.
What if I don’t have lemon zest infusion? This is where it gets tricky. The infusion is specific. You could make your own by zesting a lemon and soaking it in water overnight, then straining. Haven’t tried it that way exactly. Probably works.
Is this similar to a starbucks white chocolate mocha? Not really. Starbucks adds espresso and whipped cream and makes it way sweeter. This is the base, basically. No coffee. The chocolate and lemon are the whole point.
Can I scale this up for a crowd? Sure. Double everything. Follow the same ratios. The five-hour chill still applies — don’t try to rush it.
You’ll Love These Too
Explore all →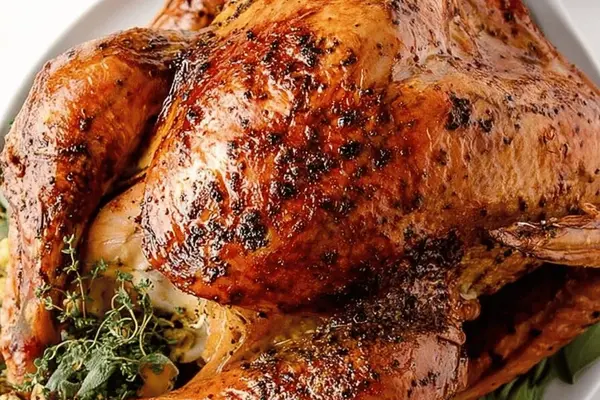
Herb Butter for Turkey | Fresh Herbs
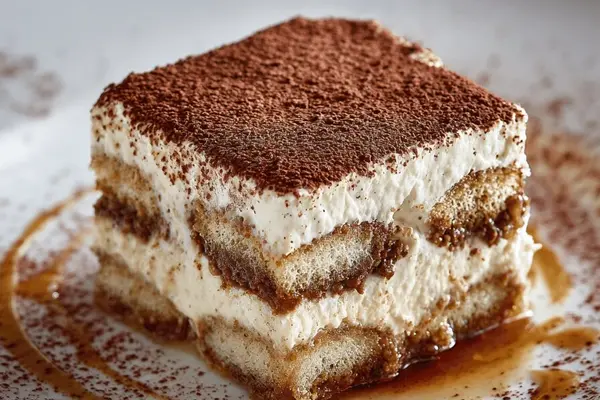
Tiramisu Dessert with Ricotta & Espresso

Fish Tacos with Cod, Pineapple & Cilantro
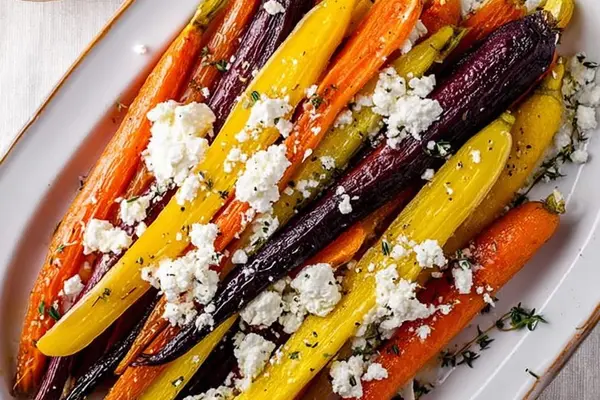
Roasted Carrots with Ricotta and Lemon
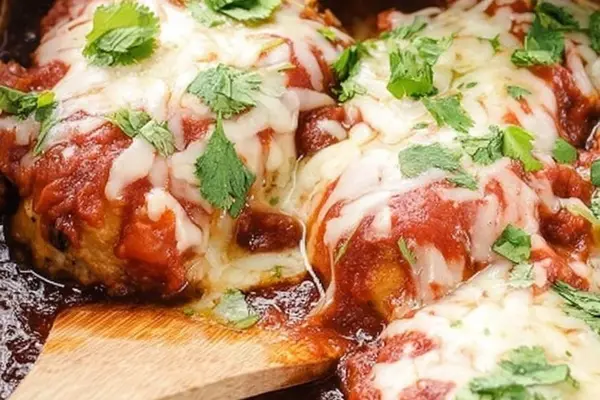
Salsa Chicken Bake with Cheddar Cheese
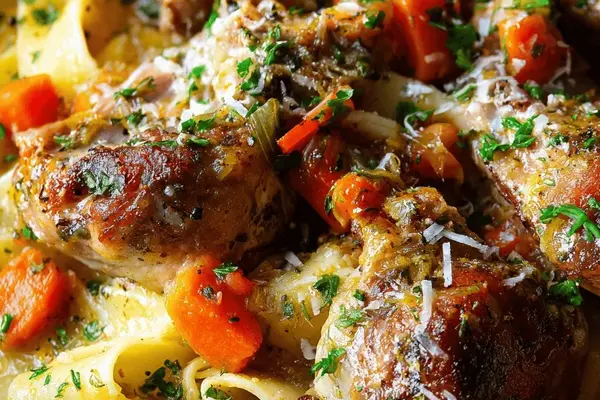
Braised Rabbit Pappardelle with White Wine
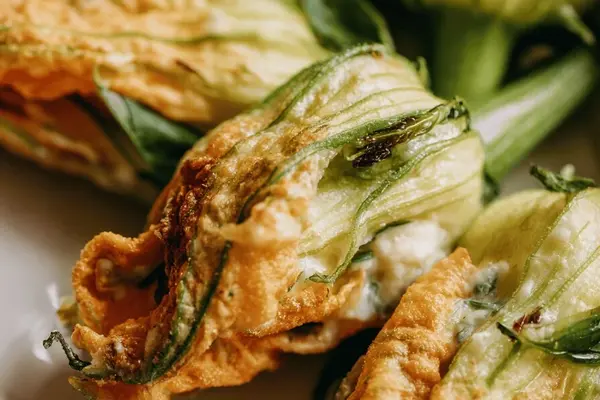
Stuffed Zucchini Flowers with Fennel
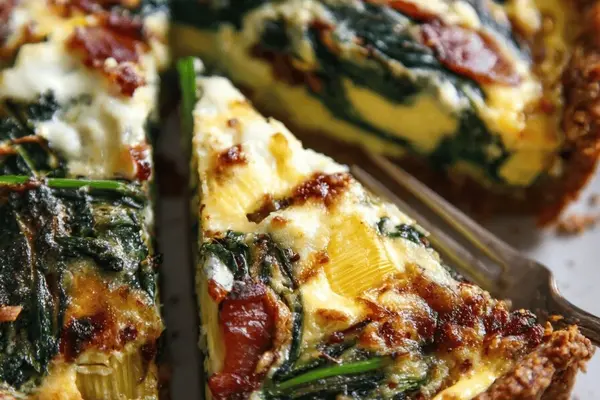
Quiche Lorraine Pie with Bacon & Swiss Chard
Turkey Stuffing Recipe with Moroccan Pastilla

French Toast Casserole with Cranberry Pecan

Cheddar Bacon Hash Brown Casserole
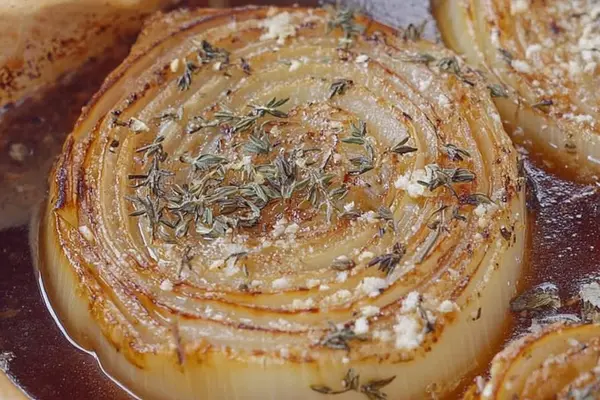
Rustic French Baked Onions with Gruyère
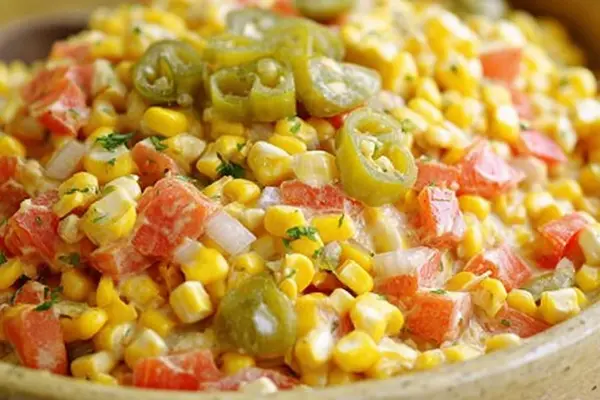
Creamy Maque Choux Recipe with Coconut Milk
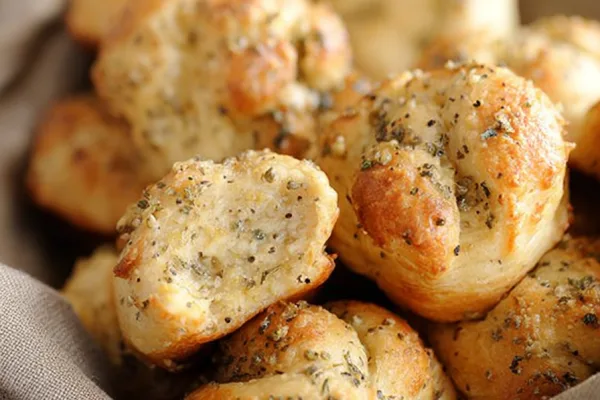
Garlic Parmesan Knots
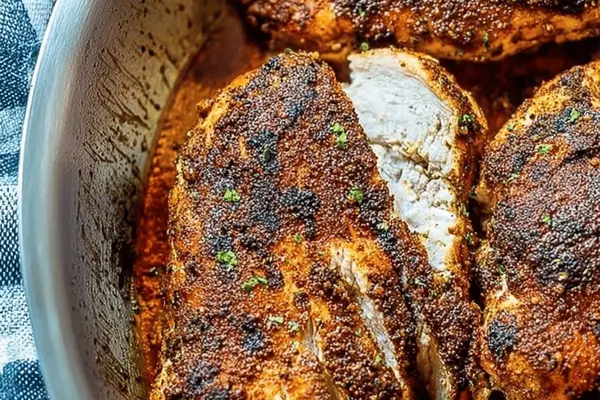
Chicken Wing Rub with Paprika & Cayenne
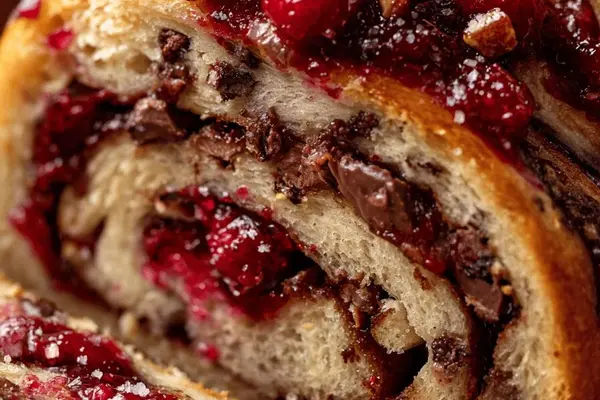
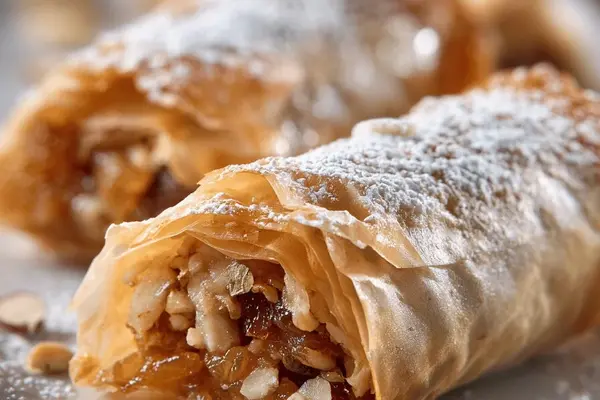
Cranberry Chocolate Pull-Apart Bread
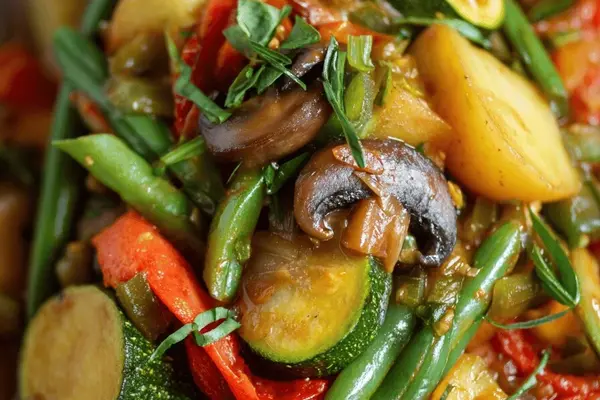
Vegetarian Slow Cooker Meals with Potatoes
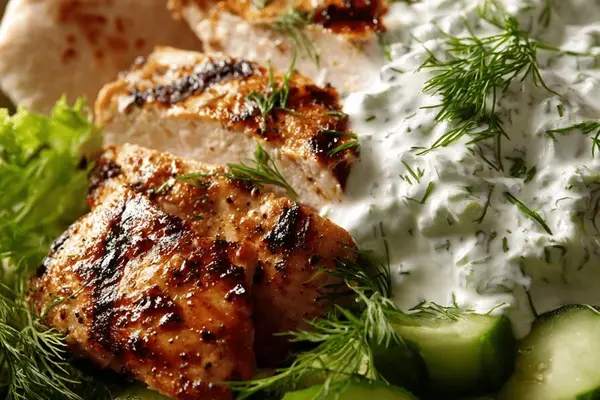
Grilled Chicken Tzatziki Pita with Cucumber
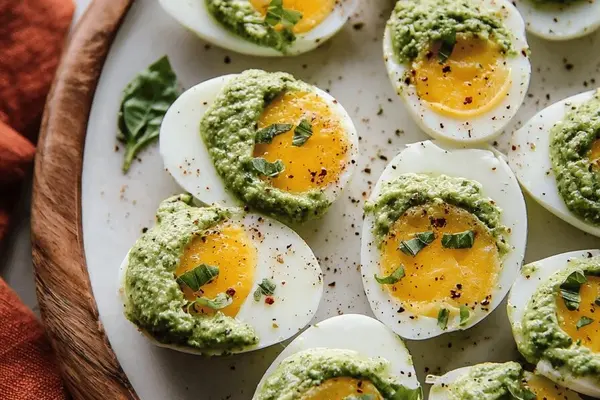
Spinach Pesto Egg Dollops with Pecorino