Halloween Rice Krispie Cake with Marshmallow
By Emma
Certified Culinary Professional
·
Recipe tested & approved
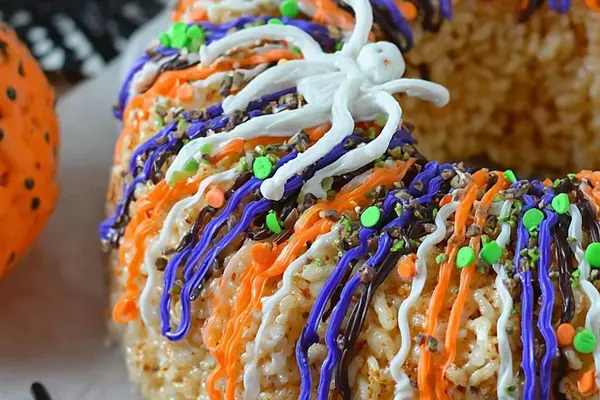
Spooky Halloween rice krispie cake with marshmallow creme filling and Rice Krispies cereal. No bake dessert shaped in a bundt pan, decorated with frosting and sprinkles for festive fun.
Prep:
10 min
Cook:
12 min
Total:
22 min
Servings:
12 servings
Melt the butter first. Half tablespoon in the bundt pan — brush it everywhere so nothing sticks later. Then the rest goes into a pot with marshmallows. This is a 22-minute thing if you move, mostly waiting around for it to set. Had three friends over last October, needed something fast that didn’t require an oven. This happened, turned into the thing I make every year now.
Why You’ll Love This Halloween Rice Krispie Cake
No oven. That’s huge for a party dessert when your kitchen’s already a mess. Takes 10 minutes of actual work.
Works perfectly vegetarian — no weird ingredients hiding in the marshmallows. Just check the bag to be sure.
Tastes better the next day. Most no bake desserts get stale, this one tightens up and gets better texture. Not sure why.
The bundt pan shape looks way harder to make than it is. People think you spent actual time on it.
Customizable before people even get there — swap the filling for Nutella, peanut butter, chocolate spread. Change the frosting color to match your theme. Takes the same amount of time, looks like you planned for weeks.
What You Need for Halloween Rice Krispie Treats
Butter. Five tablespoons total. Use the real stuff, not margarine — it actually tastes like something.
Mini marshmallows. Four cups. Regular marshmallows work but you’ll be stirring forever. If you want it gooier, dump in three cups of marshmallow fluff instead and skip some of the stirring.
Rice Krispies cereal. Six cups. Puffed rice works if you want less crunch and something lighter. Both taste fine.
Marshmallow creme for the filling. Half cup. This is the stuff in the jar, not the mini marshmallows. Nutella does the job too if you want chocolate, or peanut butter if that’s your thing.
Food coloring gel if you’re doing the frosting route. Optional but it looks better than regular frosting when it’s Halloween.
Colored frosting and sprinkles. Whatever matches your vibe — orange, black, purple, whatever.
How to Make a Halloween Rice Krispie Cake Bundt Pan
Melt one tablespoon butter in the microwave. Just until it bubbles. Pour it straight into the bundt pan and brush it everywhere — sides, bottom, all the crevices. This keeps the whole thing from sticking and makes it slide out clean later.
Now the other four tablespoons. Pot or Dutch oven, medium-low heat, add the mini marshmallows and stir. Constantly. You’re listening for it to go smooth, watching for the grainy chunks to disappear. Takes maybe three minutes. You’ll hear soft bubbling, that’s when you know it’s done.
Pull it off heat right away. Pour in the Rice Krispies and stir fast but not rough — you want every piece coated before it cools and hardens into a brick. If it gets too stiff too fast, set the burner to the lowest heat possible or warm setting and keep stirring. Keeps it workable.
Take about half the mixture and press it into the bundt pan. Bottom, sides, up the edges. Press firmly. You’re making a shell, basically, something that won’t fall apart when you flip it. Patting it even stops weak spots.
How to Get Halloween Rice Krispie Cake Layers Right
Spread the marshmallow creme (or your swap — Nutella works, peanut butter works) into the well you just made. Don’t mix it with the edges. Keep the layers clean and separate.
Rest of the mixture goes on top. Press harder this time, really seal that filling in. No gaps, no holes — otherwise the filling leaks out or the flavor bleeds everywhere and it’s just one weird texture.
Now wait. Room temperature. This is boring but crucial. Try to remove it while warm and the whole thing falls apart like sad confetti. Patience is actually key here. You’ll hear a faint pop as it sets, the texture changes from sticky to firm but still kind of tender. That’s when you know it’s ready.
Use a knife around the edges if it’s being stubborn. Then flip it slow and steady onto your serving plate. Once it’s flipped, don’t mess with it. It’ll hold but don’t disturb it.
No Bake Halloween Desserts Tips and Common Mistakes
The butter in the pan matters. Seems small but it’s the difference between sliding out clean and tearing the whole thing apart.
Stir the marshmallows until there’s actually no graininess. Rushing this step means weird texture throughout. Worth the extra minute.
Don’t skip the cooling. I know it looks done. It’s not. Warm Rice Krispie cake unmolds like sad confetti. Actually learned that the hard way.
Frosting goes on after it’s completely cooled. Even better, chill the cake for 30 minutes and then frost it. Past attempts taught me that warm cake plus frosting equals soggy frosting meltdown in about 20 minutes.
The filling choice changes everything. Marshmallow creme is mild and sweet. Nutella adds chocolate and depth. Peanut butter makes it almost like a candy. All work, depends what you’re feeling.
Store it covered at room temp. Fridge hardens it up and makes it less enjoyable. Next day tastes better anyway if you leave it out.
Halloween Rice Krispie Cake with Marshmallow
Prep:
10 min
Cook:
12 min
Total:
22 min
Servings:
12 servings
Ingredients
- 5 tablespoons unsalted butter, divided
- 4 cups mini marshmallows (substitute 3 cups marshmallow fluff for a gooier texture)
- 6 cups Rice Krispies cereal (or Puffed Rice if you want a lighter crunch)
- 1/2 cup marshmallow creme (for filling; use Nutella for chocolate twist)
- Food coloring gel (optional, for frosting)
- Colored frosting and sprinkles for decoration
Method
- 1 Melt 1 tablespoon butter in the microwave until just bubbling, pour into bundt pan. Use a pastry brush or your fingers to spread butter up sides, prevents sticking later.
- 2 In a large pot or Dutch oven, melt remaining 4 tablespoons butter over medium-low heat. Toss in mini marshmallows. Stir constantly — listen for the soft bubbling, marshmallow should be smooth, no grainy chunks.
- 3 Once melted, remove from heat quickly. Pour in Rice Krispies. Stir fast but gently, coat every piece before mixture cools and stiffens. If too cold, set burner to lowest heat or warm setting to keep pliable while shaping.
- 4 Press half of sticky cereal into bottom and up sides of bundt pan firmly but don’t crush cereal. Creates a sturdy shell and well for filling. Patting evenly prevents weak spots.
- 5 Add marshmallow creme (or your twist: Nutella or peanut butter) into the well. Spread but don’t mix with edges—keeps layers distinct.
- 6 Top with remaining Rice Krispie mixture, pressing down harder than step four, sealing the filling in completely. Look for no gaps or holes—otherwise filling will leak or leak flavor.
- 7 Cool at room temperature. Patience is key here. If you try to remove while warm, cake falls apart like sad confetti. You’ll hear a faint pop as it sets, texture changes to firm but still tender.
- 8 Invert carefully onto serve plate. Slow and steady, use knife along edges if stubborn. Don’t disturb once flipped.
- 9 Decorate with colored frosting and sprinkles. Use piping tips for fun shapes; past attempts taught me to chill cake first to avoid soggy frosting meltdown.
- 10 Serve same day or next for slight firmness increase. Store covered at room temp; fridge makes it hard and less enjoyable.
Nutritional information
Calories
180
Protein
1g
Carbs
27g
Fat
7g
Frequently Asked Questions About Rice Krispie Treats
Can I make this ahead for a party? Yeah. Make it the day before, keep it covered at room temp. Texture actually improves. Frosting and sprinkles go on maybe two hours before people arrive so they don’t get weird and sticky.
What if the mixture is too hard to press into the pan? Set the pot back on the lowest heat. Literally 10 seconds. Stir it, feels better. Don’t let it get hot again or the marshmallows separate and it’s a mess.
Does this work with regular marshmallows instead of mini? Takes longer to melt. Like, way longer. And they’re grainier. Mini marshmallows melt way smoother. Could do it but not worth the extra stirring time.
Can I use marshmallow fluff instead of mini marshmallows? Yeah, three cups of fluff replaces the four cups of minis. Comes out gooier, less structured. Some people like it better. Not sure why it’s different but it is.
Why does mine stick to the pan even with butter? Either the butter coating was too thin, or you didn’t cool it enough before flipping. Or both. Brush that butter everywhere and actually wait for it to pop and set.
How long does this actually stay good? Same day tastes fresh. Next day tastes better. After that it gets hard and loses the texture thing that makes it work. Cover it, eat it within two days.
You’ll Love These Too
Explore all →
Oyster Gratin with Citrus Hollandaise
Rustic Cookie Pie with Chocolate & Pecans

Chocolate Mousse Dessert with Espresso

Chicken Casserole with Green Chilies

Recipe For Chicken Enchilada
Cream Cheese Frosting with Mascarpone
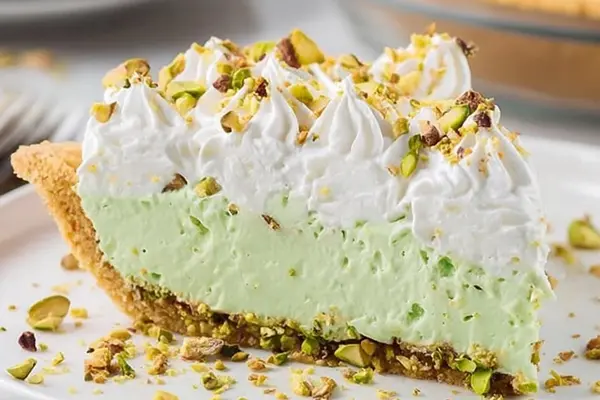
Green Pistachio Cake with Pudding Mix
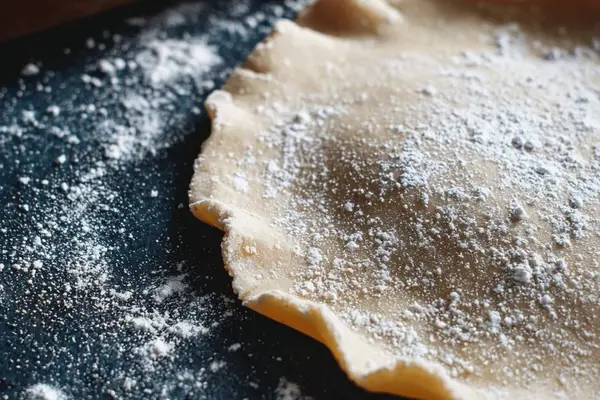
Vegan Pie Crust with Vegan Butter
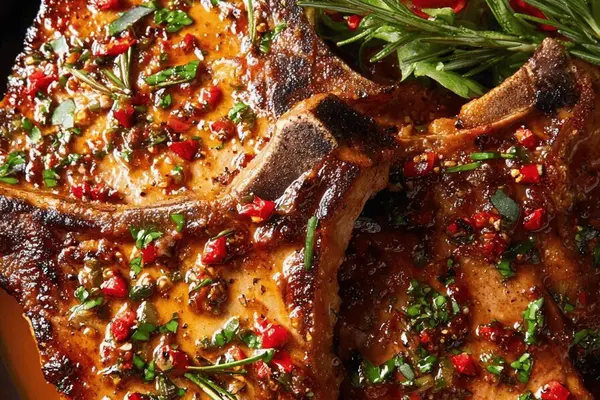
Pork Chops Citrus Fennel Marinade Recipe
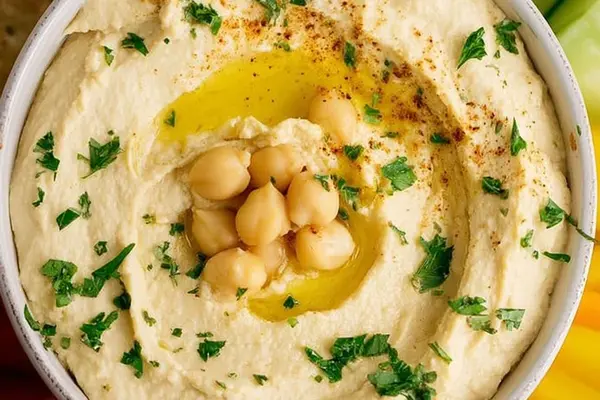
Herb Hummus with Sunflower Seed Butter
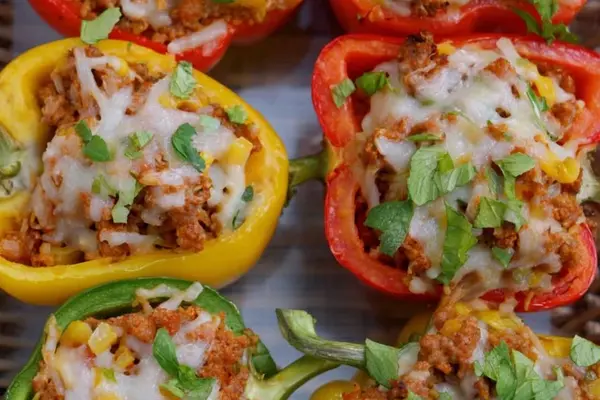
Sausage Stuffed Peppers with Italian Sausage
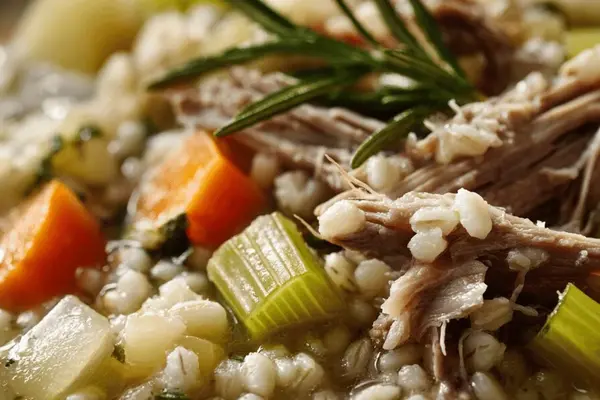
Barley Duck Confit Soup with Leeks
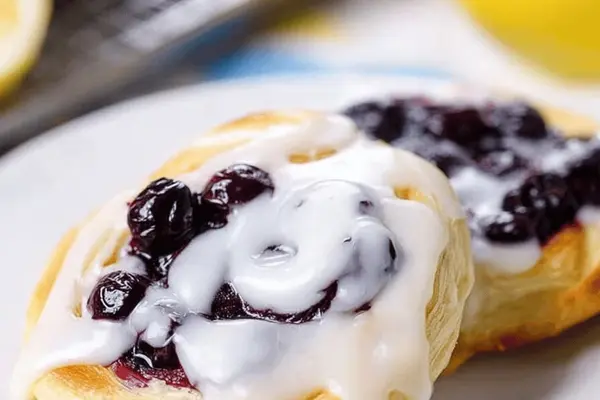
Blueberry Danish with Cream Cheese & Lemon
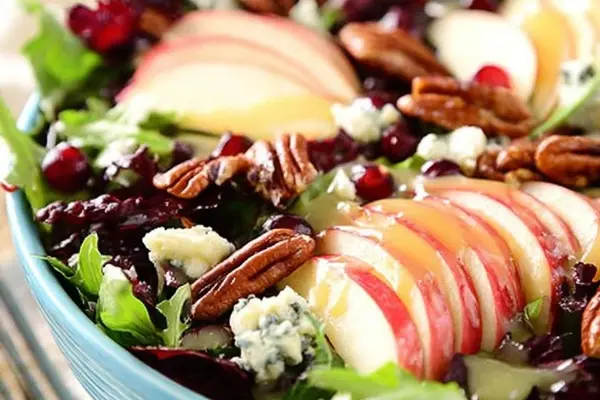
Wendy's Apple Pecan Salad Recipe
Red Wine Sautéed Vegetables with Pancetta
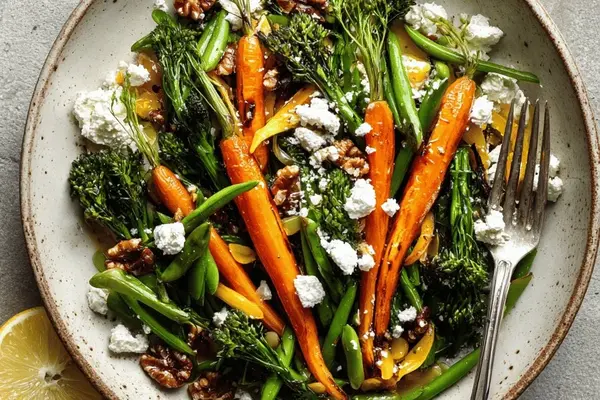
Roasted Vegetable Salad with Feta & Walnuts
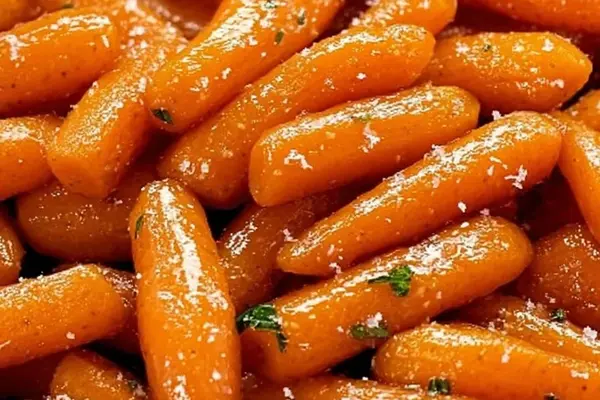
Glazed Carrots with Maple Syrup & Brown Sugar
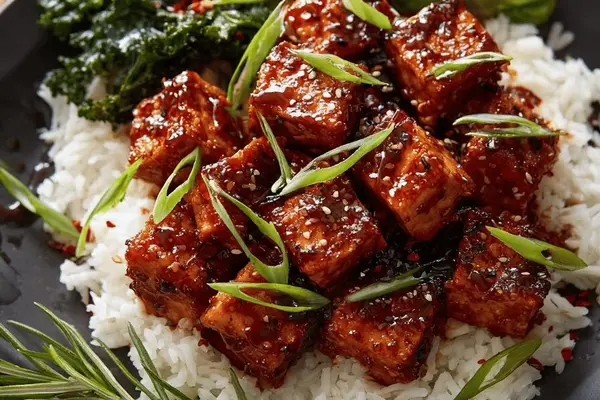
Maple Glazed Tofu with Crispy Cornstarch
Mini Cheesecake Cupcakes with Lemon Frosting