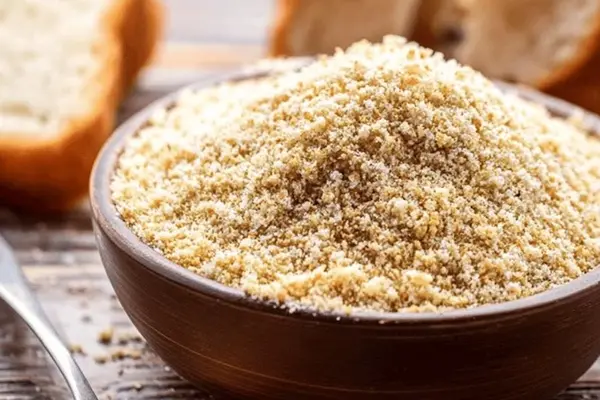
Homemade Crisp Breadcrumbs from Day-Old Bread
E
By Emma
Certified Culinary Professional
•
Recipe tested & approved
Make homemade crisp breadcrumbs from day-old bread chunks with garlic powder and olive oil. Toast until golden and brittle for perfect texture in any coating or topping.
Prep:
6 min
Cook:
28 min
Total:
34 min
Servings:
2 servings
Chunk up day-old bread, toss with salt and maybe garlic powder, bake it slow until it snaps. That’s it. Six minutes prep, 28 minutes in the oven, and you’ve got breadcrumbs that actually taste like bread instead of sawdust from a box.
Why You’ll Love This Homemade Breadcrumb Recipe
Costs almost nothing. Literally just bread you already have. Works for any recipe that calls for breadcrumbs — stuffing, coating fish, topping casseroles, breading chicken, mixing into meatballs, whatever. One ingredient does everything. Actually crispy. Not powdery. The kind that snaps between your teeth and stays that way for weeks in a container. You control what goes in it — garlic or plain, salted or not, olive oil or dry. Store-bought doesn’t let you do that. Vegetarian, gluten-free if you use GF bread, works cold or room temp, keeps for ages if it stays dry.
What You Need for Crispy Homemade Breadcrumbs
Day-old bread. The staler the better — soft white bread, dense sourdough, rye, whole wheat, doesn’t matter. One-inch chunks work for soft loaves. Dense bread like sourdough? Cut closer to half inch so they process evenly.
Olive oil. A tablespoon. Adds depth and helps them get actually crispy instead of just dry. Skip it if you want plain crumbs — works fine either way.
Garlic powder and salt. Optional. A teaspoon of garlic if you want them aromatic. Pinch of salt no matter what. Even plain breadcrumbs need salt.
How to Make Homemade Breadcrumbs from Scratch
Break the bread by hand into chunks — whatever size feels right based on whether it’s soft or dense. Soft bread goes to an inch. Sourdough and rye go smaller, half inch. Matters because you want them to process evenly or they come out uneven grit.
Dump them in a food processor. Pulse. Don’t blend. Pulse. Stop when it looks like coarse sand or fine gravel — whatever crumb texture you want. Too long and it turns to mush. You’ll feel when it’s right.
Spread them on a rimmed baking sheet in one layer. Don’t pile them up. Single layer only. Toss with olive oil if you’re using it, sprinkle garlic powder and salt on top.
Slide it into a 240°F oven. Not 250, not 300. Two-forty. Gentle heat means they dry instead of burn, and the edges stay golden instead of dark brown and bitter.
How to Get Toasted Breadcrumbs Actually Crispy
Bake 20 to 25 minutes. Not a timer — listen. You’ll hear them crackling as the moisture leaves. Smell shifts too — goes from doughy to something nutty and toasted. That’s when you know it’s working.
Stir them every 7, 8 minutes. Matters because the edges of the pan get hotter and some crumbs brown before others. Move the dark ones to the middle. Spread the pale ones out. Even baking.
Watch the color. Golden edges, no raw pale spots. If something looks burned already, pull it out. Some bread toasts faster than others depending on how much moisture was in it to begin with.
Cool them completely on the pan. This is not optional. Crumbs crisp more as they cool. Hot crumbs feel soft. Wait until the pan’s room temperature, then test one by pinching it. Should snap cleanly. If it bends it’s still damp.
Easy Homemade Breadcrumbs Storage and Common Mistakes
Moisture is the enemy. Store them in an airtight container — glass jar, plastic tub, ziplock, doesn’t matter as long as it seals. Keep them somewhere dry. Room temperature is fine. They’ll last weeks. Months if you freeze them, though honestly you’ll use them before then.
Don’t overcrowd the pan. I’ve done this. You think you’re saving time. You’re not. Crumbs steam instead of toasting. They come out soft. Start over.
Don’t use hot bread. Day-old means it’s been sitting out overnight. Room temperature or cold. Hot bread has moisture that turns to steam and makes them chewy instead of crispy.
Don’t skip the stir. Set a timer if you have to. Seven or eight minutes, stir. Burned crumbs at the edges, pale crumbs in the middle is how you know you didn’t move them enough.
Garlic powder is optional but does something. Plain breadcrumbs work for everything. Garlic powder makes them better for breading, for stuffing, for topping things you want to taste rich. Skip it if you want neutral.
Homemade Crisp Breadcrumbs from Day-Old Bread
Prep:
6 min
Cook:
28 min
Total:
34 min
Servings:
2 servings
Ingredients
- 4 cups day-old bread chunks — roughly 1 inch cubes or ½ inch if dense bread like sourdough
- 1 teaspoon garlic powder (optional alternative to plain)
- Pinch salt
- 1 tablespoon olive oil for tossing (optional, adds depth and crispness)
Method
- 1 Set oven rack mid-level; preheat to 240°F instead of higher 250°F so crumbs dry gently, avoid burning edges.
- 2 Break bread down by hand into chunks; 1 inch works for soft bread; dense loaves like rye or sourdough—aim closer to half inch. Smaller chunks prevent uneven processing.
- 3 Load chunks into food processor. Pulse in short bursts; blitzing too long turns crumbs to mush. Stop when crumbs resemble coarse sand or fine gravel, depending on preference. I prefer medium grit, more crunch.
- 4 Spread crumbs on a rimmed baking sheet (avoid overcrowding) in a single, even layer. Toss crumbs with olive oil and sprinkle garlic powder and salt if using for that aromatic twist. No oil? No problem, dry bake.
- 5 Bake 20-25 minutes. Listen for crackling as moisture evaporates. Smell shifts from doughy to toasty nutty. Stir or toss every 7-8 minutes to prevent burning hot spots. Check color: golden edges with no raw patches. If some crumbs brown faster, shift them around.
- 6 Let cool completely on the pan after baking. Crumbs crisp more as they cool. Test by pinching between fingers—should snap cleanly.
- 7 Store fully cooled crumbs in airtight container. Keep dry or freeze for longer storage. Moisture kills crunch fast.
Nutritional information
Calories
120
Protein
4g
Carbs
22g
Fat
3g
Frequently Asked Questions About Easy Homemade Breadcrumbs
Can I use fresh bread instead of day-old? Not really. Fresh bread has too much moisture. Comes out soft and chewy instead of crispy. Day-old or even older is better. Let it sit overnight at least.
What temperature should the oven actually be? Two-forty Fahrenheit. Low and slow. Higher temps brown the edges before the middle dries out. Just trust it.
How do I know when they’re done? Smell and color. Smells toasty, nutty, not doughy. Golden at the edges. Pinch one when it’s cool — snaps cleanly, not soft.
Can I freeze these breadcrumbs? Yeah. They keep longer frozen. Pull them out when you need them. Room temperature in maybe five minutes. They don’t get soggy as long as they’re sealed tight.
Do I have to use olive oil? No. Dry bake works. Oil helps them get crisper and gives them a bit more flavor. Not necessary though.
Why did mine come out soft instead of crispy? Either the oven was hotter than 240, you didn’t cool them all the way, or the bread had too much moisture still. Or all three. Next time: older bread, lower temp, stir more often, cool completely on the pan.
Can I make breadcrumbs with sourdough? Yeah. Cut them smaller — half inch. Sourdough’s denser so they need less processing time. Comes out slightly more tan than white bread but tastes better.
What if I want seasoned breadcrumbs? Garlic powder works. Salt always. Beyond that — experiment. Dried herbs, black pepper, whatever. Add it before baking so it toasts in. Beats adding it after.
You’ll Love These Too
Explore all →
Herbed Spicy Olive Dip with Fresh Garlic
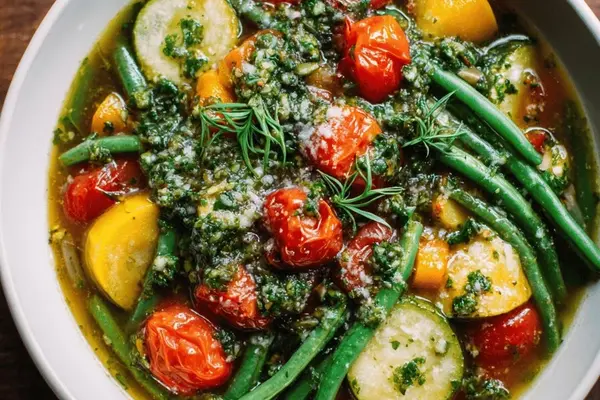
Vegetable Soup with Basil Pistou
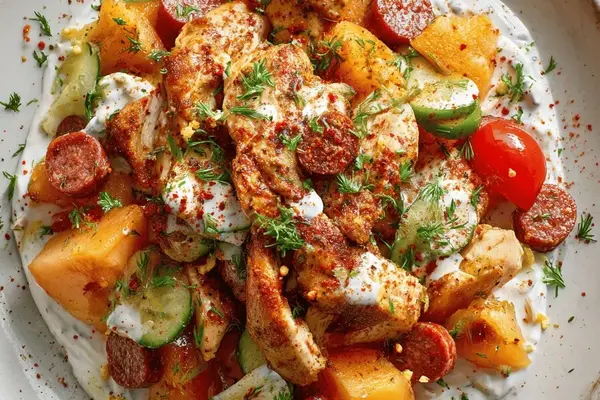
Pan Seared Chicken Breast with Chorizo
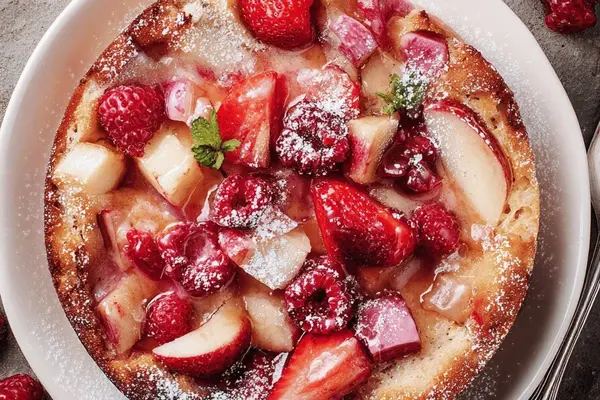
Chocolate Pudding Fruit with Berries
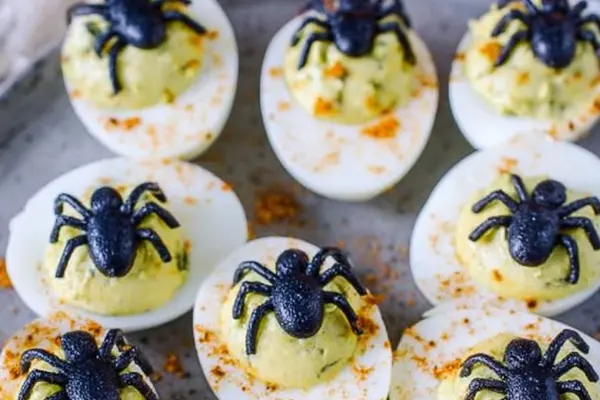
Instant Pot Halloween Deviled Eggs with Avocado
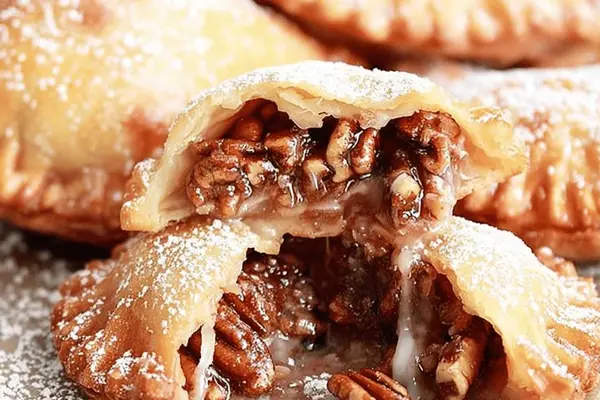
Deep Fried Pecan Pockets with Molasses
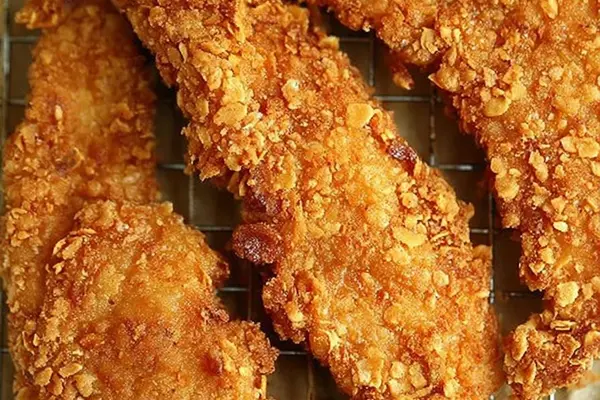
Saltine Crusted Chicken Tenders Recipe

Best Ways To Make Lobster Tails
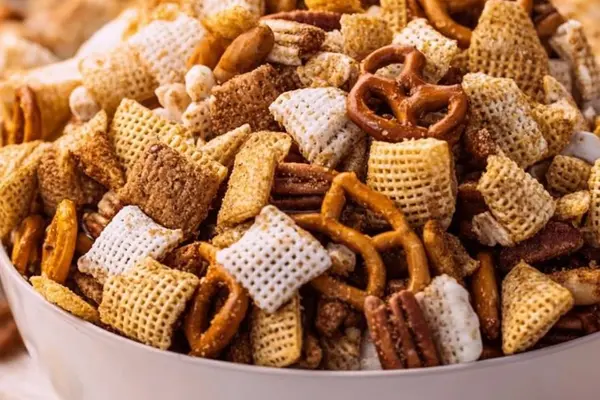
Spices in Pumpkin Pie Snack Mix Recipe

Sangria Recipe with Prosecco & Raspberries
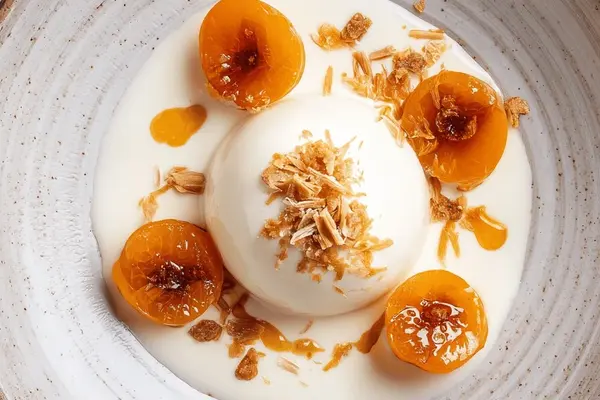
Ricotta Cheesecake with Honey & Cinnamon
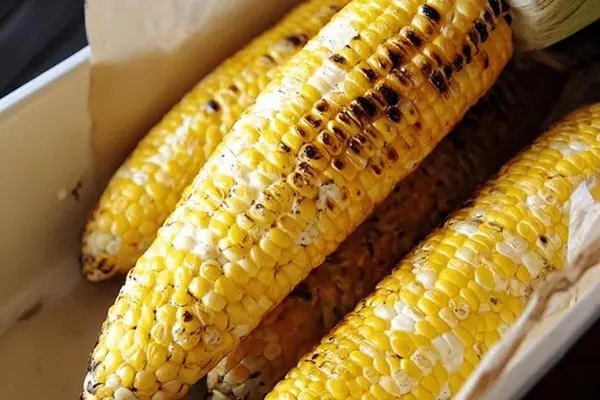
Grilled Corn On The Cob With Garlic Herb Butter
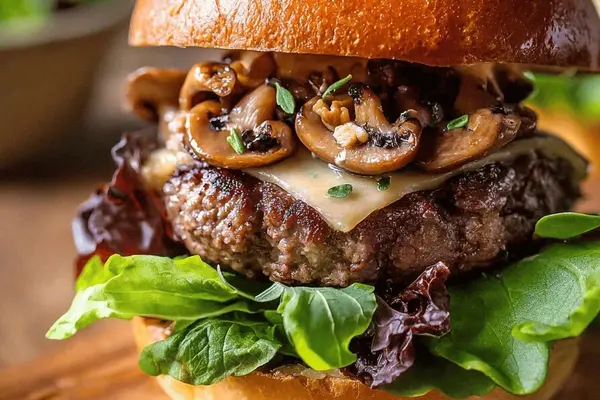
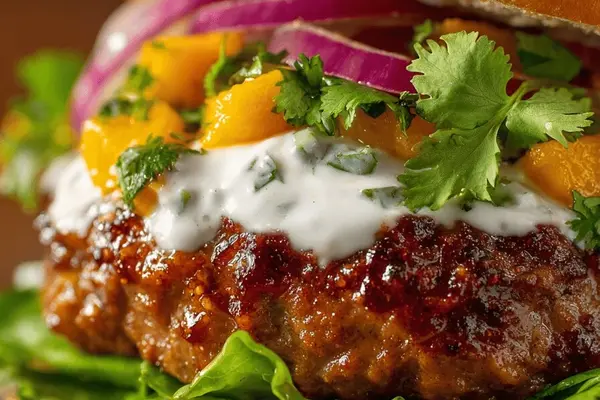
Beef Burger with Smoked Cheddar & Chipotle
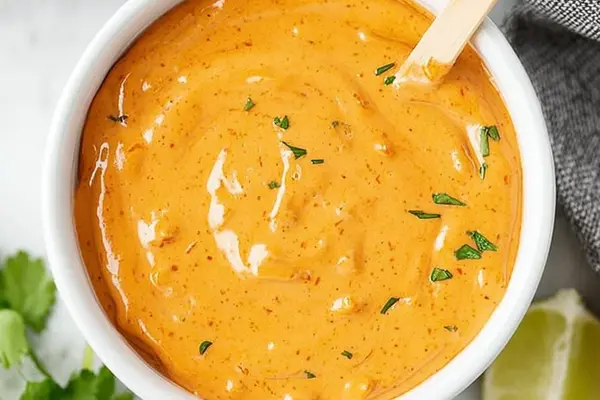
Chipotle Mayo Recipe with Lime & Cilantro
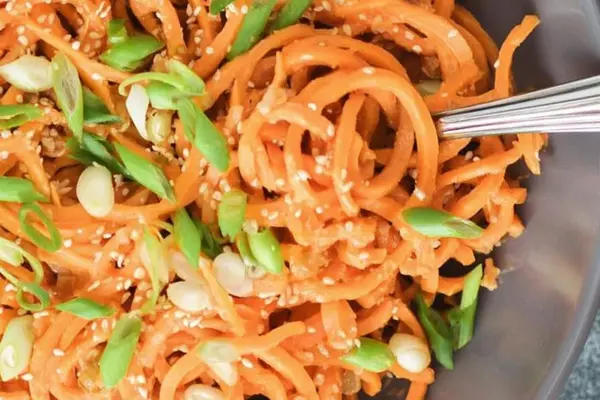
Chap Chae Recipe with Sweet Potato Noodles
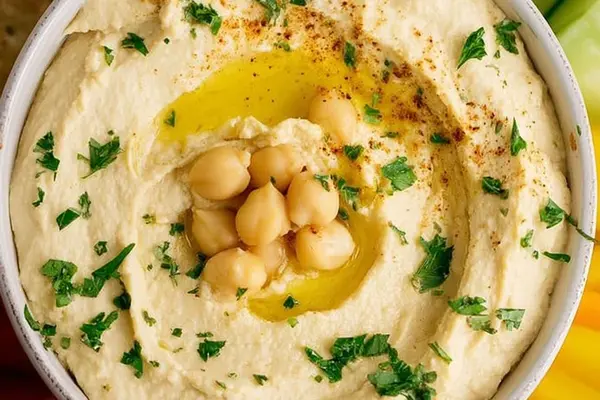
Herb Hummus with Sunflower Seed Butter
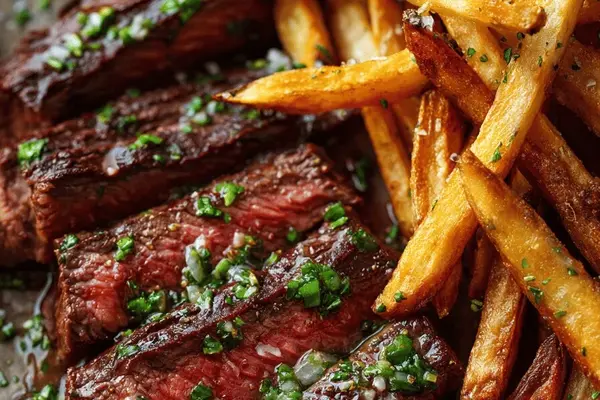
Bavette Steak with Shallot Sauce & Crispy Fries
Indian Spiced Beef Burgers with Mango Sauce

Cake Cookies From Cake Mix With Sprinkles