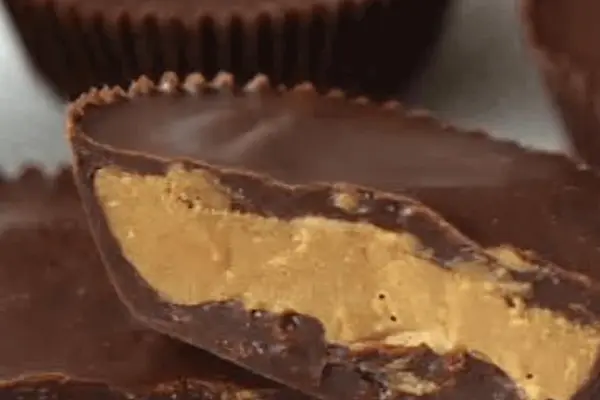
Homemade Peanut Butter Cups Recipe
E
By Emma
Certified Culinary Professional
•
Recipe tested & approved
Make homemade peanut butter cups with chocolate chips, peanut butter, and coconut oil. No-bake candy with a creamy center ready in under 40 minutes.
Prep:
25 min
Cook:
12 min
Total:
37 min
Servings:
8 servings
Three pounds of chocolate chips and nothing to do with them. Made these instead. Now I can’t stop.
Why You’ll Love Homemade Peanut Butter Cups
No bake. Seriously. Fridge does the work. Takes 37 minutes total—25 to prep, 12 in the fridge. Actual hands-on time is maybe 15 minutes. Tastes better than the store version. Not even close. Paper liners mean no cleanup, no mess on fingers, no chocolate stuck to a bowl for three days. You control the sweetness. Too sugary? Use less powdered sugar. Want it darker? Swap to dark chocolate chips. Works either way. Costs way less than the candy aisle. Freezes forever. Make a batch on Sunday, eat through Thursday.
What You Need for Homemade Peanut Butter Cups
Mini paper liners. 24 of them. Non-negotiable.
Chocolate chips—semi-sweet works best. Milk chocolate if you like it sweeter. Dark if you don’t. A full cup.
Coconut oil. One teaspoon. Butter works but coconut oil gives it actual sheen. The texture’s different. Glossier.
Creamy peanut butter. A third of a cup. Not natural peanut butter. Not the separated kind. Creamy, regular stuff. Almond butter if you want to switch it up.
Powdered sugar. A quarter cup. Adjust down if you hate sweetness. Up if you want candy-level sweet.
Unsalted butter. Two tablespoons. Softened. Not melted. Softened means it’s at room temp. Salted butter is fine if you go lighter on the salt later.
Salt. A quarter teaspoon. Table salt works. Sea salt flakes if you’re careful—they’re bigger, easier to accidentally oversalt.
How to Make Homemade Chocolate Peanut Butter Cups
Set the paper liners on a tray first. Snug them in so they don’t tip over. Matters more than you’d think.
Melt the chocolate and coconut oil together. Microwave-safe bowl, no lid. Hit it at 65-70% power for 30 seconds. Watch the edges. You’ll see soft bubbling starting. Stir it completely. Then 15 seconds more. Stir again. Keep going until it’s totally liquid with no gritty bits left. Overcooked chocolate gets stiff and weird. If that happens to you—and it will—add a tiny splash of coconut oil or butter and warm it gently. Fixes it.
Mix the peanut butter, powdered sugar, softened butter, and salt in a bowl. Use a spoon or your hands. Doesn’t matter. Texture here is everything. Too stiff and it cracks. Too soft and it slides everywhere. You want something that holds a shape but isn’t rock hard. Taste it. Add more salt if it needs it. Add more sugar if it’s flat. This part’s on you.
Spoon about a teaspoon of melted chocolate into each paper cup. Then tilt the tray. Rotate the liners so the chocolate coats the sides about halfway up. That’s your base shell. Thicker shell means more chocolate in every bite, but it takes longer to set. You’ll hear a small crackle as it cools. That’s the sound of it working.
How to Get Homemade Peanut Butter Cups Crispy and Perfect
Roll the peanut butter mixture into balls. Small ones. Then flatten them slightly between your palms. Just enough so they sit on the chocolate base without sinking into it. Nestle each ball on top of the chocolate layer.
Top with another teaspoon of melted chocolate. Spread it around the edges so the peanut butter’s completely sealed. Traps the creaminess. Stops it from drying out. Matters.
Refrigerate for 15 to 25 minutes. The fridge does the rest. Freezer works too but watch it—too long and it gets dull and dry. Pull it out when the chocolate’s firm and has a slight shine back. Snap off the paper liners. They peel clean once it’s cold.
No Bake Peanut Butter Cups Tips and Common Mistakes
Don’t oversalt. A quarter teaspoon is right. You can always add more later. Can’t take it out.
Chocolate not melting smooth? It’s overcooked. Add coconut oil and heat it gently. One more time. Goes back to normal.
Peanut butter layer too soft and spreading everywhere? Chill it first, separate from the chocolate. Then add it. Or make it stiffer by using less peanut butter, more butter. Experiment once. You’ll know the texture you want after that.
Paper liners falling over? They’re not in the tray snug enough. Pack them in. Use a small glass if you need to. Keeps them upright while you work.
Store these in the fridge in a covered container. They last about a week. Let them sit out a few minutes before eating if they’re really cold—softens the chocolate, makes the whole thing better. Freezer storage works for months. Just pull out 10 minutes before you want to eat.
Homemade Peanut Butter Cups Recipe
Prep:
25 min
Cook:
12 min
Total:
37 min
Servings:
8 servings
Ingredients
- 24 mini paper liners
- 1 cup chocolate chips (preferably semi-sweet; substitute milk or dark as desired)
- 1 teaspoon coconut oil (can use butter, but coconut oil helps with sheen and texture)
- 1/3 cup creamy peanut butter (almond butter swap for twist)
- 1/4 cup powdered sugar (adjust slightly if you want less sweet)
- 2 tablespoons unsalted butter (softened; salted butter okay but reduce salt added)
- 1/4 teaspoon table salt (balance sweetness; fresh flakes work if careful)
Method
- 1 Set mini paper liners snugly on a baking tray; helps keep shape and avoids mess.
- 2 Melt chocolate and coconut oil together. Use a microwave-safe bowl uncovered. Heat at 65-70% power first for 30 seconds—watch for soft bubbling edges. Stir thoroughly to blend. Repeat heating 15 seconds max, stir after each burst. Melt until totally liquid, no gritty crumbs. Avoid overcooking or chocolate seizes. If that happens, warm gently with a splash of coconut oil or butter to smooth out.
- 3 Mix peanut butter, powdered sugar, softened butter, and salt. Must be lump-free and homogenous. Texture here is crucial—too stiff will crack, too soft will spread all over. Use a sturdy spoon or your hands if needed. Taste test for balance; more salt or a touch more sugar can pull flavors up.
- 4 Spoon about 1 to 1 ¼ teaspoons melted chocolate per paper cup. Tilt the tray and rotate liners to coat sides about halfway up liner height. Acts like a shell; thicker means more bite but longer setting time. Listen for a faint crackle or small snap as it cools, that’s key texture forming.
- 5 Roll peanut butter mixture into small balls. I learned to squish them slightly between palms—flattening just enough to sit firmly on chocolate base without sinking. Gently nestle each ball atop chocolate in liners.
- 6 Top peanut butter with approximately 1 teaspoon melted chocolate. Spread edges if needed to seal peanut butter completely. Closes the cup, traps creaminess inside, and stops it from drying out.
- 7 Refrigerate for 15 to 25 minutes until fully firmed. Freezer works fine but monitor closely—over chilling can dull flavor and dry texture. Remove when you see a firm set, slight sheen return on chocolate surface. Snap off paper liners easily once chilled.
- 8 Store covered in fridge for up to a week. Let rest a few minutes before eating to soften slightly, especially if very cold.
Nutritional information
Calories
135
Protein
3g
Carbs
13g
Fat
9g
Frequently Asked Questions About Homemade Peanut Butter Cups
Can I use dark chocolate chips instead of semi-sweet? Yeah. Makes it less sweet, more bitter. Works great if that’s your thing. Might want to add a touch more powdered sugar to the filling then.
How long do these stay fresh? Fridge: about a week. Freezer: basically forever. Just keep them covered so they don’t pick up other flavors.
What if my chocolate seized while melting? Add a splash of coconut oil and warm it gently. Stir slowly. It’ll smooth back out. Takes a minute. Happens to everyone.
Can I use almond butter instead of peanut butter? Yes. Different taste obviously. Almond butter’s slightly less sweet and more delicate. Adjust the powdered sugar down a bit if you try it.
Why coconut oil and not just butter? Coconut oil gives it sheen. Real glossy finish. Butter works but you lose that smooth look. Texture’s different too—less “snap” in the chocolate. Coconut oil’s not necessary but it’s worth it.
Do I have to use mini liners? No. Regular muffin liners work. They’re just bigger so you get fewer cups. Same taste. Same process.
Can I make these without powdered sugar? Probably. Regular sugar won’t dissolve the same way though. Powdered sugar is fine and powdery—it blends smooth into the peanut butter. Regular sugar stays grainy. Tried it once. Not the move.
You’ll Love These Too
Explore all →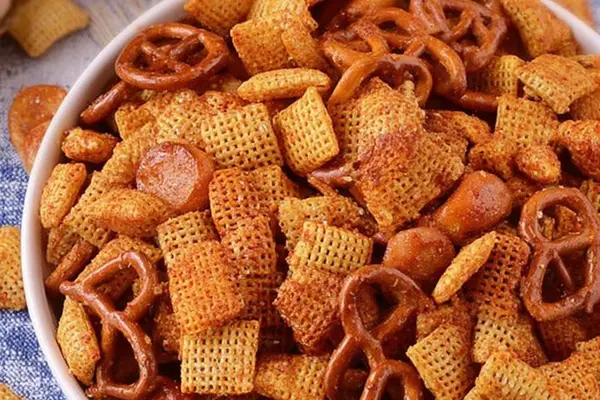
Peanuts Roasted with Hot Honey Chex Mix

Hot Crab Dip with Mascarpone & Lemon
Blueberry Cheesecake Cookies
Creamy Cheese Tortellini with Pancetta
Berry Quinoa Bowl with Greek Yogurt
Coconut Cheesecake Bites with White Chocolate
Zucchini Lime Muffins with Oat Flour

Eggless Chocolate Cookie Dough Recipe
Lentejas Soup with Beef & Mushrooms
Grilled Mussel Spaghetti with Pancetta
Vietnamese Spring Rolls with Pork
Dan Dan Pork Noodles with Sesame Sauce
Recipes With Mince Lamb: South African Bake
Brie and Cheese Puff Pastry Bites
Lemon Curd Recipe with Honey and Vanilla
Peppermint Shortbread Cookies with Andes Candy
Pimento Spread Recipe with Sharp Cheddar
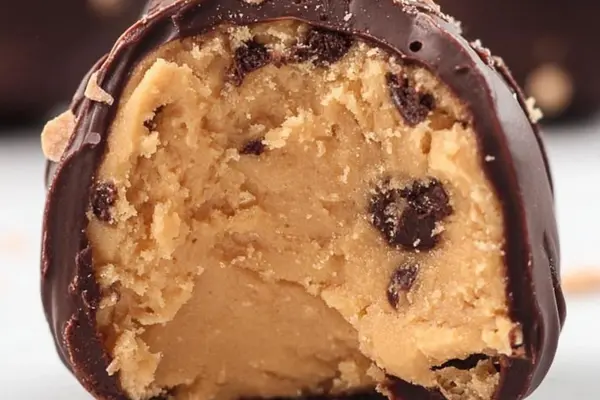
Crunchy PB Chocolate Balls No-Bake

Sweet Potato Cookies with Walnuts