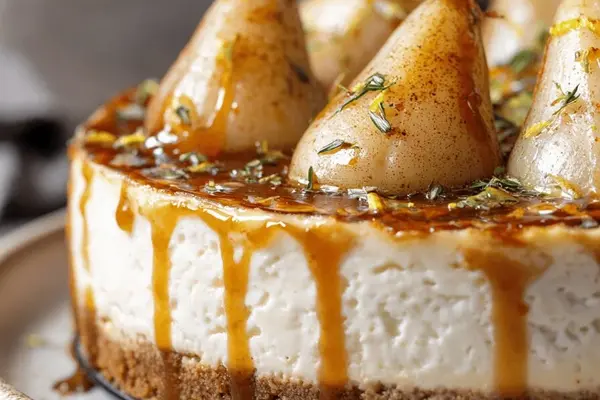
Maple Pear Cheesecake with Browned Butter
By Emma
Certified Culinary Professional
·
Recipe tested & approved
Springform pan wrapped in foil, water bath running, 2 hours 25 minutes from now you’ve got cheesecake. Not the kind that cracks. Not the kind that’s dry. The kind where the center still moves a tiny bit when you shake the plate.
Why You’ll Love This Maple Pear Cheesecake
Takes 45 minutes to prep if you actually have your ingredients ready. Rest of it is just time in the oven and fridge — you’re not doing anything.
Roasted pears on top that taste like caramel. Literally. Maple syrup and heat does that.
Browned butter in the crust. Smells like someone’s already made dessert somewhere else and you’re stealing it.
Falls into the category of fall dessert that doesn’t need a reason. Thanksgiving, random Tuesday, because pears exist. Works.
Sour cream in the filling. Sounds weird. Stops it from being too heavy. Changes everything.
What You Need for Maple Pear Cheesecake
Graham crackers — 180 g, ground fine. Digestive biscuits work too. The texture matters more than which one.
Unsalted butter. 85 g. Brown it first. Not just melted — brown. That’s where the flavor comes from. Let it cool before mixing.
Maple sugar or brown sugar for the crust. Just a tablespoon. Salt too — fine sea salt, ¼ teaspoon.
Cream cheese. Two packages, 250 g each. Softened. Not room temperature — actually soft. Takes 20 minutes out of the fridge, maybe 30 if your kitchen’s cold.
Sour cream. Full fat. 120 ml. Half a cup basically. Don’t use fat-free or it breaks something in the texture.
Pure maple syrup. 100 ml for the filling. That’s the key ingredient. Don’t use pancake syrup. Different thing entirely.
All-purpose flour. 25 ml, which is 2 tablespoons. Keeps it from cracking.
Two eggs. Room temperature if you can manage it. Scramble them in a bowl first, then add one at a time.
Lemon zest. One small lemon. Just the outside, not the white part underneath.
Bartlett pears. Two, firm ones. Slice them 3 mm thin on a mandoline if you have one. A sharp knife works. It just takes longer.
More maple syrup for the pears — 50 ml, 3 tablespoons. Cinnamon. Nutmeg, freshly grated.
How to Make Maple Pear Cheesecake
Oven middle rack, 175 C (350 F). Grease the springform pan. Parchment on the bottom. This part matters because the whole thing depends on not sticking later.
Graham crackers go into a food processor until they’re basically sand. Fine, even texture. Toss with the browned butter — the aroma shifts when you do this, richer already — then maple sugar and salt. Press it into the pan, bottom and sides, about three-quarters up the edge. Pack it. Even thickness everywhere. No loose spots where water could sneak in later.
Bake 10 minutes. Edges get crisp and golden. Not brown. Golden. Let it cool but still warm to touch.
Now the wrapping part. Double layer of heavy-duty foil around the outside, up and over the lip. Tight. This stops water from getting into the cheesecake from the bath. People skip this. Don’t.
Reduce oven to 160 C (320 F).
Food processor or stand mixer, cream cheese gets beat until it’s fluffy. Takes 2-3 minutes. Add sour cream and maple syrup. Mix until smooth. Stop before it looks too smooth — a couple tiny lumps means you didn’t overbeat it and whip air into it.
Flour goes in, then lemon zest. One egg at a time, blending gently after each one. Scrape the sides. Stop as soon as it looks even. It shouldn’t look glossy and whipped. It should look like filling.
Pour it over the crust. Tap the pan on the counter maybe five times. Releases the air bubbles that cause cracks later.
Roasting dish, deeper than the pan. Put the cheesecake in it. Pour hot water around the sides until it hits about a third of the way up. Hot water. Not warm. The temperature matters.
Bake 55 minutes. After 50 minutes, stick an instant thermometer into the center — aim for 62 to 64 C (143–147 F). The edges set, the middle jiggles just barely. That jiggle is the difference between creamy and dry.
Turn the oven off. Door cracks open. Cake sits inside for 10 minutes. Gradual cooling. Prevents the shock that causes cracks.
Pull it out. Peel off the foil. Cool on a rack for an hour. Then fridge — 4 hours minimum, but overnight is better. Don’t rush this part. Everything that goes wrong happens in the cooling.
While that’s happening — or actually do this before if you’re organized — raise the oven to 190 C (375 F). Parchment on a baking sheet.
Mix maple syrup with cinnamon and nutmeg. Pear slices in a single layer. Brush half the glaze on them.
Roast 10 minutes. Edges turn golden. The syrup gets thicker, caramel smell starts happening. Flip them. Brush the rest of the glaze. Another 8–10 minutes. They should be soft but not falling apart. Gentle pressure with your finger and they yield.
Cool at room temperature 20–30 minutes. They can sit in the fridge 2 days if you need them to.
Tips for Maple Pear Cheesecake That Actually Works
The water bath is not optional. People think they can skip it because it seems like extra work. It’s the difference between custard and rubber.
Overmixing the filling is how you get air bubbles, and air bubbles become cracks. Mix until it’s smooth, then stop. Tiny lumps are better than smooth.
The cheesecake with roasted pears should be served cold, so don’t add the pears until you’re ready. They get soft sitting on warm cake. Add them right before serving or a few hours before if the fridge is cold enough.
Lemon zest instead of vanilla. Sounds small. Changes the whole thing. Vanilla gets lost under maple. Lemon brightens it.
Browned butter in the crust is the move. Regular melted butter makes a generic crust. Browned butter makes people ask what’s different.
Don’t open the oven door while it’s baking. Not once. Temperature drops, cheesecake cracks.
If you’re using a regular pear instead of Bartlett, they might be softer. Check at 8 minutes instead of 10. You’re looking for the edges to brown, not the whole thing to collapse.
Maple Pear Cheesecake with Browned Butter
Prep:
45 min
Cook:
1h 40min
Total:
2h 25min
Servings:
10 servings
Ingredients
- == Crust ==
- 180 g (6 oz) graham crackers or digestive biscuits, finely ground
- 85 g (6 tbsp) unsalted butter, browned and cooled
- 20 ml (1 tbsp) maple sugar or brown sugar
- 1 ml (¼ tsp) fine sea salt
- == Cheese filling ==
- 2 packages of 250 g each cream cheese, softened
- 120 ml (½ cup) sour cream full fat
- 100 ml (about ½ cup) pure maple syrup
- 25 ml (2 tbsp) all-purpose flour
- 2 eggs
- zest of 1 small lemon
- == Roasted pears ==
- 2 firm Bartlett pears, thinly sliced 3 mm (1/8 in) on mandoline
- 50 ml (3 tbsp) maple syrup
- ½ tsp ground cinnamon
- ¼ tsp freshly grated nutmeg
Method
- 1 == Crust ==
- 2 Oven rack in middle. Heat oven to 175 C (350 F). Grease 20 cm (8 in) springform pan. Line base with parchment paper.
- 3 Process graham crackers to fine crumbs — uniform texture matters. Toss crumbs with browned butter (aroma shifts, richer flavor), maple sugar, and salt in bowl. Press firmly bottom and up sides, about three-quarters height. Look for even thickness and no loose areas.
- 4 Bake crust 10 minutes until edges crisp and golden but not burnt. Let cool slightly, firm to touch but warm.
- 5 Wrap outside pan tightly with double layer heavy duty foil extending above pan lip. Prevents water bath leaks later. Reduce oven to 160 C (320 F).
- 6 == Cheese filling ==
- 7 In clean food processor or stand mixer, beat cream cheese until fluffy. Add sour cream and maple syrup; keep mixing till just smooth—don't overbeat or risk air bubbles.
- 8 Add flour and lemon zest, then one egg at a time, blending gently after each. Scrape sides. Stop as soon as mixture looks uniform; slight lumps indicate no overmixing.
- 9 Pour filling over crust. Tap pan lightly on counter to release trapped air. Perfectly smooth surface reduces cracks.
- 10 == Baking ==
- 11 Set pan in deeper roasting dish. Pour hot water around pan until it reaches one-third up side—hot water steams, stabilizes baking temperature. This technique crucial for crack-free, creamy center.
- 12 Bake approx. 55 minutes. After 50 minutes, check center with instant thermometer—target 62 to 64 C (143–147 F). Cake edges should be set, center slightly jiggle. Don't overcook or it’ll crack and dry.
- 13 Shut oven off, leave cake inside with door ajar for 10 minutes to prevent sudden temperature drop.
- 14 Remove pan from water bath carefully. Peel off foil layers. Let cool on rack for 1 hour. Cool completely in fridge 4 hours minimum or overnight is better. Do not rush cooling; rapid cooling causes cracks.
- 15 == Roasted pears ==
- 16 Raise oven temp to 190 C (375 F). Line baking sheet with silicone mat or parchment.
- 17 Mix maple syrup with cinnamon and nutmeg. Arrange pear slices in single layer. Brush half maple glaze over pears.
- 18 Roast pears 10 minutes until edges turn golden and syrup thickens slightly, caramel aroma develops.
- 19 Flip slices, brush remaining glaze, roast another 8-10 minutes until soft but not mushy. Pears should yield gently to finger pressure but hold shape.
- 20 Let cool at room temp 20-30 minutes. Stored pears can be refrigerated up to 2 days if needed.
- 21 == Assembly ==
- 22 Run thin paring knife around pan edges to loosen cheesecake gently. Remove springform sides.
- 23 Slide parchment paper gently under cake base if it sticks, transfer to serving plate.
- 24 Top cheesecake evenly with roasted pears, overlapping slightly. Pear juices may glaze cake edges subtly.
- 25 Store under dome in fridge. Lasts 3-4 days. Freeze after cheesecake step with plastic wrap and foil, thaw overnight in fridge before adding pears.
Nutritional information
Calories
380
Protein
7g
Carbs
30g
Fat
25g
Frequently Asked Questions About Maple Pear Cheesecake
Can I make this without the water bath? Not if you want it to actually work. Water bath keeps it from cracking and drying out. The heat distributes evenly. That’s the whole thing.
What if my cheesecake cracked anyway? Happens. The pears cover most of it. If it’s bad, you can spread a thin layer of sour cream on top before the pears. Covers it fine.
How long does this actually last in the fridge? 3–4 days, covered. After that the edges start drying. You can freeze it — plastic wrap, then foil, minimum 2 weeks — but thaw it overnight in the fridge before serving. Don’t add pears until it’s thawed.
Can I use a different fruit instead of pears? Sure. Roasted apples work. Plums. Peaches when they’re in season. Same glaze, same time. Results vary.
Should the cheesecake be totally cold before I add the pears? Yeah. Room temperature pears on cold cheesecake. Warm cake makes them fall apart.
Do I need a mandoline for the pears? No. Sharp knife, thin slices, takes longer. Works fine. Mandoline just makes it faster and more even.
Can I use maple extract instead of pure maple syrup? Don’t bother. Different thing. Real syrup is why this tastes like it does. Extract tastes artificial.
What if I don’t have sour cream? Greek yogurt works. So does heavy cream if you’re desperate. Sour cream’s the best. Keeps it from being too thick.
You’ll Love These Too
Explore all →
Coleslaw With Salad Dressing: Ramen Noodle
Dr Pepper Pulled Pork Slow Cooker
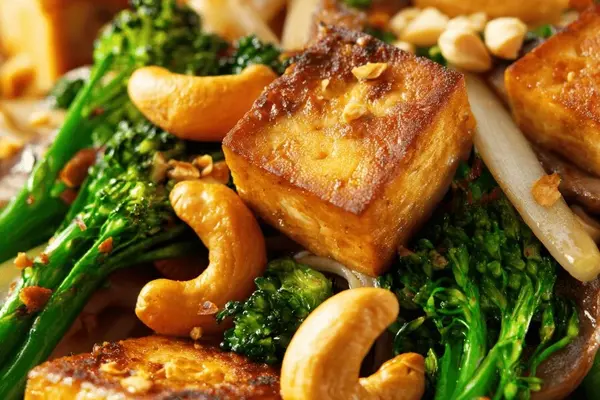
Sauteed Vegetables with Tofu and Almonds
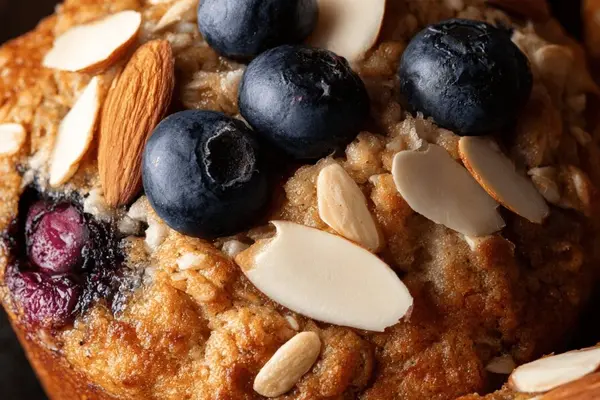
Apple Blueberry Almond Muffins Recipe
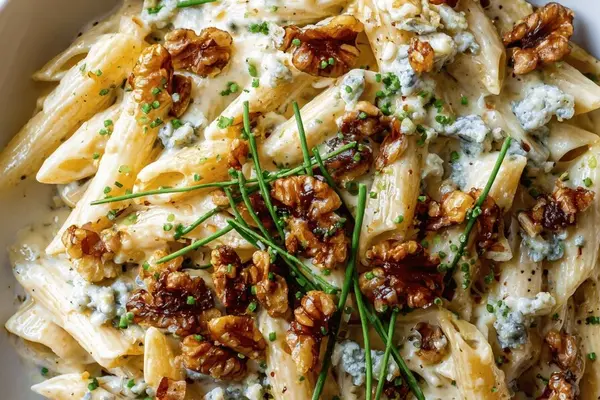
Creamy Blue Cheese Penne with Toasted Walnuts
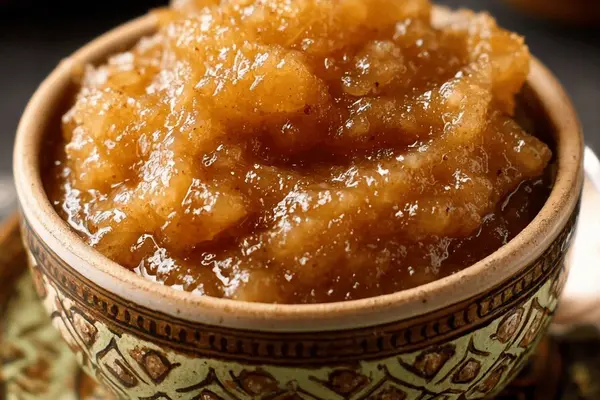
Pear Butter Recipe with Cinnamon
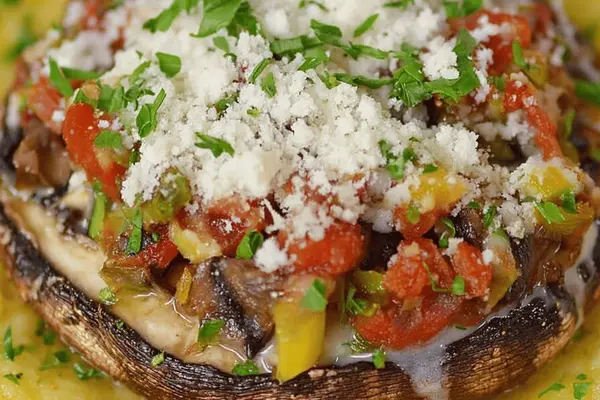
Porta Bella Mushroom Recipe with Polenta
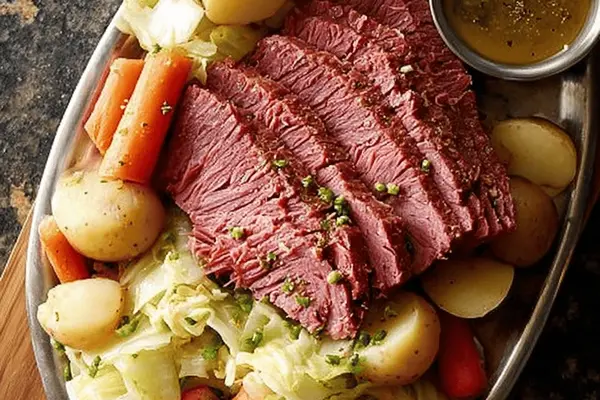
Slow Cooker Corned Beef with Cabbage
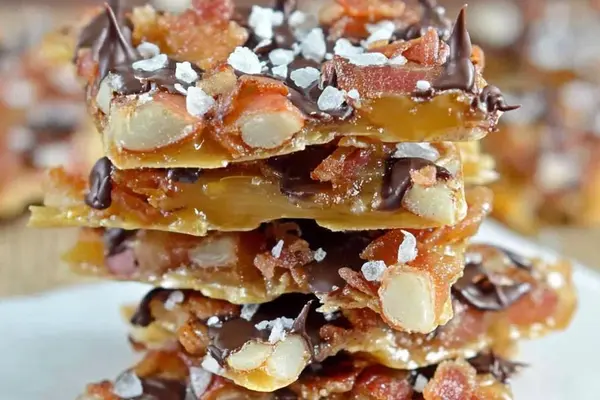
Chocolate Bacon Toffee Crackers Recipe
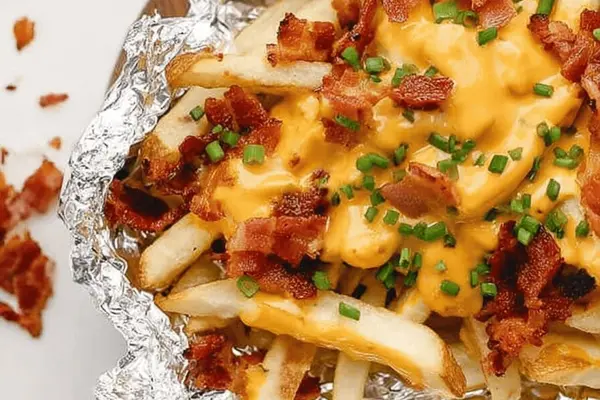
Grilled Butter Fries with Melted Cheddar
Chocolate Chip Cookie Recipe with Caramel
Greek Yogurt Strawberry Dip with Lemon
Beef and Vegetable Soup with Pale Ale
Spatchcock Grilled Chicken with Pesto Mayo

Pan-Seared Salmon with Mushrooms & Orange
Open Face Pizza Burgers with Mozzarella

Tagliatelle with Fennel, Walnuts & Raisins

How to Make Lemonade with Fresh Lemon
Vegan Ice Cream with Coconut Cream