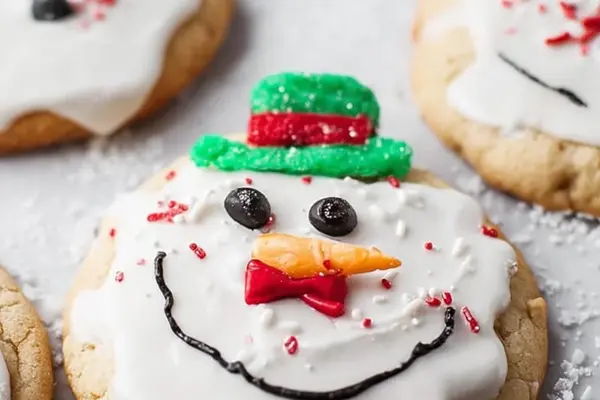
Melted Snowman Cookies with Marshmallows
By Emma
Certified Culinary Professional
·
Recipe tested & approved
Slice the dough thick. Press it flat like it’s actually melting. This is the whole thing.
Why You’ll Love These Melted Snowman Cookies
7 minutes prep. No mixer. No bowl mess. Cookie dough comes sliced already—just press and bake. Kids decorate the faces. Marshmallow heads puff in the microwave. Actually fun to make together, which matters when you’re doing holiday cookies three weekends in a row. Looks like something from a bakery. Feels homemade. That gap between those two things is where these live. No bake element keeps hands busy. Toasted marshmallows stay soft inside. The contrast works. Icing drips down the sides on purpose. You’re not trying to make it neat. That’s the whole aesthetic here.
What You Need for Easy Holiday Cookies
Sugar cookie dough. One package, about 16 ounces. Sliced already. Just use it.
Wilton Cookie Icing from a tub. The kind that hardens. Not royal icing—that’s different. About half a cup total.
Large marshmallows. Twelve of them. They puff when you microwave them. That’s the snowman head.
Candy buttons or any small hard candies. Eyes, mostly. Whatever you have. Dots of color on wet icing stick fine.
Tubed cake frosting—white and colors. The plastic bottle kind with the tiny nozzles. Controls better than anything else for piping details. Arms, scarves, faces. All of it.
Cooking spray. For the pan. For the microwave plate. It matters because things stick.
Optional: coconut oil instead of 2 tablespoons of butter if you want to swap something into the dough before slicing. Works. Changes texture slightly—a bit less tender. Try it once if you’re bored.
How to Make Melted Snowman Cookies
Preheat the oven. Check the dough package. Usually 350°F. Do that first or you’re waiting around.
Slice the dough into 12 thick pieces. Half inch, maybe a bit more. Doesn’t need to be exact. Thickness is the thing that matters—too thin and they crisp up and shatter, too thick and they stay doughy inside and won’t hold the marshmallow head right.
Spray a cookie sheet. Not the fancy kind. Just heavy. Spray it so nothing sticks. Space 6 slices apart—and I mean apart. They spread. They’re supposed to.
Press each slice down with your palm. Not a roller. Your hand. Make it lumpy. Uneven edges. Think puddles, not circles. The dough should look like it’s already starting to melt before it even goes in the oven.
Slide it in. Watch starting at 10 minutes. Edges go light brown. Centers stay soft but hold their shape. You want matte, not shiny. Pull them out before they look fully done. They firm up cooling on the rack. This is the part where overbaking kills it—brittle instead of chewy.
Cool completely. This matters. Icing won’t sit right on warm cookies. It slides off.
How to Get That Melted Look with Icing and Toppings
Set a baking rack over a sheet to catch drips. This is cleaner than trying to ice flat.
Wilton Cookie Icing goes in the microwave. 25 to 30 seconds in short bursts. Squeeze the bottle between bursts to warm it evenly. It should pour like honey, not like concrete. Too thick and it won’t drip the way you want.
Pour it on. Generous. Let it run down the edges. That’s the whole visual—icing melting over the cookie like the snowman’s falling apart. No piping bag needed. Just pour slowly and let gravity do the work.
Candy buttons stick to the icing right now while it’s still wet. Placement matters less than you think. Eyes usually. Maybe buttons down the front. Can’t go wrong here.
The icing hardens completely after an hour or so. Solid shell. Add decorations before it sets or you’re gluing them on with frosting later, which is fine but slower.
Toasted Marshmallow Heads and Face Details
Spray a microwave-safe plate. Matters more than it sounds.
Microwave 6 marshmallows for about 28 seconds. Watch them. They swell up fast. The second they start puffing beyond the plate size, pull them out. Don’t wait. They’ll explode or go liquid.
Wait 5 seconds. Let them cool slightly. Push your thumb into the top to make a dimple. That’s the indent for the head. Looks right. Feels deliberate.
White tubed frosting spots the marshmallow to the cookie center. Just a dab. Push gently. It holds.
Repeat for the second batch of 6 cookies. Same process.
Now the faces, arms, scarves—whatever you’re doing. Tubed frosting with the small nozzles gives you control. Snip a piping bag corner for twig arms if you want clean lines. Double-layer frosting for depth. Mix colors. This is where it gets personality. Where it stops being a recipe and starts being something you made.
Melted Snowman Cookies Tips and Common Mistakes
Don’t slice the dough thin thinking thinner means faster. Thinner means crispier. You need that soft chew to press and flatten. Thickness is your friend.
Pressing flat before baking matters. Some people skip this. The cookies spread anyway, uneven. You’re controlling the spread by pressing first. Edges stay crispy. Centers stay soft. That’s the texture game.
Icing too thick doesn’t drip. Microwave longer. Check every 10 seconds. It’s not a long process but you need to watch it.
Marshmallows too soft collapse. Too hard don’t puff. The timing is tight—28 seconds, maybe 30 if your microwave runs cool. Nobody’s microwave is the same. Test one marshmallow first if you’re nervous.
Humidity kills the icing finish. Warm kitchens soften it back up. Store these in a cool, dry place. Wax paper between cookies so they don’t stick to each other. If the icing gets soft, stick them in the fridge for 15 minutes. Firms right back up.
Melted Snowman Cookies with Marshmallows
Prep:
7 min
Cook:
11 min
Total:
18 min
Servings:
12 servings
Ingredients
- 1 package sugar cookie dough (approx 16 oz), sliced into 12 thick pieces
- Wilton Cookie Icing (tub), approx 1/2 cup
- 12 large marshmallows
- Candy buttons or colored candies for decoration
- Tubed cake frosting (white and colors)
- Cooking spray
- Optional twist ingredient: substitute butter for 2 tablespoons of coconut oil in dough before slicing
Method
- 1 Preheat oven as indicated on sugar cookie dough packaging, usually around 350°F. Slice dough evenly into 12 pieces, roughly 1/2 inch thick. Consistency here matters; if too thick they won’t puff right, too thin and too crispy.
- 2 Lightly spray a large cookie sheet to avoid sticking. Place 6 dough slices spaced generously apart. Press each slice down with the palm to flatten irregularly — think puddles, uneven edges like melted ice. Not neat circles. This dough spreads, so unevenness is your friend.
- 3 Slide into oven. Watch cookies closely starting around 10-11 minutes. Edges should brown lightly, centers still soft but holding shape. Avoid overbaking or they turn brittle and lose chew. Pull when the surface looks matte, a bit puffed but starting to settle. Cool on rack, repeat with remaining slices.
- 4 Once cookies fully cooled (critical or icing slides off), set a baking rack over a cookie sheet to catch drips. Heat Wilton Cookie Icing in microwave in short bursts totaling about 25-30 seconds, massaging bottle between to warm evenly. Pour icing generously atop each cookie, letting some drip down edges for that melted look. No need for nozzle here — slow pour speeds it up.
- 5 If adding candy buttons, stick them now directly onto still-wet icing. Cookie icing hardens solid, so add all decorations at once or you’ll need frosting glue later. Good time to plan placement; buttons, eyes, anything small getting trapped works best here.
- 6 To create heads, spray a microwave-safe plate with cooking spray. Microwave 6 marshmallows for ~28 seconds, watch them swell just before going too hot. Pull at first puff, wait 5 seconds. Then push thumb into top to create dimple. Use white tubed frosting to spot-adhere marshmallow heads to cookie centers gently. Repeat for second batch.
- 7 Time to decorate faces, arms, scarves — whatever. Tubed frostings with small plastic nozzles give control. Piping bags snipped fine for sharp details like twig arms or bow ties. Feel free to mix colors or double layer frosting for depth. This step brings cookie to life.
- 8 Store completed cookies in a cool, dry place. Warm kitchens or humidity soften hardened icing and affect marshmallow texture. If that happens, a quick chill revives the firmness. If in doubt, layer wax paper between to prevent sticking.
Nutritional information
Calories
220
Protein
2g
Carbs
32g
Fat
8g
Frequently Asked Questions About Melted Snowman Cookies
Can I make these sugar cookies ahead of time? Yes. Bake them, cool them completely, then store in an airtight container for 2-3 days. Don’t ice them yet. Ice on the day you want to serve them or the next morning. Icing can absorb moisture and get weird after that.
What if I don’t have Wilton Cookie Icing? Melted white chocolate works. Different finish though—not as smooth. Powdered sugar mixed with milk and butter does the job too. Won’t drip quite as neat but it’ll work. Consistency is what matters—thick enough to hold, thin enough to pour.
Do the marshmallow heads have to be toasted in the microwave? Only if you want them puffed and soft. Raw marshmallows stick fine with frosting. Just looks less impressive. The microwave puff is where you get that snowman head shape naturally. Worth the 28 seconds.
How long do these keep? Cool, dry place—3 to 4 days. Marshmallows soften over time. Icing hardens more. After a couple days the texture shifts. Still tastes fine. Just not as good as day one.
Can I use store-bought frosting instead of the tubed kind? Sure. Tub frosting doesn’t pipe as clean though. You lose control on small details like eyes or arms. The tubed frosting with the tiny nozzle is worth grabbing. Two or three dollars. Makes a difference.
What’s the total time start to finish? 7 minutes prep to get everything ready and dough sliced. 11 minutes baking. Then cooling while you work on the next batch. Decorating takes 10-15 minutes depending on how detailed you go. So 18 minutes if you count just the active oven time. Add another 15-20 if you’re doing the marshmallow heads and piping faces. Call it 30 minutes total for the whole thing.
Can I make decorated sugar cookies without the no bake marshmallow element? Yeah. Skip the marshmallows. Just ice the cookies and add candy buttons. Still looks good. Less snowman, more just fun holiday cookies. Both work.
You’ll Love These Too
Explore all →
Anise Biscuits with Lemon Zest & White Wine
No Bake Donut Cake with Mascarpone Cream
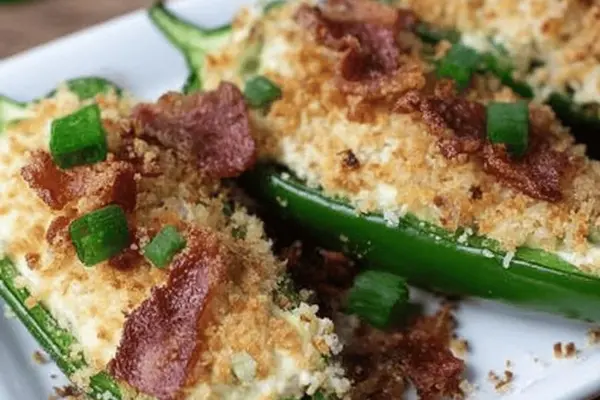
Baked Jalapeno Poppers with Cream Cheese
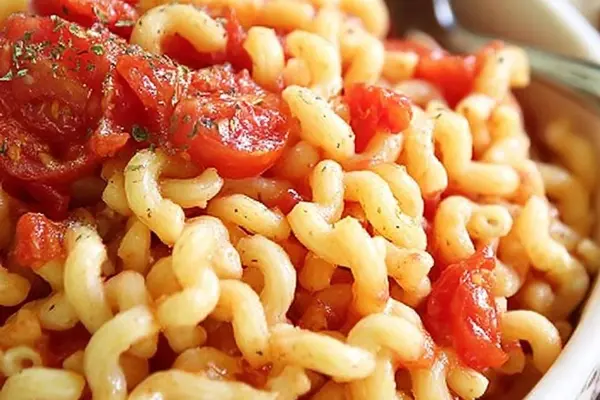
Bacon Tomato Macaroni with Shell Pasta
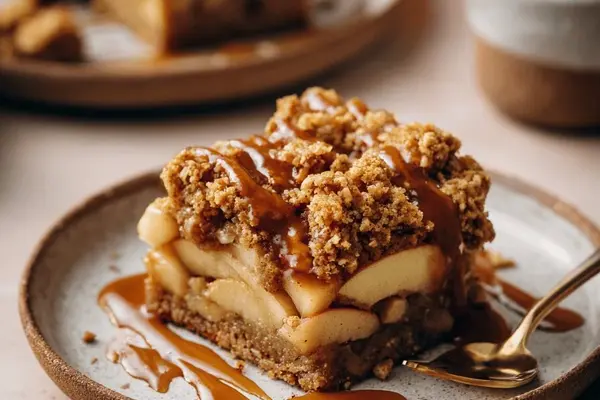
Apple Crumble Bars with Oats & Cinnamon
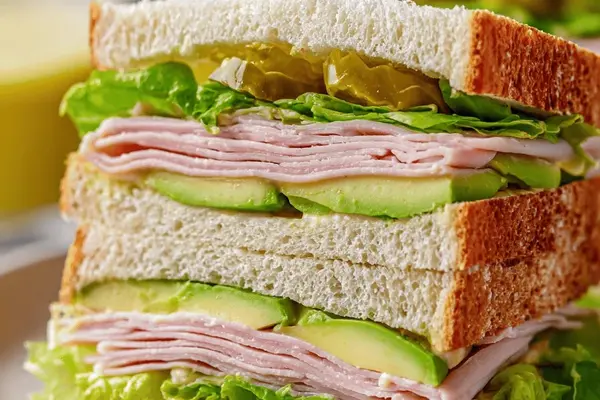
Turkey Sandwich with Spicy Mayo and Avocado
Vanilla and Chocolate Mousse with Whipped Cream

Cabbage Beet Soup with Caramelized Onions
Caprese Appetizers with Burrata & Artichokes
Apple Cheesecake Crisp with Pecan Crust

Cabbage Rolls with Ground Beef & Rice
Gingerbread Cream Cheese Dip Recipe
Pineapple Cheese Casserole with Crackers
Cranberry Punch Recipe with Apple Cider

Shrimp Quiche with Leeks and Tarragon
Tofu Marinade Sandwich with Avocado
Easy Weeknight Pizza Casserole
Vasilopita: Traditional Greek Cake Recipe
Gooey Autumn Spice Cake with Cream Cheese