Mint Chocolate Crisps with Peppermint Extract

E
By Emma
Certified Culinary Professional
•
Recipe tested & approved
Cut the dough in half, roll it out between parchment. That’s the move. Three garlic— wait, no. Peppermint extract. Two kinds of chocolate, basically. One melted into the dough, one crisped on top. Takes 34 minutes total if you don’t overthink it.
Why You’ll Love These Mint Chocolate Crisps
No bake part means you’re actually just mixing and rolling. The oven does the heavy lifting for 9 minutes while you do something else.
Chocolate mint cookies that actually taste like mint — not that vague peppermint ghost flavor. You control the extraction.
Works straight from the freezer. Cold cookies, cold chocolate shell. That snap when you bite into them. Doesn’t happen with cookies at room temp.
Crispy outside. Center stays soft enough that you don’t feel like you’re eating a hockey puck. Takes 20 minutes to set right after dipping.
The wafers melt smooth. Not like chopped chocolate that gets grainy. One bowl. One fork for dipping. Cleanup is nothing.
What You Need for Mint Chocolate Dipped Cookies
Flour. All purpose. Not cake flour.
Cocoa powder — unsweetened. The dark kind. Hershey’s works.
Cornstarch. A tablespoon. Helps with the crispness. Skip it and the cookies get tender instead.
Baking powder. A teaspoon.
Salt. Half teaspoon. Sounds small. Matters.
Butter unsalted. A cup. Room temperature means actually soft, not just cool. Cold butter won’t cream right.
Two sugars. Three quarters cup granulated, half cup brown packed tight. The brown adds a tiny molasses thing. You could use all granulated. Works. Not the same.
One egg plus one yolk. The yolk does something to the richness. An extra yolk, basically.
Vanilla extract. Pure. Peppermint extract too — three quarters teaspoon in the dough. That’s what makes it taste like something.
Mint chocolate melting wafers. Two cups. The kind that come in chips. Ghirardelli or Wilton. They melt without seizing.
Vegetable oil. A tablespoon. Thins the melted chocolate so it coats smooth. Without it, it gets thick and clumpy.
How to Make Mint Chocolate Cookies
Start with the dry stuff. Whisk together flour, cocoa, cornstarch, baking powder, salt in a bowl. Set it aside. This takes two minutes.
Butter and sugars go in next. Paddle attachment or hand mixer on medium speed. Cream it for about two to three minutes until it looks pale and fluffy — not grainy anymore. Stop and scrape the bowl sides halfway through. That matters more than you think.
Add the egg, the yolk, vanilla, peppermint extract. Beat it until the mixture looks glossy and totally smooth. The grainy sugar texture disappears. Takes another minute or so.
Now the flour mixture. Add it on low speed. Mix until the dough comes together without any dry patches. It’ll stick a tiny bit — that’s correct. Don’t overmix. You want it just combined.
Split the dough in half. One half goes on parchment paper. Cover it with another sheet of parchment on top. Roll to a quarter inch thick — use a measuring stick if you need to. Repeat with the other half. If the dough gets warm while you’re rolling, pop it in the fridge for ten minutes to firm up.
Now stack everything. The rolled dough with parchment between the layers goes on a baking tray. Cover the whole thing and chill. Minimum two hours in the fridge. Forty-five minutes in the freezer works too. You can hold it chilled for 40 to 48 hours wrapped tight if you want to bake later.
How to Get Crispy Mint Chocolate Cookie Edges
Preheat the oven to 350 degrees. Line baking sheets with parchment or silicone mats.
Peel off the top parchment from your dough. Cut circles two inches diameter. Scalloped edges if you want to be fancy. Plain works just as well. Space them an inch and a half apart on the sheet — they spread a bit.
Scraps get gathered up and rolled again. If the dough got warm, chill it quick. Cut more cookies. No waste.
Bake for eight to nine minutes. Watch for the edges to set while the center stays slightly soft. Not raw, not baked through. Eight minutes usually. Nine if your oven runs cool.
Let them sit on the hot sheet for five to eight minutes. They firm up off heat — that’s where the crisp develops. Don’t rush this part. Transfer to a wire rack after that and let them cool completely. The crispness keeps building.
Melt the chocolate wafers with the vegetable oil in a microwave-safe bowl. Heat 30 seconds, stir, heat 30 seconds again. Keep going until it’s smooth and thin enough to coat — it should be pourable but not watery. Stir in an extra quarter teaspoon of peppermint extract for a sharper punch if you want it.
Use a fork to dip each cookie fully into the chocolate. Lift it out, tap the fork on the side of the bowl to shed the excess coating. Place it on parchment. Let it sit until the chocolate hardens — about 20 minutes at room temp. Freeze them for 5 minutes if you’re impatient.
Mint Chocolate Cookie Tips and Common Mistakes
Dough temperature ruins everything. If it’s too warm, the rolled cookies spread when you cut them. If it’s too cold, it cracks. There’s a sweet spot. Keep parchment on top and bottom.
The cocoa powder has to be unsweetened. Sweetened cocoa is different — less intense, less crisp. Completely changes the texture.
Cornstarch gets skipped sometimes. People think it’s optional. It’s not. Removes cornstarch and the cookies get cakey. Keep it.
Peppermint extract goes two places — in the dough and in the melted chocolate. Both. The dough one is subtle. The chocolate one is sharp. Together they balance out. One alone tastes flat.
Don’t overmix the flour in. Stop the mixer the second you don’t see dry patches anymore. Another 30 seconds and the cookies get tough. The gluten network tightens.
Baking time is the second most important thing after dough temp. Eight to nine minutes. Underbaked and the center is doughy. Ten minutes and the edges burn. Your oven probably runs hot or cool — adjust by a minute either way the second batch.
The wafer melting matters. Too hot and the chocolate breaks. Too cool and it’s thick. 30 seconds in, stir, repeat. Slow wins here.
Don’t skip the resting time on the baking sheet. That’s where the snap comes from.
Mint Chocolate Crisps with Peppermint Extract
Prep:
25 min
Cook:
9 min
Total:
34 min
Servings:
48 servings
Ingredients
- 1 3/4 cups all purpose flour
- 1/2 cup unsweetened cocoa powder
- 1 tbsp cornstarch
- 1 tsp baking powder
- 1/2 tsp salt
- 1 cup unsalted butter softened
- 3/4 cup granulated sugar
- 1/2 cup light brown sugar packed
- 1 large egg
- 1 egg yolk
- 1 tsp pure vanilla extract
- 3/4 tsp peppermint extract
- 2 cups mint chocolate melting wafers
- 1 tbsp vegetable oil
Method
- 1 Whisk flour, cocoa, cornstarch, baking powder, salt in bowl. Set aside.
- 2 Cream butter plus sugars with paddle attachment or hand mixer on medium speed until creamy about 2-3 min. Scrape down sides.
- 3 Add egg, yolk, vanilla, peppermint extract. Beat till fully combined and glossy. Stops grainy sugar crunch.
- 4 Gradually blend dry ingredients on low speed. Dough comes together no dry patches, slight stick but manageable.
- 5 Split dough in two. Place half on parchment, cover with another sheet. Roll to 1/4 inch thick. Repeat with other half. If dough warms, cool quickly to firm up.
- 6 Stack rolled dough with parchment between on baking tray. Cover, chill minimum 2 hours in fridge or 45 min in freezer for firmness. Can hold 40-48 hours wrapped tight.
- 7 Preheat oven 350°F. Line baking sheets with parchment or silicone mats.
- 8 Peel off top parchment, cut circles 2 inches diameter, scalloped or plain edge. Arrange 1 1/2 inches apart.
- 9 Gather scraps, reroll quickly, chill if soft, cut more. Bake cookies 8-9 minutes. Edges set, center slightly soft but not raw.
- 10 Rest on sheet 5-8 minutes to firm up. Transfer to wire rack till completely cool. Crisp develops off heat. Freeze leftover cookies for crunch boost.
- 11 Melt wafers with oil in microwave safe bowl. Heat 30 seconds, stir, repeat until smooth and thin enough to coat. Stir in extra 1/4 tsp peppermint extract for sharp punch.
- 12 Use fork to dip cookies fully, lift and tap to shed excess coating. Place on parchment. Cool until chocolate hard, about 20 min, or freeze for quick set.
- 13 Store chilled or frozen for best texture and flavor longevity.
Nutritional information
Calories
110
Protein
1g
Carbs
12g
Fat
7g
Frequently Asked Questions About Mint Chocolate Cookies
Can I use dark chocolate chips instead of mint chocolate wafers? Chopped chocolate seizes up when it melts. Wafers don’t. They have something in them that keeps them smooth. You could chop dark chocolate fine and add cocoa butter to thin it, but — wafers are easier. Just do wafers.
How do I know when the dough is cold enough to cut? Touch it through the parchment. If your finger leaves an indent that doesn’t bounce back, it needs more time. Should feel firm like cold butter. That’s the moment.
Do these need to stay in the freezer? Cold helps them stay crispy. Room temp and they soften after a day. Fridge for three days max. Freezer keeps them good for weeks. I always freeze them.
What if the chocolate coating cracks when I dip? It’s too cool. Melt it 10 more seconds. Or the cookies are too cold — let them warm up to room temp first. Cold plus cold equals shock and cracking.
Can I make these ahead for a party? Make them five days before. Freeze uncoated. Dip them the day of. The chocolate stays fresher and the cookies don’t absorb moisture from the air.
What’s the difference between peppermint extract and peppermint flavoring? Extract is pure. Flavoring is diluted with other stuff. Extract tastes sharper, more real. Extract. That’s it.
You’ll Love These Too
Explore all →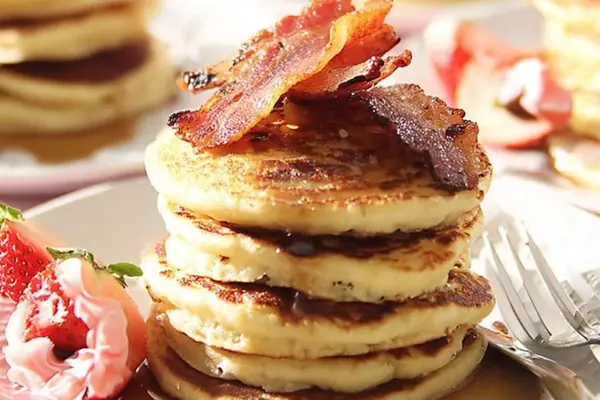
Bacon and Maple Syrup Pancakes Recipe

Fish Panko with Glazed Carrots & Allspice

Deviled Eggs Recipe with Jalapeño & Bacon

Grilled Red Snapper with Lemon and Garlic

Pasta Salad with Smoked Turkey & Rotini

Shrimp Corn Risotto with Arborio Rice
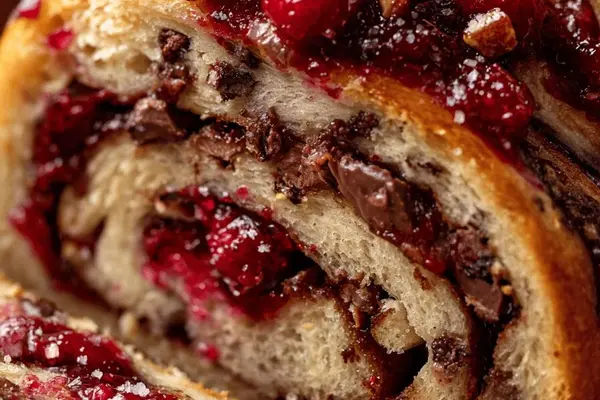
Cranberry Chocolate Pull-Apart Bread

Grilled Vegetables: Charred Three Bean

Ricotta Spinach Fazzoletti with Plum Tomatoes

BBQ Cocktail Wieners with Crescent Rolls

Crispy Skillet Beef Tacos with Tangy Sauce
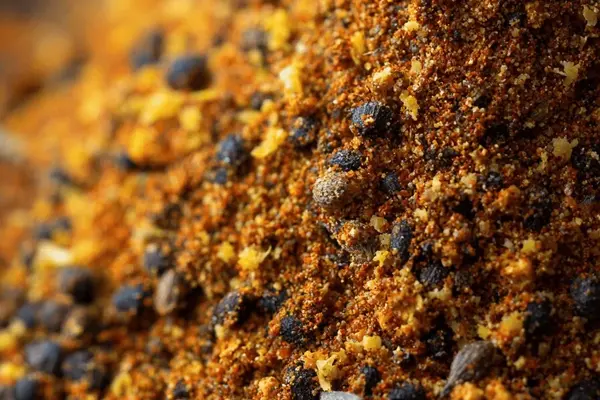
Dry Rub For Ribs With Chipotle & Cumin
Crispy Oven Bacon Recipe with Maple Glaze
Blueberry French Toast Casserole
Cinnamon Toast Crunch Cookies Recipe

Ham Pimiento Cheese Sandwich Baked

Apple Cocktail with Campari and Sparkling Cider

Eggnog Chai Cheesecake Recipe

Bacon Wrapped Corn On The Cob Recipe