Mint Chocolate Patties

E
By Emma
Certified Culinary Professional
•
Recipe tested & approved
Sweetened condensed milk forms the base, whipped with powdered sugar and peppermint extract. Rolled into thick disks, chilled, then dipped in dark chocolate melted over gentle steam. A pinch of sea salt swapped for peppermint extract for a twist. Timing is flexible based on dough texture and chocolate temper. Parchment-lined trays essential to keep them neat. Cold patties avoid chocolate meltdown. Sprinkles optional but add crunch contrast. Takes about 25 minutes active plus chilling. Makes roughly 28 pieces. A test kitchen fave with few failures—key is swelling chocolate patience and dough tackiness balance.
Prep:
25 min
Cook:
0 min
Total:
25 min
Servings:
28 servings
#candy making
#mint desserts
#chocolate recipes
#no bake sweets
#holiday treats
Before You Start
Candy making’s a test of patience and feel. Sweetened condensed milk + powedered sugar + peppermint extract start rough then come together as dough stiff but soft enough to roll. Cooling is non negotiable — important to dry those discs for shape and chocolate to bind properly. Chocolate choice dramatically changes mouthfeel and set time. Chill patties before dipping to avoid melting chaos. Dipping with tap-tap to shed excess makes neat patties. Throw sprinkles on while chocolate still fresh for contrast. Left these to set hardwood cool, snapping with sharp break. Old failed attempts taught me dough’s sticky balance is everything here. Busy hands and timing are key. Snacking next day best.
Ingredients
- 1 can sweetened condensed milk (14 oz)
- 1 1/2 tsp peppermint extract (swap 1/2 tsp sea salt for twist)
- 3 1/4 cups powdered sugar sifted
- green food coloring (optional)
- 10 oz bittersweet dark chocolate chips
- sprinkles or crushed candy canes (optional)
In The Same Category · Desserts
Explore all →
Peppermint Candy Crunch Shortbread
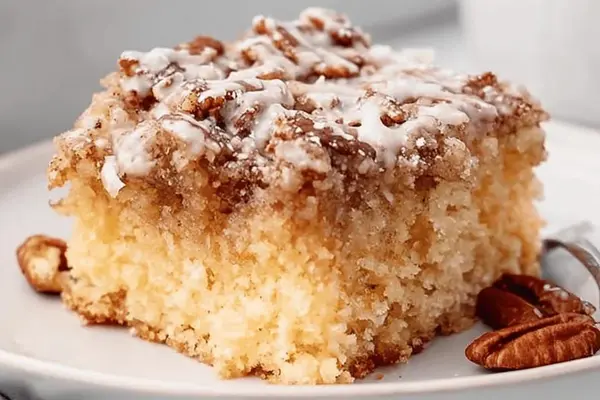
Banana Cinnamon Cake Remix

Coconut Almond Cookies

Strawberry Meringue Tartlets

Valentine Sugar Cookies
Old-School Creamy Caramels

Chunky Candy Brownies

Lemon Sundae Tart

Salted Caramel Choc Chip Cookies

Blackberry Buckle Twist

Classic Apple Tart

Jam Thumbprint Cookies
White Chocolate Cran-Pistachio Bars
Twisted Cajun Pineapple Cake
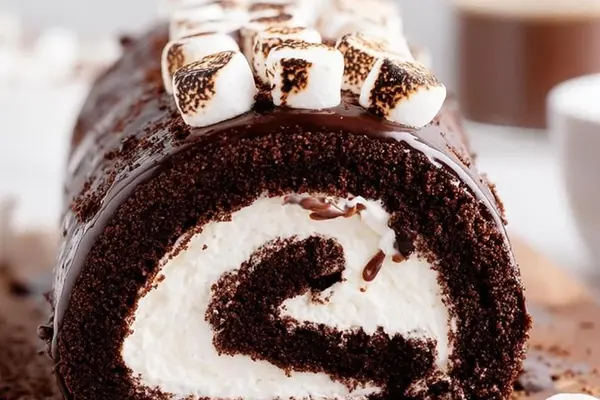
Chocolate Marshmallow Roll

Sugar Pie in Jars
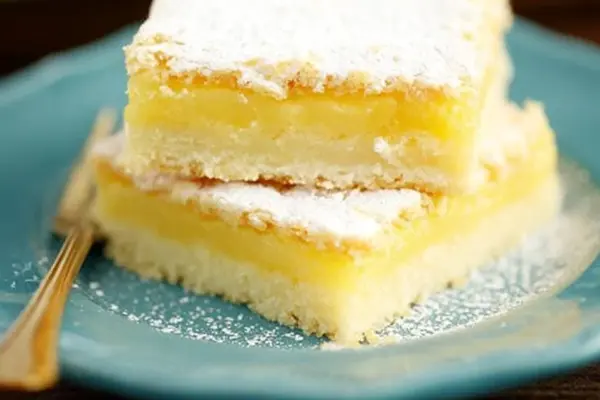
Tangy Lemon Cake Squares

Cinnamon Plum Tart

Apple Marmalade Tart
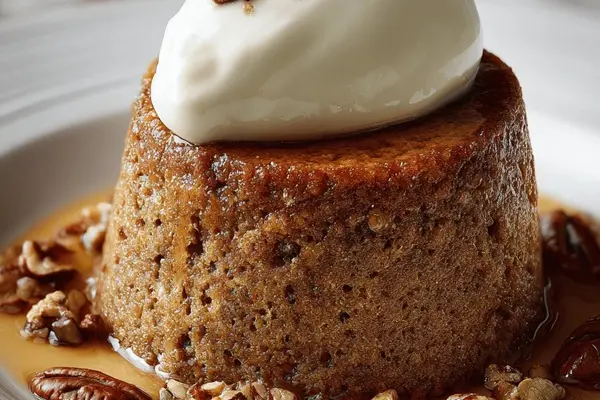
Maple Slow Cooker Pudding
About the ingredients
Sweetened condensed milk is glue here—don’t substitute with evaporated milk or cream, dough won’t bind right. Powdered sugar amount varies a bit by humidity and milk brand—start with less, add gradually until dough isn’t crumbly but holds shape. Peppermint extract essential for that classic cool punch; vanilla swaps good for kids or flavor change. If you want color, small drops of gel food coloring are better than liquid—less chance of soggy dough. Chocolate: bittersweet dark is my go-to for depth, but milk or semi-sweet okay—dark gives sharp contrast with bright mint. Sprinkles optional but add crunch and festive look. Keep ingredients at room temp except during chilling for dipped step. Measure sugar carefully—too much dries dough, too little sticky mess.
Method
- Start by stirring condensed milk, peppermint extract and powdered sugar in a medium bowl or stand mixer with paddle. Use medium speed. Dough gritty at first then turns firm but pliable, not crumbly. Add food coloring now if you want. Takes about 2-4 minutes. Watch dough texture—not dry, not sticky.
- Line a large tray with parchment paper. Shape dough into about 28 balls, roughly 1 inch diameter. Flatten with palm to discs about 1/4 inch thick. Don’t skimp on the thickness—a thin patty cracks when dipped. Let sit on tray uncovered at room temp for minimum 2 hours. Flip once halfway to dry surfaces evenly. You’ll feel skins tighten slightly, no more tacky to touch.
- Right before chocolate melting, toss patties in fridge or freezer for 15-25 minutes till firm. Cold surface helps melted chocolate cling better, avoids melting mess.
- Melt chocolate in double boiler setup — simmer water gently, not boiling hard. Stir frequently till liquid and glossed but not overheating. Dip chilled mint patties one at a time, coax excess off with gentle tap on bowl edge. Transfer back to parchment lined tray. Optional sprinkle toppings immediately after dunking. Allows them to stick before chocolate sets.
- Refrigerate dipped patties for 25-35 minutes till chocolate solidifies. They should snap cleanly without gumminess. Room temperature storage is fine if chocolate is thick shell but refrigerator prolongs freshness.
- Lessons learned: too soft dough = chips sink, chocolate won’t grab. Too cold = brittles cracking before dipping. Patience with drying yields clean coatings and sharp texture. If needed, use vanilla instead of peppermint—flavor shifts but technique same.
- No cooking on stove beyond chocolate melt—condensed milk premade for quick mix. Watch humidity in air; too damp and dough will stick too much or not dry. Use parchment always or wax paper as backup. Plastic wrap traps moisture, no good.
- Crush leftover trimmings and mix with a pinch of salt for quick cheesecake crust or sprinkling on ice cream. Waste nothing.
- If chocolate seizes or gets grainy, whisk with small amount of butter or vegetable oil to smooth. Alternative melting: microwave in short bursts with stirring but double boiler preferred for control.
Cooking tips
Mixing dough—don’t rush lumps out by adding liquid; instead, beat longer for texture transition. Dough should pull from sides, still pliable but firm. Rolling balls small and uniform size helps even chilling and dipping. Flatten firmly but gently so patties don’t crack. Drying step—longer the better but 2 hours minimum; flipping prevent soggy bottoms. Patience here affects final snap. Chilling discs cold before melting chocolate crucial to stabilize structure under warm dip. Double boiler melting avoids overheating—hot water barely simmering, not bubbling violent. Use metal or heatproof bowl, stir often for even melt. Dipping—use fork or tool to lower patties, tap tap excess chocolate on bowl edge to avoid thick bumpy coat. Sprinkles? Add before chocolate dries. Refrigerate final patties fully before handling or storage. Avoid humidity—if chocolate blooms, shelf life shortens. Store cooled patties in air-tight container, wax or parchment between layers to avoid sticking.
Chef's notes
- 💡 Dough texture is everything—start gritty, becomes firm but pliable. Add powdered sugar slowly, humidity affects final feel. Too dry? Cracks after chilling; too sticky? Won't roll. Gel coloring only, water-based ruins dough moisture shifts.
- 💡 Dry discs uncovered for at least two hours minimum. Flip halfway to stop soggy bottoms. Tighten skins, not tacky. This step controls snap, drying tricks bind chocolate better. Skip it, chocolate melts or chips sink in mess.
- 💡 Chill patties before dipping—minimum 15 minutes in fridge or brief freezer blast. Cold surface holds chocolate better, prevents messy melting. Warm patties cause dripping, patchy coating, brittle breaks later.
- 💡 Use double boiler to melt chocolate gently, not boiling water. Stir often, watch shine and thickness—not too thin or it won’t set right. Microwave option: short bursts, stir between each; riskier but faster. Butter or oil smooths grainy chocolate if seize happens.
- 💡 Dunk each patty carefully, avoid thick uneven coating. Tap excess chocolate by gently hitting bowl edge, lets shells dry crisp, not lumps or thick patches. Sprinkles on fresh dip, so they stick. Refrigerate fully before handling. Keep patience, timing makes final texture.
Common questions
Can I skip drying discs?
No, drying crucial. Wet surfaces ruin chocolate stick and snap. Flipping helps extra. Shorts drying, uneven texture emerges. Better dry long than rush.
Substitute for peppermint extract?
Vanilla works if kids or different taste wanted; less sharp but dough handling same. Mint oils or food-grade alternatives possible but testing needed. Salt swap changes dough feel too.
Chocolate seizes what now?
Add bit butter or neutral oil, whisk fast. Grainy chocolate comes from moisture or overheating. Double boiler safer control. Microwave stirs sometimes cause this, so short zaps only.
How store patties after?
Fridge best for freshness, maintains crisp shell. Wax or parchment layer stops sticking. Room temp okay short term but humidity risks bloom or softening. Airtight container keeps odors out but traps moisture—balance needed.
You’ll Love These Too
Explore all →
Potato Veggie Ratatouille

Butternut Squash Purée Twist

Balsamic Herb Vinaigrette

Spiced Pork Skewers

Herb Citrus Pesto

Cheeseburger Pie Remix

Ranch-Seasoned Burger

Glazed Strawberry Pie Twist

Spiced Lentil Stew

Cognac Foie Gras Pots

Crispy Tofu Sticks Honey Mustard

Spinach Artichoke Bake

Tunisian Penne Merguez
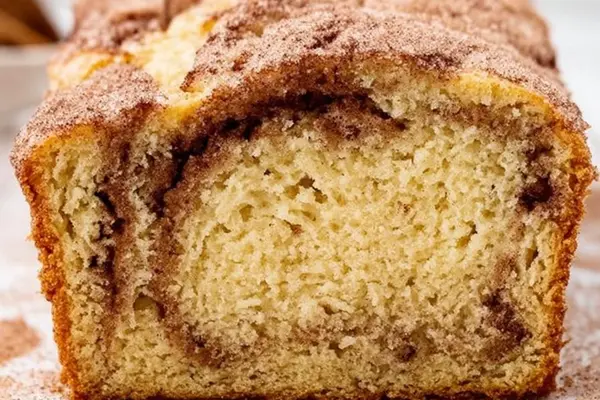
Snickerdoodle Swirl Loaf

Tangy Pickled Cauliflower

Grilled BBQ Tomato Sauce

Air Fryer Carrots Twist

Hearty Goulash Soup

Spiced Cocoa Vanilla Shortbreads

Mediterranean Lamb Leg Roast