
Molten Chocolate Lava Cake with Espresso
E
By Emma
Certified Culinary Professional
•
Recipe tested & approved
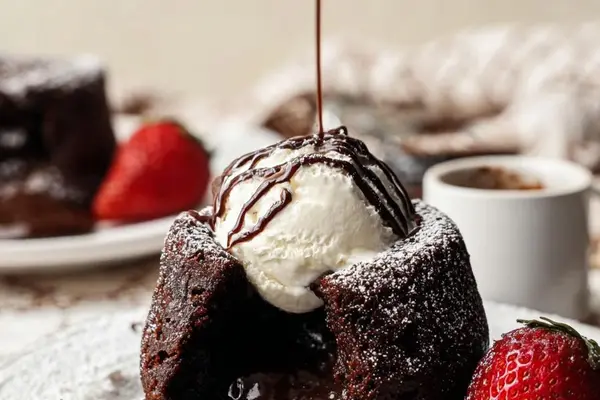
Edges get gold-crisp. Center jiggles like it shouldn’t. That’s the whole thing right there.
Why You’ll Love This Molten Chocolate Lava Cake
Takes 34 minutes total—that’s prep and bake. Easy enough to make on a weeknight when you actually want dessert. Doesn’t feel like you made it in 34 minutes. Tastes like you sweated over it for hours. No mixer tricks. Just eggs, chocolate, butter. The molten center happens on its own if you trust the timer and don’t overthink it. Cleanup’s one bowl, some ramekins. Not nothing, but it’s fast.
What You Need for Bittersweet Chocolate Lava Cake
Bittersweet or semisweet chocolate—five ounces, chopped. Not melted yet. Unsalted butter. Four tablespoons softened, plus extra for the ramekins. Instant espresso powder. A quarter teaspoon. Sounds weird. It’s not. Rounds out chocolate flavor instead of making it taste like coffee. Three large eggs plus two egg yolks. Room temperature matters more than people say. Cold eggs mean trouble folding. Granulated sugar—half a cup. Vanilla extract. A teaspoon. Fine sea salt. Just an eighth. Flour. A third of a cup. All-purpose works fine. Cocoa powder for dusting. Powdered sugar for after. Fresh berries and vanilla ice cream for the plate.
How to Make Molten Chocolate Lava Cake
Start with the oven at 460. Heat up while you work. Four ramekins, six ounces each. Butter them thoroughly. The inside matters most. Grab cocoa powder and coat each one—spin, tap, tip out the excess. Cocoa sticks better than flour and tastes better too. Set them on a parchment-lined baking sheet. Parchment. Don’t skip it.
Chocolate and butter go in a microwave-safe bowl. Twenty-five-second bursts. Stop and stir hard between each one. You’re melting and emulsifying at the same time. When it looks smooth, add the espresso powder. Swirl it in. Let it sit while you do the next thing.
Eggs, yolks, sugar, vanilla, salt. Whisk attachment. High speed. This takes about four minutes. You’re looking for pale, nearly tripled in volume, airy enough that it holds peaks. That’s where the rise comes from.
Fold the chocolate into the eggs gently. Spatula. Slow. You want to keep that air in there. The batter gets thick, almost velvety. Then sift flour on top. Fold until no streaks. Stop there. Overmix kills the texture.
How to Get Molten Chocolate Cake Centers Perfect
Cookie scoop. Divide batter evenly into the ramekins. About three-quarters full. That gives them room to rise without spilling over.
Eight minutes. Maybe nine. Oven time varies depending on your oven’s actual temperature—most run hot or cold, not honest. Watch at eight minutes. Edges should be golden, firm when you poke them. The center jiggles. Like, visibly moves when you nudge the ramekin. That jiggle is the molten part. If it doesn’t move, it’s overbaked. Pull them out.
Wire rack. Ninety seconds. Not more. Too long and the center sets up, becomes fudgy instead of actually liquid. You want it warm and flowing.
Thin butter knife around the edge. Loosen it fully. Tip the ramekin onto the plate, tap once. It should slide out. The cake stays mostly together but the center spills slightly. That’s correct.
Molten Chocolate Cake Tips and Mistakes
Room temperature eggs make folding possible. Cold eggs break apart when you fold them. Spend two minutes pulling them out before you start. Temperature of the chocolate matters. Too hot when you fold it in and you cook the eggs. Too cool and it won’t blend smoothly. Lukewarm is right.
Oven racks positioned wrong means uneven heat. Middle rack. Always. Top and bottom racks create hot spots.
Don’t open the oven door before eight minutes. The heat drop is real. Once you hit eight minutes, you can peek—no problem. But early peeking ruins it.
The powdered sugar goes on after they’re on the plate, never before. Gets wet otherwise. Looks sad.
Berries and ice cream aren’t optional. The cold and acid balance the richness. Eat it right then. Reheated molten chocolate cake is just a dense, room-temperature chocolate cake. Defeats the entire purpose.
Molten Chocolate Lava Cake with Espresso
Prep:
25 min
Cook:
9 min
Total:
34 min
Servings:
4 cakes
Ingredients
- 5 oz bittersweet or semisweet chocolate, chopped
- 4 tbsp unsalted butter softened plus more for greasing ramekins
- 1/4 tsp instant espresso powder
- 3 large eggs
- 2 large egg yolks
- 1/2 cup granulated sugar
- 1 tsp pure vanilla extract
- 1/8 tsp fine sea salt
- 1/3 cup all-purpose flour
- cocoa powder for dusting ramekins
- powdered sugar for dusting finished cakes
- fresh berries and ice cream for serving
Method
- 1 Start by preheating the oven to 460°F; this slight uptick gives the rapid heat needed to form that cracking crust while keeping interiors molten.
- 2 Prepare four 6 oz ramekins by thoroughly buttering inside, then tossing in cocoa powder. Spin and tap to coat evenly; this prevents sticking better than flour and boosts chocolate aroma. Dump excess cocoa out.
- 3 Place ramekins on parchment-lined baking sheet. Always line your tray—sticky drips ruin your oven and burn quickly.
- 4 In a microwave-safe bowl, melt chopped chocolate and butter together in 25-second bursts. Stir vigorously between each to avoid scorching and to emulsify butter fully into chocolate. Add espresso powder last, swirling for a velvet sheen.
- 5 Grab your stand mixer with whisk attachment. Whip eggs, yolks, sugar, vanilla, and salt on high speed until pale, billowy, and tripled in volume. This creates the lift needed, no baking powder required.
- 6 Transfer chocolate mixture gently into egg foam, folding carefully. The contrast between airy eggs and dense chocolate is critical—stirring lightly means the batter stays fluffy yet rich.
- 7 Sift flour on top; fold with rubber spatula until no dry streaks remain. Overmix dulls texture. Batter should thicken slightly, feel almost velvet in the bowl.
- 8 Using a cookie scoop, divide batter evenly into ramekins. They should fill about three-quarters full for proper rise.
- 9 Slide into oven; watch closely after 8 minutes. Edges solidify first—golden-crisp, firm to touch yet center jiggles like jelly. If jiggle’s gone, overbaked. Timing varies; trust touch, not clock.
- 10 Remove, set on wire rack. Let cakes rest 90 seconds—not more. Too long and molten centers stiffen, turning fudgey instead of ooey.
- 11 Loosen edges with thin butter knife. Tip ramekin inverted onto dessert plate. Tap once. The cake should slide out easily, lava spilling slightly should be evident.
- 12 Dust lightly with powdered sugar. Serve hot with fresh seasonal berries and a scoop of creamy vanilla ice cream. Contrast of warm cake and cold ice cream seals the deal.
Nutritional information
Calories
400
Protein
6g
Carbs
35g
Fat
28g
Frequently Asked Questions About Molten Chocolate Lava Cake
Can I make this chocolate dessert for two instead of four? Cut everything in half. Two ramekins. Same timing—eight to nine minutes. Oven heat doesn’t change. Smaller ramekins might cook faster though. Watch at seven minutes if yours are smaller.
What if I don’t have espresso powder? Skip it. The cake works fine without. Espresso doesn’t make it taste like coffee—it makes chocolate taste more like chocolate. But it’s not essential.
How do I know when the molten center is actually done? Jiggles slightly when you move the ramekin. That’s it. Edges should be set and firm. The very center moves. If the whole thing wiggles, it needs another minute. If nothing moves at all, it’s past the point.
Can I prep these earlier and bake them later? Batter sits fine in the ramekins covered in the fridge for maybe eight hours. Pull them out, let them reach room temperature—takes about fifteen minutes—then bake. Cold batter takes a minute or two longer to cook through.
Why is room temperature so important for eggs? Cold eggs don’t fold in smoothly with the chocolate. They break apart. Room temperature eggs incorporate without breaking, which keeps the batter light and airy. That airiness is what makes the cake rise and stay fluffy instead of dense.
Is bittersweet chocolate better than semisweet? Bittersweet gets a cleaner molten chocolate flavor. Semisweet works too—just slightly sweeter. Either one. Pick whatever you like eating straight from the bar. That’s your answer.
Can I serve this chocolate lava cake with something other than ice cream? Whipped cream works. A drizzle of caramel. Honestly, the berries matter more than the cold dairy. But cold dairy is the point. Warm cake, cold side. Balance.
You’ll Love These Too
Explore all →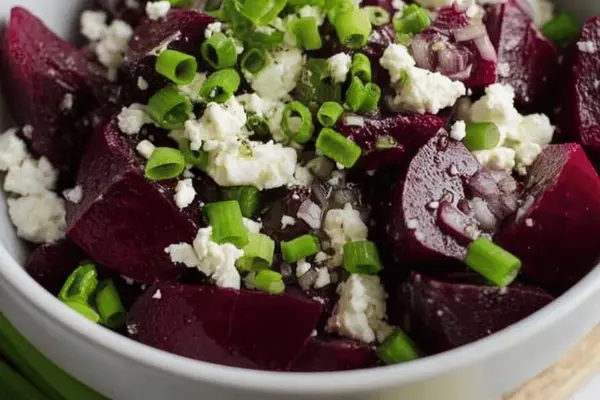
Roasted Beet Salad with Goat Cheese

Pan Seared Chicken Breast with Chorizo
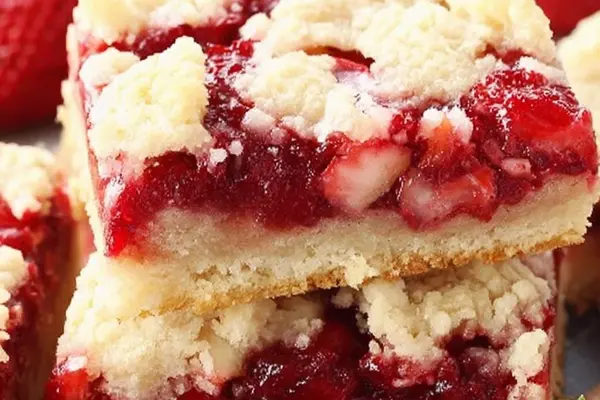
Strawberry Lemon Bars with Buttery Crust

Cookie In Iron Skillet With Chocolate Chips

Ground Turkey Zucchini Boats with Salsa

Dijon Glazed Fish with Maple and Lemon
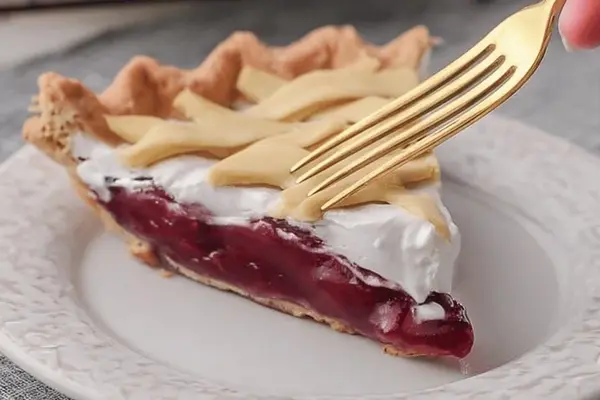
Grape Juice Pie with Arrowroot Filling

Halibut Papillotes with Pickled Cucumbers
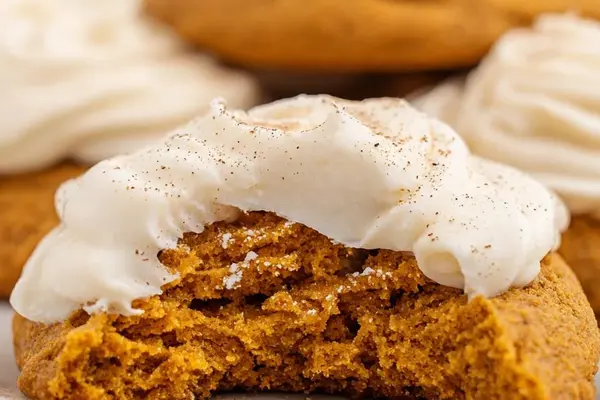
Pumpkin Cookies with Cream Cheese Frosting

Loaded Smashed Potatoes with Bacon & Cheddar
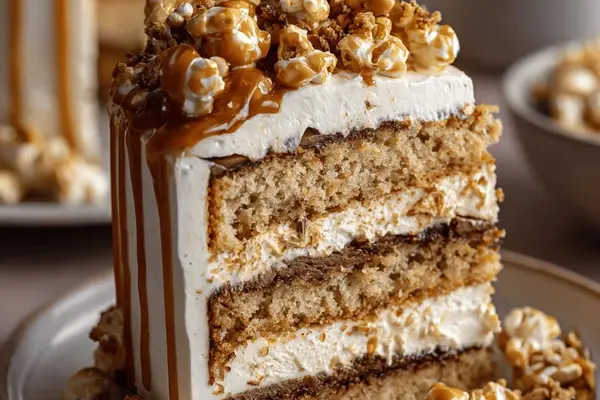
Caramel Popcorn Cake with Peanut Chocolate
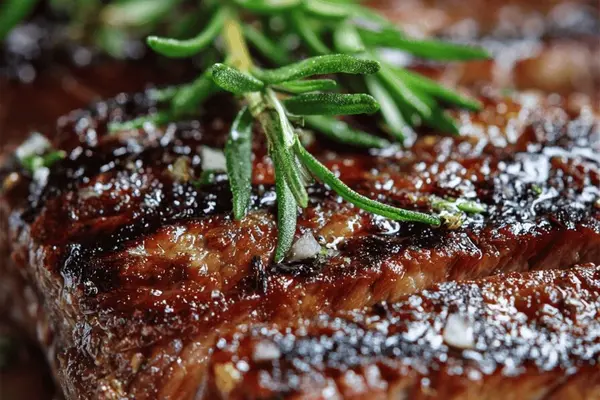
Rosemary Scented Steak with Fleur de Sel

Carbonara with Pancetta and Pecorino Romano
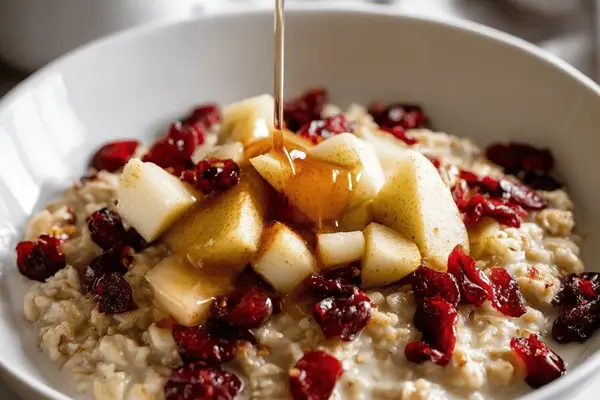
Creamy Steel-Cut Oats with Pear & Honey
Brioche Cinnamon Bun Recipe with Caramel

Baked Chicken Wings with Smoked Paprika

Hearty Chicken Bog with Smoked Sausage

Dr Pepper Pulled Pork Slow Cooker

Spices in Pumpkin Pie Snack Mix Recipe
