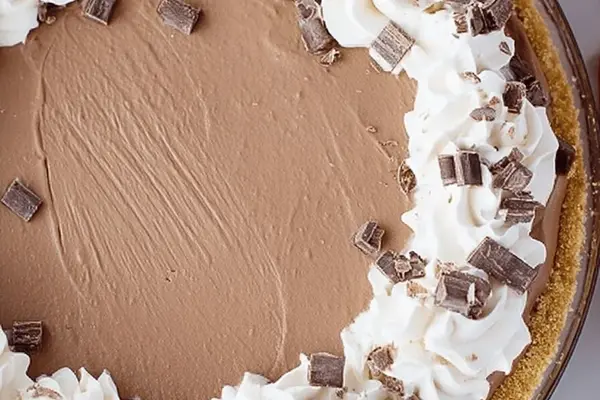
No Bake Chocolate Cheesecake Recipe
By Emma
Certified Culinary Professional
·
Recipe tested & approved
Cream cheese goes in first. Four minutes of whipping until it’s pale and airy—that’s the whole foundation right there. Had a batch once where I skipped this and the texture came out grainy. Never again.
Why You’ll Love This No Bake Cheese Dessert
Takes 22 minutes total. No oven. No waiting for things to cool. Tastes like a real chocolate cheesecake but it’s just five ingredients mixed together. Set it in the fridge while you do literally anything else. Works cold straight from the start. Stores for days. Actually gets better—flavors settle overnight. No bake means no stress about baking times or temperatures or whether it cracked.
What You Need for Easy Chocolate Cheesecake
Cream cheese softened. Not room temperature—actually soft. Cold cream cheese clumps. Doesn’t blend right.
Unsalted butter. Five ounces. Salted butter throws the whole balance off somehow.
Semi-sweet chocolate chips. Five ounces. The kind in the regular aisle. Dark chocolate works if you want it less sweet.
Powdered sugar. Three quarters cup. Granulated sugar doesn’t dissolve the same way. Just use powdered.
Graham cracker crust. Store-bought or homemade. Matters way less than people think. Any kind works.
Vanilla extract. Two teaspoons. Optional but don’t skip it. Changes everything.
Whipped cream and vanilla bean ice cream on the side. Not required. Makes it taste like a restaurant dessert though.
How to Make No Bake Chocolate Cheesecake
Whip the cream cheese first. Use a hand mixer or a whisk attachment if you have one. Four minutes minimum. You’re looking for pale, light, almost fluffy—the texture when it’s full of air bubbles. Not grainy. Not cold lumps sitting in the bowl. Just fluffy.
Add vanilla. Pulse once or twice. Don’t overbeat it. Just combine.
Clean the bowl. Set the cream cheese aside.
How to Get the Texture Right on Chocolate Cheesecake
Microwave the butter and chocolate together. High heat. Thirty seconds. Stir.
Do it again. Fifteen second bursts. Stir after each one. This takes longer than you’d think but it’s worth it—the chocolate separates if you blast it all at once. Smooth and shiny means done. Warm but not hot.
Pour it into the cream cheese. All at once. Blend on slow speed so it doesn’t fly everywhere. You want uniform cocoa color. No white swirls. No streaks. Just chocolate all the way through.
That glossy cocoa meeting the fluffy base—that’s the velvet part. That’s what makes it actually good.
Add the powdered sugar now. Sift it in. Fold gently until the streaks are gone. Don’t overbeat. This is the moment the texture either holds up or falls apart. Thick but spreadable. When you lift the spatula it should stay where you put it.
Press it into the graham crust. Even layer. Tap the crust on the counter a few times to settle things and knock out air pockets. Cover with plastic wrap.
Refrigerate minimum four hours. Overnight is better.
No Bake Desserts Tips and Common Mistakes
Don’t skip the whipping stage with the cream cheese. That air bubble part is not decoration—it’s structure. Without it the whole thing comes out dense and kind of gritty.
The chocolate needs to be warm, not hot. If you burn it even a little it tastes off. Like burnt. Oddly specific but it happens.
Folding in the powdered sugar matters. If you beat it after that point the cheesecake loses body. Just fold. In and out. Stop when you can’t see white streaks anymore.
Cold cream cheese will not blend properly. It’ll fight you. Take it out of the fridge maybe an hour before.
The crust settling—tap it on the counter. Removes air pockets that make the bottom texture weird. Small thing. Changes the whole eating experience.
Serve it cold. Straight from the fridge. Scoop some whipped cream next to it. Vanilla bean ice cream if you have it. The cold on cold on cold is the whole point.
Stayed in the fridge seven days once. Still good. Got better honestly. Flavors merged together.
No Bake Chocolate Cheesecake Recipe
Prep:
22 min
Cook:
0 min
Total:
22 min
Servings:
12 servings
Ingredients
- 16 oz cream cheese softened
- 2 tsp vanilla extract
- 5 oz unsalted butter sliced
- 5 oz semi-sweet chocolate chips
- 3/4 cup powdered sugar
- 1 graham cracker crust store-bought or homemade
- optional topping whipped cream and vanilla bean ice cream
Method
- 1 Beat cream cheese using whisk attachment or hand mixer until fluffy and hopping with air bubbles, roughly 4 minutes. Look for pale, light texture not grainy or cold lumps. Add vanilla extract, pulse briefly just to combine. Set aside and clean bowl.
- 2 Microwave butter and chocolate in a microwave-safe bowl on high 30 seconds, then stir promptly. Repeat 15 second bursts stirring each time. Don’t let chocolate scorch or separate—smooth, shiny texture means done. Should be warm but not hot.
- 3 Drop melted chocolate butter into cream cheese mix all at once. Blend thoroughly until uniform, no swirls of white. Use slow speed to avoid flying mixture out. The glossy cocoa mix meeting fluffy base creates velvet cream. Time to add sugar next.
- 4 Sift powdered sugar into bowl and fold gently only until streaks vanish. Don’t overbeat or cheesecake will lose body. Texture should be thick but spreadable, holds shape when lifted with spatula.
- 5 Press filling evenly into graham crust. Tap crust lightly on counter to settle and remove air pockets. Cover tightly with plastic wrap. Refrigerate minimum 4 hours or overnight is better for sliceability and flavor depth.
- 6 Serve chilled. Scoop dollops of whipped cream alongside vanilla bean ice cream for cool counterpoints to dense chocolate. Fork passes cleanly through set cheesecake, edges hold neat cuts.
- 7 Comments appreciated. Variants tried welcome. Sharing tweaks and results helps everyone.
Nutritional information
Calories
360
Protein
5g
Carbs
22g
Fat
28g
Frequently Asked Questions About No Bake Chocolate Cheesecake
Can I make this chocolate cheesecake with whipped cream topping instead of ice cream? Yeah. Whipped cream works better actually. Ice cream melts fast. Whipped cream stays on top. Mix heavy cream with a tablespoon of powdered sugar and vanilla. Whip until peaks form. Dollop on top right before eating.
How long does no bake cheesecake with cream cheese last in the fridge? Five days easy. Seven if it’s covered tight. After that it gets a weird flavor that’s not bad but not great. Better to eat it within five.
Can I use dark chocolate instead of semi-sweet for this cream cheese chocolate dessert? Probably. It’ll be less sweet and more intense. The texture stays the same. Just works different flavor-wise.
Do I have to use a graham cracker crust or can I skip it? Could skip it but don’t. Crust adds structure and keeps it from being too dense. Makes it feel like actual cheesecake instead of chocolate mousse. Takes two seconds to press in.
Why does my no bake cheesecake seem grainy even though I mixed everything? Cold cream cheese. That’s almost always it. Or you didn’t whip it long enough at the start. The air bubbles matter. Sounds weird but they do.
What’s the difference between making this and just eating chocolate mousse? The cream cheese. The whipping. The structure. Mousse is airy and collapses. This holds its shape. When you fork through it, the fork actually cuts. Mousse just dissolves on your tongue. Different things entirely.
You’ll Love These Too
Explore all →
Swedish Meatball Recipe with Veal & Crème Fraîche

Veggie Wraps with Grilled Tofu & Sesame Mayo
Cilantro Lime Pasta Salad with Citrus Gremolata

Fried Cashew Recipe with Smoked Paprika
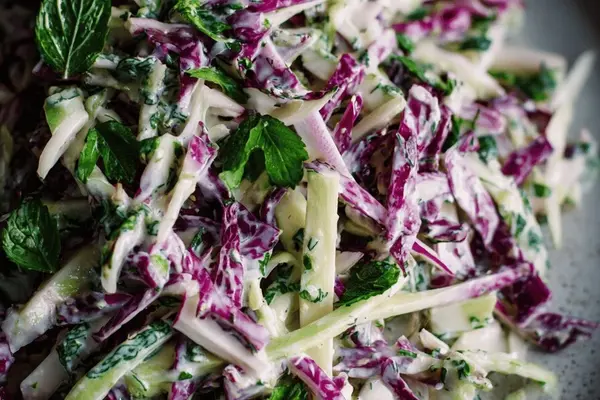
Crunchy Cabbage Salad with Yuzu Dressing
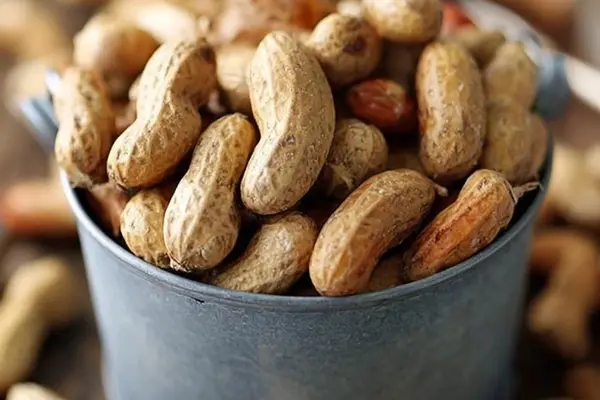
How to Make Boiled Peanuts in Pressure Cooker
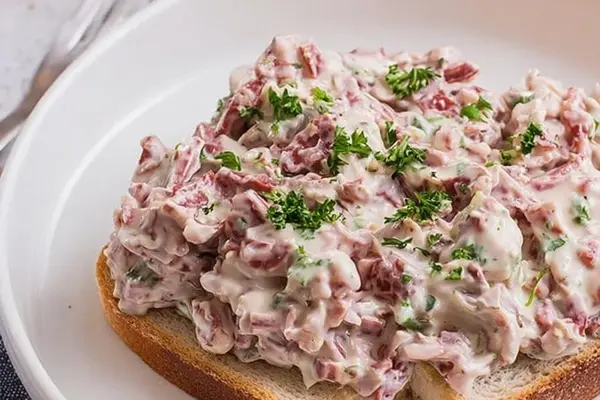
Creamed Chipped Beef on Toast Recipe
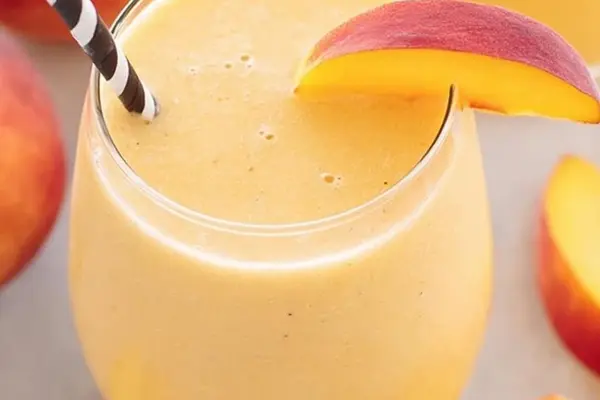
Banana Peach Smoothie with Greek Yogurt
Grilled Pork Chops with Roasted Zucchini Salad
Homemade Peanut Butter Cups Recipe
Raspberry Cream Spread with Coconut Oil
Beef Burger Recipe with Chipotle Cheese

Chili Verde Recipe with Ground Pork
Roman Chicory Salad with Puntarelle
Cosmopolitan The Drink Recipe
No Baking Cookies with Oats & White Chocolate
Ricotta Cream Heart with Lemon & Maple
Buttercream Lemon Pound Cake Recipe
Lemon Pavlova with Yuzu Filling Recipe