
No Bake Horse Cookies with Milano & Nilla Wafers

By Emma
Certified Culinary Professional
·
Recipe tested & approved
Cut the Milano cookies. Stack the candy eyes. These aren’t baked—just assembled. Takes 25 minutes and looks like you spent way longer on them.
Why You’ll Love These No Bake Horse Cookies
Takes 25 minutes flat. No oven. No waiting. Kids can help build them. Seriously — they’re old enough to hold frosting? They can do this. Party food that’s actually fun to look at. Not just another plate of cookies. Uses stuff you probably have already. Milano cookies. Nilla Wafers. Licorice rope. Done. Doesn’t fall apart in your hands like regular decorated cookies sometimes do.
What You Need for No Bake Horse Cookies with Candy Eyes
Twelve Milano cookies. The base. Bigger than you’d think but still snappable. Twelve mini Nilla Wafers for the faces. They’re small enough that the pen actually works on them. Frosting—brown or white, doesn’t matter. About two tablespoons total, maybe a bit more. The stickiness is what holds everything together. Red or black food coloring pen. Draw the expressions. Markers work too if the pen runs out. Licorice rope cut into 3 to 4 inch pieces. This becomes the reins. Don’t skip it—it’s the thing that makes them look like actual horses. Tootsie Rolls sliced thin then chopped into triangles for ears. You’ll only need one, maybe two depending on how many you’re making. Two candy eyes per cookie. The ones that look googly. Not the flat kind—those don’t stick right.
How to Make No Bake Horse Cookies
Dab frosting in the upper corner of your workspace first. Use a toothpick—spreads clean, no mess. Set up everything else within arm’s reach because once you start, you don’t want to hunt for pieces.
Grab the food coloring pen and draw on each mini Nilla Wafer. Make them look alive. Wonky is better than perfect. Then frost the back of each wafer and stick it below the Milano cookie’s curve—that’s where the mouth goes. Position actually matters here or they just look sad.
Wrap licorice rope around the middle of each Milano. It’s tight but it flexes. Dab a little frosting at the back where the ends meet and trim the extra licorice off. Too much hanging out looks sloppy. Too little and it slips.
How to Get the Ears Right on No Bake Decorated Cookies
Slice the Tootsie Roll thin. Then chop those slices into triangles. Roll them between your fingers until they puff out and look like actual ears—takes like 10 seconds per piece. Frosting on the back and stick them where the licorice meets on top of the Milano. They fall off easy so press them hard. Let them sit a second.
Pipe the mane on top with frosting and a star tip if you have one. Doesn’t have to be neat. Wild looks better. The frosting needs to be stiff enough to hold the shape though—if it’s too soft the whole tuft just melts down and looks like a frosting blob instead of a mane.
Candy eyes go last. Frosting holds them. They’re the thing that actually makes it look like a horse versus some weird candy sculpture.
No Bake Horse Cookies Tips and Common Mistakes
Frosting stiffness is everything. Soft frosting means nothing holds. If yours is too runny, let it sit in a cool spot for five minutes. Usually firms up.
Don’t skip the drying time after the eyes go on. Sounds silly but five minutes and those things are set solid. Skip it and you’re moving candy eyes around forever.
Licorice rope gets brittle sometimes. If yours snaps when you bend it, it’s probably old. Fresh rope bends fine. Same with Tootsie Rolls—old ones are hard to slice and harder to shape.
The food coloring pen matters less than you think. Markers work. Edible glitter works. Even crayon works if that’s what you have.
Milano cookies aren’t glued to the Nilla Wafer. They’re just stacked. If your frosting’s too thin they slide. If it’s right they stay put pretty well.
No Bake Horse Cookies with Milano & Nilla Wafers
Prep:
25 min
Cook:
0 min
Total:
25 min
Servings:
12 cookies
Ingredients
- 12 Milano cookies
- 12 mini Nilla Wafers
- Brown or white frosting about 2 tablespoons
- Red or black food coloring pen
- 1 licorice rope, cut into 3-4 inch pieces
- 1 Tootsie Roll, sliced into small strips
- 2 candy eyes per cookie
Method
- Step 1
- 1 Set your workspace with a dab of frosting in the upper corner. Use a toothpick for precise spreading; no clumps, no smears.
- Step 2
- 2 Grab the food coloring pen; draw a smiley face on each mini Nilla Wafer. No straight lines, make ‘em look alive. Dab frosting on each wafer’s back and stick it below the curve of the Milano cookie—mouth positioning matters.
- Step 3
- 3 Licorice ropes trimmed 3 to 4 inches long, wrapped carefully around the middle of each Milano cookie. Use a small frosting dab at the back to glue and trim excess licorice. Too much or sloppy reinforcement? Disaster.
- Step 4
- 4 Tootsie Rolls go under the knife—thin slices, then chopped smaller into triangles. Roll them between fingers until ear shapes pop out. Attach at the opposite end of the licorice reins with frosting; secure or it falls off at first bump.
- Step 5
- 5 Pipe a hair tuft center top with a star tip. No smooth blobs, texture is key. Get that mane wild or tame; either way gives life. Frosting stiffness helps hold shape—too soft? Heads droop.
- Step 6
- 6 Last touch: candy eyes attached with frosting. Let these settle, dry out a bit before handling. Drying skips mean smudges and sad faces.
- Step 7
- 7 Test finished look; bite into one to assess frosting stickiness and cookie crunch. Share experiences or variations post-snack.
Nutritional information
Calories
150
Protein
1g
Carbs
22g
Fat
6g
Frequently Asked Questions About No Bake Cookies for Kids
Can I use different cookies instead of Milano? Yeah. Anything flat and sturdy works. Shortbread. Digestive biscuits. Animal crackers if you’re feeling it. The Milano’s just big enough that it reads as the body without being weird.
How long do these last before they get stale? Few days easy. The frosting keeps the cookies from drying out super fast. After three or four days the Milano gets a little soft but not bad.
Do the candy eyes stick permanently or do they fall off? They stick if your frosting’s thick. If you move them around a lot they eventually work loose. But just sitting in a box? Fine for days.
Can I make these ahead of time for a party? Make them morning of. The frosting holds but they look fresher when they’re not sitting around. Thirty minutes before the party starts works fine.
What if I don’t have a food coloring pen? Use a marker. Use a toothpick and food coloring mixed with a drop of water. Honestly? Doesn’t matter. The eyes are what make them horses anyway.
Are these gluten free? Not unless you swap the cookies. Milano and Nilla Wafers both have gluten. There’s probably a gluten free version somewhere but you’d have to look.
You’ll Love These Too
Explore all →
Cheese Croquettes with Ricotta and Walnuts
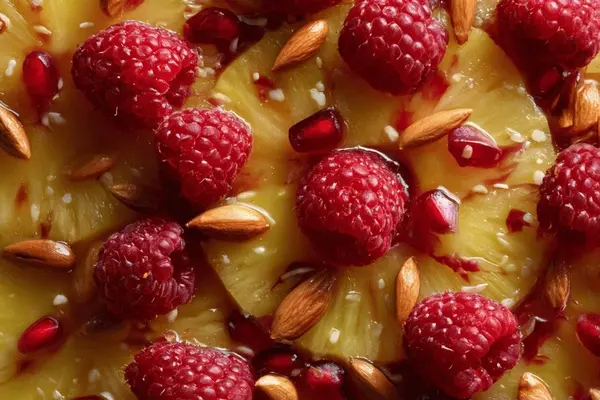
Pineapple Dessert with Pomegranate Juice

Pear Ricotta Blue Canapés Recipe

Lemon Cookies with Mirror Glaze Recipe

Making Sugar Cookies with Royal Icing
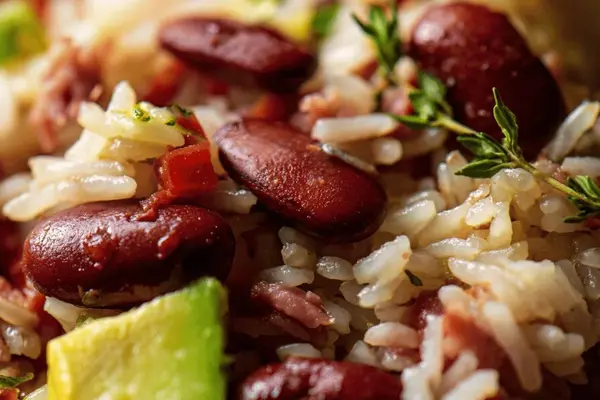
Red Beans and Rice with Smoked Turkey

Strawberry Shortcake Recipe with Lemon Biscuits
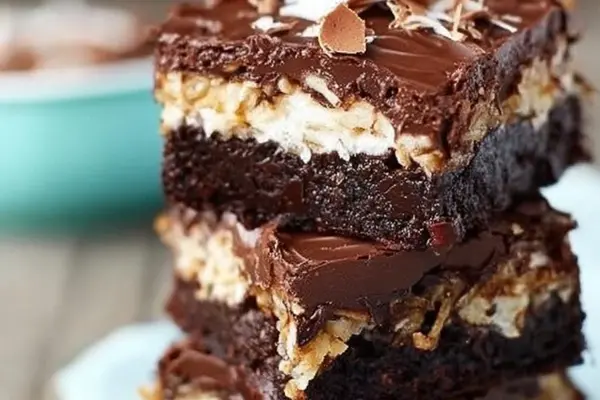
Marshmallow Pecan Brownies Recipe

Caramelized Butter Corn with Honey and Pecans
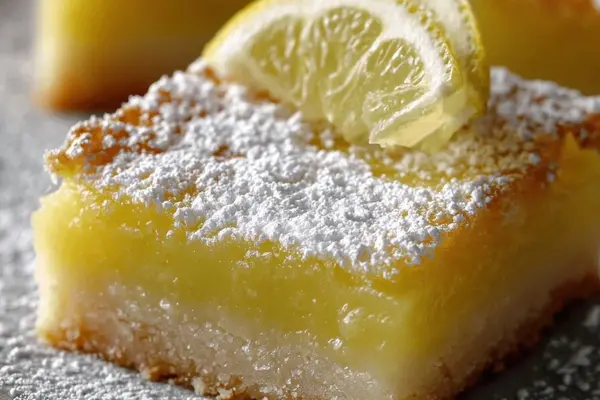
Lemon Bars with Lime and Cornstarch

Asian Chicken Sandwich with Peanut Carrot Salad

Herb Lamb Lollipops with Romesco Sauce
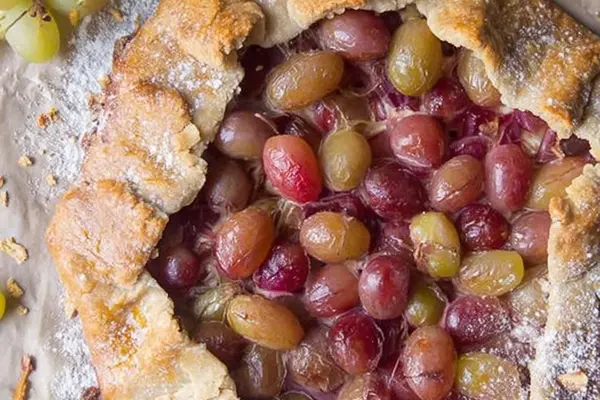
Rustic Grape Galette with Lemon & Vanilla

Cajun Chicken Alfredo Pasta
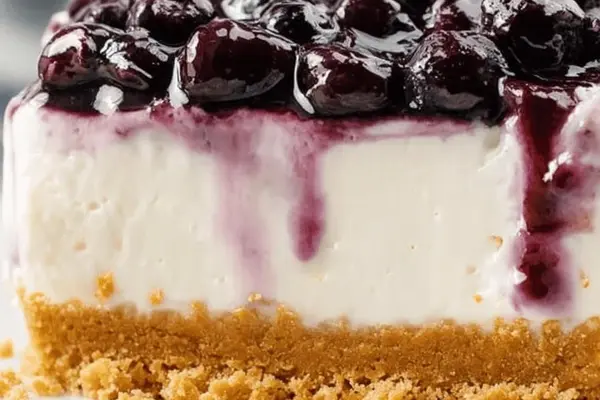
No Bake Blueberry Cheesecake with Lime
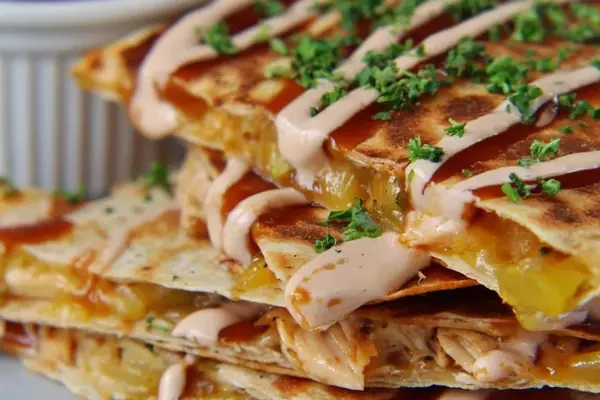
BBQ Chicken Quesadillas with Pineapple

Pineapple Coconut Bars with Oat Crust

Homemade Marshmallows Recipe with Honey
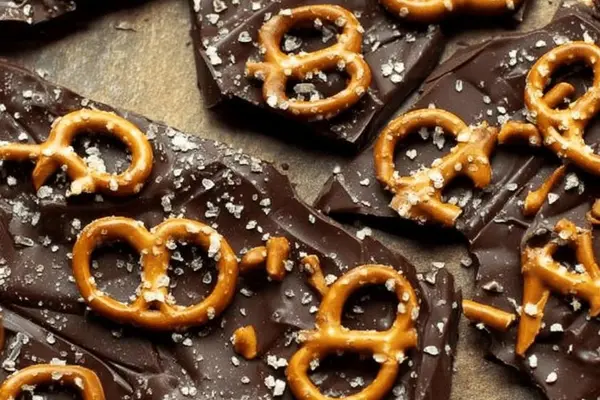
Chocolate Pretzel Bark with Toffee Bits