Oatmeal Breakfast Cups with Walnuts
By Emma
Certified Culinary Professional
·
Recipe tested & approved
Two heaping tablespoons per cup—that’s the whole thing. Press it down, form little walls, and 17 minutes later you’ve got breakfast for the week sitting in front of you. No blender. No stress. Just oats, nuts, and an egg doing exactly what you need them to do.
Why You’ll Love These Oatmeal Breakfast Cups
Takes 20 minutes to prep, 17 in the oven, then you’re done for days. Stack five in a container. Grab one before work.
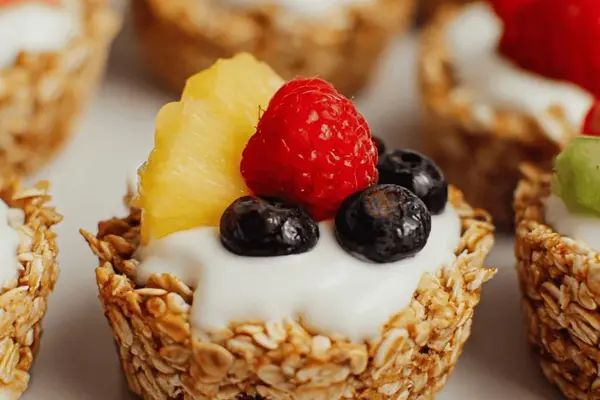
Greek yogurt goes on top—berries too if you have them. Soft inside, crispy edges. That textural play is what makes it work.
No bake part of the appeal. Once they cool, they sit in the fridge for three days easy. Reheat in the microwave for 10 seconds if you want the crunch back. Works fine cold too.
High protein hits different when breakfast actually fills you until lunch. The egg does that. The nuts do that. Not some sad cereal situation.
Healthy eating shouldn’t taste like you’re punishing yourself. These taste like a treat but your body knows what’s up.
What You Need for Maple Cinnamon Oatmeal Cups
Old fashioned oats. Not instant. Not quick. The texture falls apart otherwise.
One and a half cups. That’s the base. Walnuts work best—a third cup chopped up. Pecans or almonds if that’s what you have. The crunch matters more than which nut exactly.
Maple syrup. Not honey. Maple holds the moisture differently, keeps things tender instead of dense.
One large egg. That’s your binder. Non-negotiable. Half a cup of milk—cow milk, almond milk, oat milk. Doesn’t matter much. Just something to hydrate the oats.
Baking powder. A half teaspoon. Cinnamon too. A half teaspoon of that. Salt—a quarter teaspoon. The cinnamon’s doing real work here. Don’t skip it or swap it light. Vanilla extract, one teaspoon. That’s it.
How to Make Baked Oat Cups in a Muffin Tin
Heat your oven to 355. Not 350. That extra five degrees makes the edges crisp instead of chewy and soggy. Get a 12-cup muffin pan. Silicone liners if you have them—they peel right off and you never fuss with paper or stuck edges. No liners? Spray it hard with nonstick spray. Paper liners lock moisture wrong. Skip those.
Whisk together your oats, nuts, baking powder, cinnamon, salt. Do this in one bowl. Get it mixed through so the spices aren’t clumping anywhere.
Different bowl now. Egg, syrup, vanilla, milk. Whisk it but don’t overdo it. Lumps are fine. The whole point is to keep things rough. Pour the wet stuff into the dry stuff. Stir just until combined. You want to see texture, not batter smoothness.
How to Get Crispy Edges on Baked Oatmeal Nests
This is where it gets specific. Fill each muffin cup with about two heaping tablespoons of mixture. Don’t just plop it in. Press it down firmly—push against the bottom and the sides. You’re creating little nest shapes with walls. This matters because later when you load it with Greek yogurt, those walls hold everything. Flat tops won’t work. You need edges.
Into the oven. Seventeen minutes is the target. Around 15 minutes, start listening. Faint crackling at the edges. The smell shifts—nutty, warm spices. Edges turn golden but nowhere near burnt. Inside stays tender but not gooey. That’s when you pull it out. Mine usually takes 16 to 17 minutes. Your oven might be different. Watch it. The timing matters less than what you see and smell.
Cool them in the pan for 12 minutes. Hot oat cups are delicate. They crack if you handle them rough. This rest firms everything up. After 12 minutes, lift gently. If you didn’t use silicone liners, run a knife around the edges first. Transfer to a wire rack for another 10 minutes. Air circulation from below dries the bottom slightly. Prevents sogginess later.
Oatmeal Breakfast Cups Tips and Common Mistakes
Batter too wet? Add more oats or nuts, a tablespoon at a time. You’ll feel when the texture shifts to something that holds together when you press it.
Not holding their shape? Push the mixture firmly against the sides and bottom. Don’t be gentle. The pressure creates structure.
Soggy bottoms are the worst. Crank the oven heat slightly next time or bake a minute longer. Oven quirks are real. Mine used to burn tops and leave bottoms raw until I figured out my oven runs cool on the bottom rack.
Edges too dark? Lower the temp by five degrees and check at 16 minutes instead of waiting the full 17.
Fill with Greek yogurt right after they cool completely. The contrast—crispy cup, soft yogurt, tart or sweet fruit on top. That layering is the whole thing. Berries work. Jam works. Honey works. Just don’t skip this part.
Storage: airtight container in the fridge. Best within three days. After that the cinnamon flavor gets weird, edges soften. Reheat gently if you want crisp back—10 seconds in the microwave, watch it close or they get soggy fast.
Oatmeal Breakfast Cups with Walnuts
Prep:
20 min
Cook:
17 min
Total:
37 min
Servings:
12 servings
Ingredients
- 1 1/2 cups old fashioned oats
- 1/3 cup chopped walnuts (swap pecans or almonds)
- 1/4 cup maple syrup (instead of honey)
- 1/2 tsp baking powder
- 1/2 tsp cinnamon
- 1/4 tsp salt
- 1 large egg
- 1 tsp vanilla extract
- 1/2 cup milk (cow, almond, or oat)
Method
- 1 Preheat oven to 355°F—boosted a bit from the 350 I usually use. I noticed edges crisp faster, less chewy sogginess.
- 2 Grab a 12-cup muffin pan. Use silicone liners if you have 'em. They peel right away; stops fiddling. No liners? Spray good with non-stick spray, no paper liners—locks moisture wrong.
- 3 Whisk together oats, nuts, baking powder, cinnamon, salt in a bowl. Spices matter; cinnamon here really lifts, don’t skip or swap lightly.
- 4 In a different bowl, mix egg, syrup, vanilla, and milk. Don’t overdo blending; lumps okay. Pour wet into dry; stir just to combine. You want texture, not batter smoothness.
- 5 Fill every muffin cavity. Use about 2 heaping tablespoons per cup. Don’t just plop. Press mixture down firmly, then up sides to create little nest shape. This holds yogurt later—works best when edges form thin 'walls.'
- 6 Into oven. Listen for faint crackling edges at about 15 minutes. Smell shifts – nutty, warm spices. Edges turn golden but not burnt. Inside stays tender but not gooey. Usually about 16-17 minutes got me the right texture.
- 7 Cool in pan for 12 minutes. This lets nests firm up. Delicate when hot; they crack with rough handling. Lift gently—if no silicone, use knife around edges before removing. Transfer to wire rack for another 10 minutes. Air circulation dries bottom slightly.
- 8 Fill nests with Greek yogurt. Top with berries, a drizzle of honey or jam. Textural play here is key. Crunch of nuts, creaminess of yogurt, tart or sweet fruit—layers matter.
- 9 Storage tip: Refrigerate in airtight container. Best eaten within 3 days. Reheat gently to refresh crisp edges, 10 seconds in microwave, watch closely or it gets soggy.
- 10 Common roadblocks? Batter too wet—add more oats or nuts, a tablespoon at a time. Not sticking—push mixture firmly against sides. Bottom soggy—crank oven heat slightly or bake longer, check oven calibration. I learned this after burnt tops but raw bottoms; oven quirks are real.
Nutritional information
Calories
150
Protein
5g
Carbs
20g
Fat
6g
Frequently Asked Questions About Oatmeal Breakfast Cups
Can I make these the night before? Yeah. Actually better that way. Mix everything, fill the pan, cover it, stick it in the fridge overnight. Bake the next morning. The oats hydrate slow, so they come out more tender.
Do these freeze? They do. Pop them in the freezer unfilled for up to two weeks. Reheat in the oven at 300 for five minutes. Or thaw them and microwave. Don’t freeze them filled with yogurt—texture gets weird.
Can I use instant oats? Not really. They turn to mush. Old fashioned oats hold their shape in the cup. That’s the whole point.
What if I don’t have walnuts? Pecans work exactly the same. Almonds too. Anything nutty really. Even pumpkin seeds if you want. Just need something for texture and protein.
How long do these actually keep? Three days in an airtight container, fridge. After that the cup gets soft and the cinnamon flavor goes flat. They don’t last longer than that before something shifts.
Can I make these in regular muffin tins without liners? Yeah but spray the hell out of it. Nonstick spray, not paper liners. Paper absorbs moisture and they stick. Silicone is honestly better but not necessary.
Do I have to top them with yogurt? No. They’re fine alone. But yogurt changes the whole thing—creamy against crispy, sharp against sweet. Once you go yogurt, you’re not going back.
You’ll Love These Too
Explore all →
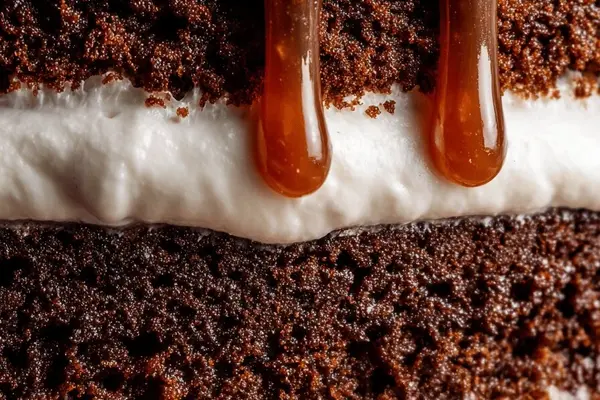
Apple Pecan Sheet Cake with Caramel Sauce
Roasted Chicken Thighs with Garlic & Rosemary
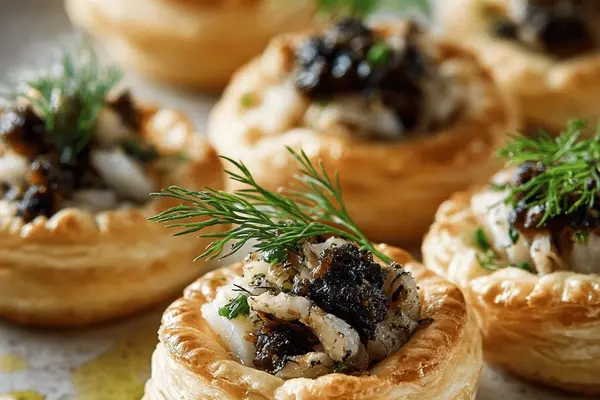
Cod and Olive Tapenade Puff Pastry Bites
Homemade Reese's Peanut Butter Cups Recipe

Peanut Noodle with Tofu and Green Beans
No-Bake Pumpkin Brownies with Chocolate

Chocolate Mousse Dessert with Espresso

Sausage Shepherd's Pie with Parmesan

Apple Turnover With Puff Pastry
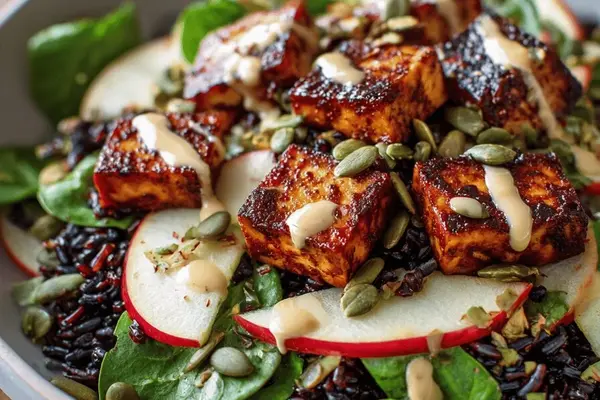
Black Rice Tofu Apple Salad with Curry

Green Juice with Kiwi, Orange & Kale

Creamy Mushroom Sauce with Veal
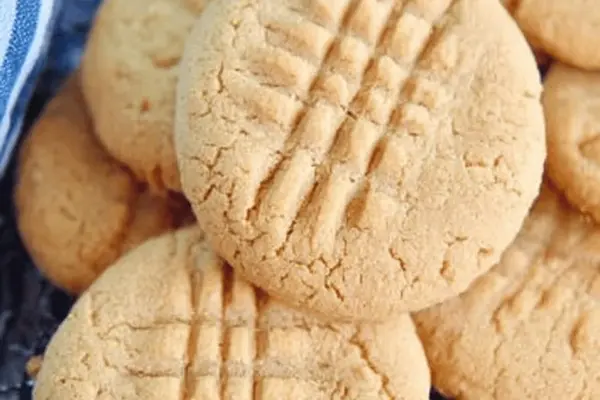
Soft Peanut Butter Cookies with Almond Extract
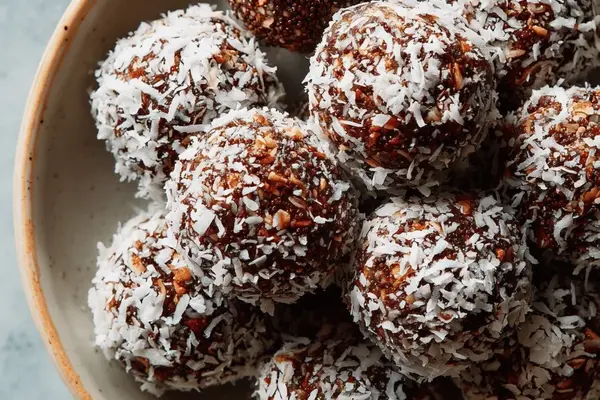
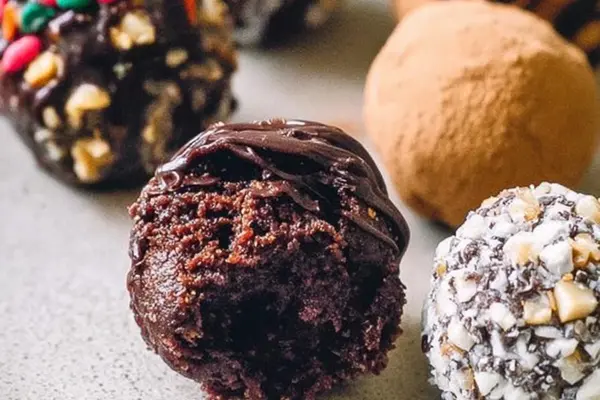
Oatmeal Peanut Butter Balls
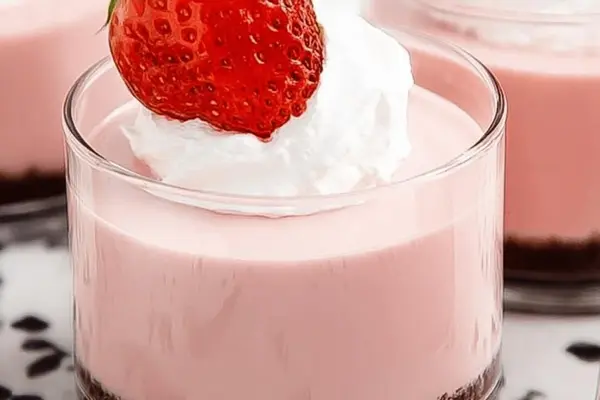
Strawberries Mousse with Gelatin and Whipped Topping

Corn Flour Savory Crêpes with Smoked Paprika

Strawberry Mint Infused Water Recipe
Chocolate Icing Recipe with Mascarpone

Ham and Bean Soup Recipe with Navy Beans
