Homemade Caramel Candy Recipe with Brown Sugar
E
By Emma
Certified Culinary Professional
•
Recipe tested & approved
Combine sugars, butter, corn syrup in a heavy pot over medium heat. That’s the start. Stir it until the butter melts and everything goes glossy—you’ll hear it bubble steady before you even think about the milk. That’s your moment. The real work starts when you add milk drop by drop, whisking constantly so the whole thing doesn’t seize into grainy disaster. Takes about 21 minutes of this slow dance. Then the thermometer clips to the spoon. You’re watching for 238°F—soft-ball stage. Pull it the second it hits. Pour it into the parchment-lined pan and wait. Five hours. Room temperature. Don’t touch it. Don’t even look at it too hard. Then cut. Wrap. Done.
Why You’ll Love This Homemade Caramel Candy
Tastes like candy from a shop. Costs a fraction of that. Homemade butter and brown sugar give it something—not sure exactly what, but you notice it immediately. Chewy. Soft. Melts on your tongue instead of sticking to your teeth like store stuff.
No bake involved. Just one pot, one thermometer, patience. Cleanup happens in like five minutes once it’s hardened.
Makes your kitchen smell like an actual candy factory for an hour. That part’s free. The wrapping takes forever but somehow that’s satisfying.
Cold milk versus hot milk changes everything. Most recipes don’t tell you. The slow pour keeps it from breaking. Works every single time.
Coconut cream swap exists. Tastes different—richer, almost buttery in a different way. Both versions work. Both are good. Different, though.
What You Need for Creamy Caramel Candy
Two cups granulated sugar. One cup light brown sugar packed down—actually packed, not just dumped. Half a cup unsalted butter. Two-thirds cup light corn syrup. Quarter teaspoon salt. One cup whole milk added slowly, not all at once. That’s it.
Optional: swap the milk for canned coconut cream if you want something different. The texture changes slightly. Richer. Less bright. Still works perfectly.
Cold water for dipping the knife. Sharp knife. Heavy-bottomed saucepan—doesn’t have to be fancy but thin bottoms burn. A candy thermometer. Parchment paper pressed into a 9×13 pan. Wax paper or candy wrappers for after.
How to Make Caramels at Home
Line the pan first. Press the parchment into the corners so it stays put. You’ll thank yourself later.
Put the sugars, butter, corn syrup, and salt in the pot. Medium heat. Stir it. When the butter melts and starts shining, you’ll hear the bubble noise change—steady, not scattered. That’s when it’s actually boiling. Now it gets serious.
Add the milk. Drop by drop. Whisking nonstop. This part takes forever but don’t rush. The boil has to keep rolling the whole time. If it slows down, the sugar molecules separate and you get graininess. Not worth it. Just keep whisking. About 21 minutes of this. You’ll see it thicken, turn this almost velvety color. When it looks almost glossy and thick, you’re probably there.
How to Get Creamy Caramel at the Right Temperature
Clip the thermometer to the spoon once the whisking part’s done. Medium-low heat now. Stir every 30 seconds. This stops the bottom from scorching while you wait for the magic number.
238°F. Soft-ball stage. That temperature makes it chewy but soft—not brittle, not fudgy, right in the middle. Pull it off the heat the second the thermometer hits that number. Not 239. Not 237. The difference matters.
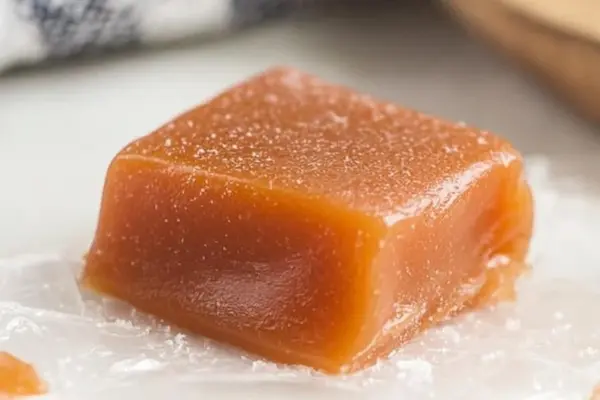
Pour immediately into the pan. It’ll be thick and glossy and swirling with caramel color. Let it sit at room temperature for 4 to 5 hours. Don’t move the pan. Don’t jiggle it. Just leave it alone. The longer you wait the better it sets.
Caramel Candy Tips and Common Mistakes
Cold water. Always dip the knife in cold water before each cut. Warm blade drags through and makes a mess. Cold knife creates clean edges.
Cut 10 rows one way, 8 the other way or however you want your chunk size. Bigger pieces work fine. Smaller pieces work fine. Nobody’s measuring.
Wrap each one in wax paper or candy wrappers. Keeps them from sticking together. Lasts multiple days room temperature in an airtight container. Never actually lasts that long though.
Don’t skip the thermometer. Feel free to eyeball the bubbles or watch the color, but the thermometer is the only thing that tells you the real story. Different stovetops heat differently. 238°F is the number that works.
Whole milk versus condensed milk versus coconut cream—they all work but they’re not the same. Whole milk gives you the classic version. Coconut cream is thicker, richer, almost creamy in a different way. Condensed milk would work too. Haven’t tried it. Probably works.
Homemade Caramel Candy Recipe with Brown Sugar
Prep:
35 min
Cook:
45 min
Total:
5h 20min
Servings:
80 servings
Ingredients
- 2 cups granulated sugar
- 1 cup packed light brown sugar
- 1/2 cup unsalted butter
- 2/3 cup light corn syrup
- 1/4 tsp salt
- 1 cup whole milk slowly added
- Optional twist: replace milk with 1 cup canned coconut cream
Method
- 1 Line a 9×13-inch pan with parchment paper pressing firmly to get corners clean.
- 2 Combine sugars, butter, corn syrup, salt in heavy-bottomed saucepan. Start over medium heat. Stir frequently. Butter melting first telltale sound and shine. When it boils, bubble noise steady, move fast here.
- 3 Now the tricky part—add milk drop by drop, whisking nonstop. Boil must keep rolling, no slowing or else grainy caramel soon. Expect this slow dance to take about 21 minutes; you’ll see a thickening, almost velvety viscosity.
- 4 Turn heat down to medium-low. Clip candy thermometer spoon-side. Stir every 30 seconds to avoid scorching. When temp hits 238°F (soft-ball stage), pull from heat immediately. That temperature gives chewy but soft bite.
- 5 Pour immediately into prepared pan—thick liquid glossy, swirls of caramel color. Let sit at room temp for 4 to 5 hours undisturbed. Patience here is non-negotiable.
- 6 Use a sharp knife dipped in cold water to slice. Cut 10 rows across, 8 lengthwise or your desired chunk size. Cold water keeps knife fettling neat edges instead of messy drag.
- 7 Wrap each square with wax paper or candy wrappers. Store in airtight container room temp, lasts multiple days but rarely last that long.
Nutritional information
Calories
95
Protein
1g
Carbs
18g
Fat
3g
Frequently Asked Questions About Homemade Caramel Candy
Why does my caramel turn grainy? The milk went in too fast, or the boil slowed down while you were whisking. Both separate the sugar. Drop by drop. Constant whisking. Boil stays rolling the entire time. That’s it.
Can I use salted butter instead of unsalted? Technically yes. But then you’re guessing on salt and you don’t want to do that. Just use unsalted and add the quarter teaspoon. Works out.
How do I know it’s at soft-ball stage if I don’t have a thermometer? Don’t do that. Get a thermometer. They’re like five dollars. The visual cues are too vague. You’ll either undercook it or burn it.
How long does it actually stay fresh? Room temperature, airtight container—probably a week. Mine never make it past three days. Could be longer. Nobody knows.
Can I double the recipe? Yeah. Might take a few minutes longer to get to temperature. Everything else is the same. Just watch the thermometer.
Is there a low carb version? Not with this recipe. You could probably substitute sugar alcohols but I’ve never tried it and I’m not going to lie and say I have. Defeats the purpose anyway.
Why 238°F specifically? That’s soft-ball stage. The caramel sets to that perfect chewy texture. Lower and it doesn’t set. Higher and it gets hard and brittle. It’s just the number that works for this one.
You’ll Love These Too
Explore all →
Raw Beef Kibbé with Couscous & Mint
Strawberry Short Cake with Pretzel Crust

Chicken Tacos with Chipotle & Mango
Citrus Fluff Delight with Mandarin & Pineapple
Chocolate Blueberry Pudding Cake Recipe

Panzanella Salad with Pancetta and Grape Tomatoes
Carrot Chive Soup with Fresh Leeks

Peppermint Mocha Cupcakes with Cream Cheese

Pan Seared Chicken Breast with Chorizo
Roasted Beet Salad with Goat Cheese

Grilled Shrimp Spring Rolls Salad
Molasses Gingerbread Syrup with Fresh Ginger
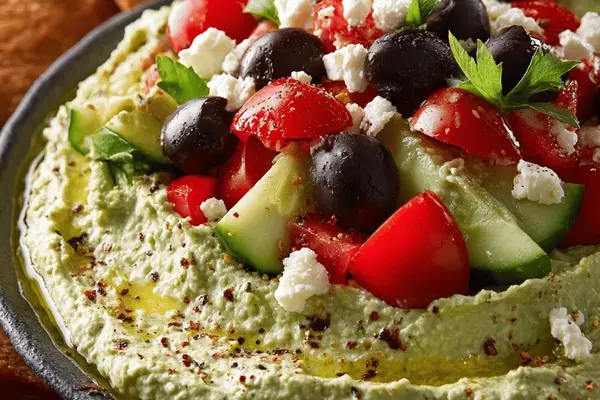
Mediterranean Avocado Dip with Crispy Pita Chips

Garlic Shrimp Noodle Recipe With Sriracha

Banana Bread Recipe with Oat Flour
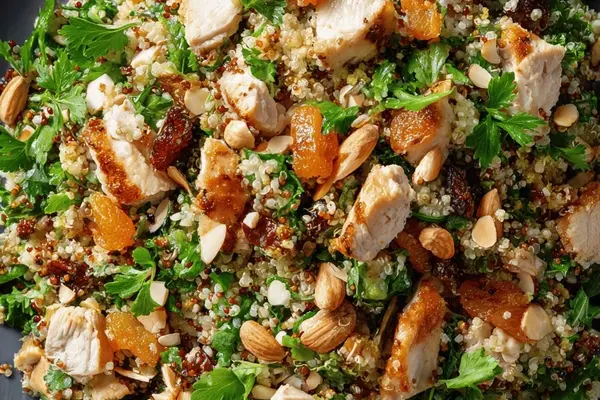
Quinoa Chicken Salad with Lemon & Feta
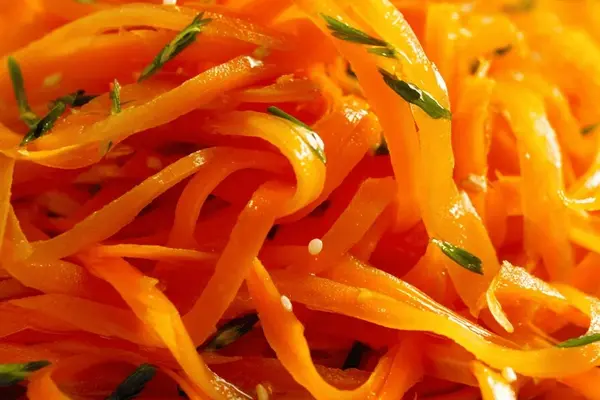
Pickled Carrots with Apple Cider Vinegar

Slow Cooker Beef Stroganoff with Greek Yogurt
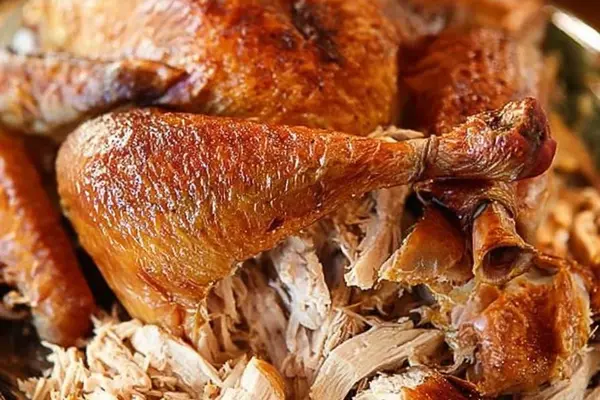
Roasted Turkey Recipe with Smoked Paprika