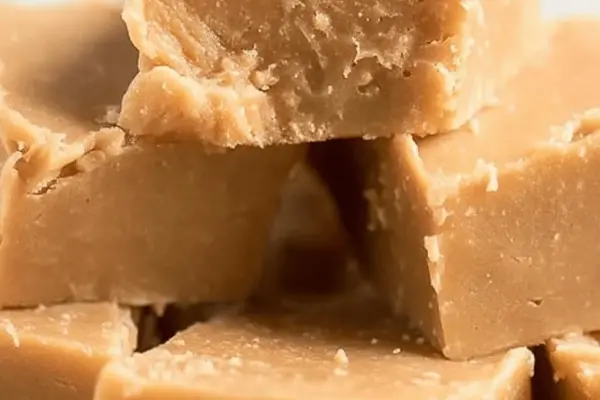
Old-School Peanut Butter Fudge Recipe
By Emma
Certified Culinary Professional
·
Recipe tested & approved
Homemade peanut butter fudge with marshmallows, made by boiling sugar, butter, and milk to soft ball stage. Fold in creamy peanut butter and mini marshmallows, whip until thick, chill until set.
Prep:
15 min
Cook:
1h 55min
Total:
2h 10min
Servings:
16 servings
Melt butter, sugar, corn syrup, and milk together. Medium heat. Watch for the sound to shift — from wet splashing to steady bubbles. That’s when you know it’s working. The thermometer hits 236 degrees and suddenly you’re standing there thinking, “This actually might work.” Soft ball stage. That’s the whole secret.
Why You’ll Love This Homemade Candy
Takes two hours total, most of it just sitting and cooling — you’re not standing there sweating. No bake after the initial cooking part. One heavy pot. Barely a cleanup situation. Tastes like the kind of fudge that used to come in tins. Creamy in a way that store stuff kind of forgot how to be. Peanut butter comes through every single bite. Not buried. Just there. Works cold straight from the pan or soft after sitting out. Texture shifts but tastes better both ways.
What You Need for Scratch Made Peanut Butter Candy
Butter. A stick. Not margarine. Butter matters here — it’s half the richness.
White sugar, one cup. Brown sugar works for half of it if you want molasses creeping in. Kind of changes the whole taste. Deeper. Richer. Different animal.
Light corn syrup. One cup. This is what makes fudge fudge. Without it, just a grainy mess. Not skippable.
Whole milk. One cup. Cream if you want it thicker and richer. Evaporated if you want the flavor deeper. Regular milk is fine though.
Creamy peanut butter. One full cup. Chunky works too — adds those little bits of texture that some people actually want.
Mini marshmallows, two cups. Or grab the regular size and chop them up. They don’t need to be perfect — they melt into nothing anyway.
Butter again for the pan. Or parchment paper. Either works. Parchment is lazier.
How to Make Peanut Butter Fudge From Scratch
Butter, sugar, corn syrup, and milk go in a heavy pot. Medium heat. Don’t rush this part. Stir until the sugar dissolves completely — you’ll feel the grittiness disappear under the spoon. Takes maybe five minutes. Could be three. Depends on your stove.
Listen to it change. The splashing sound mellows out. Steadier. That’s when you stop stirring so much and just let the thermometer do the work. The mixture keeps bubbling — you want it to keep bubbling. Stop stirring entirely once you hit maybe 220 degrees. Stirring after that point messes with crystal formation. That’s grainy fudge territory.
Watch the thermometer climb. 230. 235. 236 — that’s soft ball stage. Pull the pot off heat the second it hits that mark. Don’t overshoot. Even one degree too high and you’re fighting a lost cause.
How to Get Creamy Peanut Butter Fudge That Actually Sets
Off the heat. Dump in the peanut butter and marshmallows at once. Looks chaotic for a second — all these chunks suspended in brown liquid. Stir anyway. Hand mixer works if you have one. A sturdy wooden spoon works if you don’t. No particular speed — just keep going until it thickens up. That’s the actual change you’re waiting for. It goes from glossy and liquid to kind of matte and chunky. Takes maybe five minutes of stirring. Your arm will know when it’s done.
The marshmallows basically disappear into it. That’s fine. That’s the point. They’re there for air and body, not to stay marshmallow-shaped.
Pour the whole thing into a buttered 8x8 pan. Or one lined with parchment. Use a spatula to scrape every bit of fudge clinging to the pot — that’s the best part, actually. Smooth the top if you’re feeling tidy. If not, it doesn’t matter. Fudge tastes the same either way.
Leave it on the counter. Not the fridge yet. The residual heat is still doing work here. Jiggling the pan or moving it around interrupts that. Just leave it alone for an hour and forty-five minutes to two hours. The longer wait is usually better — fudge hardens more completely.
Peanut Butter Fudge Tips and Common Mistakes
Touch the edge of the pan after about ninety minutes. If it gives slightly and nothing sticks to your finger, it’s ready. Still a little soft? Give it another fifteen. Rock hard? Probably too long, but it’ll still taste fine.
Cool it all the way to room temperature before slicing. Warm fudge just smooshes. No clean cuts. You’re looking for actual firmness without it being brittle.
Slice with a hot knife if you want cleaner squares. Run the blade under hot water, wipe it dry, cut one line. Repeat for each cut. Keeps the peanut butter fudge from crumbling at the edges.
Humidity is the actual enemy here. If your kitchen is sticky or damp, the fudge takes longer to set or never quite gets as firm. Nothing you can do about it except maybe a quick chill in the fridge if you get nervous. But watch for condensation forming — that ruins the texture.
Failed batch? It happens. If it won’t set, warm it back up slightly and add more peanut butter. Fat content increases, fudge firms up. Or stir in crushed nuts for texture — turns a fail into something different but probably still good.
Old-School Peanut Butter Fudge Recipe
Prep:
15 min
Cook:
1h 55min
Total:
2h 10min
Servings:
16 servings
Ingredients
- 1 stir butter
- 1 cup white sugar (swap half for brown for molasses twist)
- 1 cup light corn syrup
- 1 cup whole milk (cream for richer, evaporated for deeper flavor)
- 1 cup creamy peanut butter (chunky adds texture punch)
- 2 cups mini marshmallows (use larger marshmallows chopped if none)
- Butter for greasing pan (parchment paper lining for no-stick)
Method
- 1 Start with sugars, butter, and milk in heavy pot. Melt over medium heat, stirring to combine. Sound changes from splash to steady bubbles. Using candy thermometer, watch for 236 degrees Fahrenheit, soft ball stage; this gives fudge its chew. Don’t wander — overshoot means grainy mess.
- 2 Remove pot from heat, dump in peanut butter and marshmallows. They'll melt confusingly but keep at it. Whip with hand mixer or sturdy spoon until mixture thickens noticeably; becomes more matte, not shiny. That's fudge’s body building. Too thin, fudge won’t set right.
- 3 Pour thick mix into buttered or parchment-lined 8x8 pan. Use spatula to scrape sides; no fudge left behind. Smooth top if you care. The heat lingering here is crucial; avoid jiggling pan — fudge still settling its secrets.
- 4 Leave pan on countertop out of draft. Cooling takes about 1 hour 45 minutes to 2 hours; fudge hardens to firm but not rock. A good test: lightly touch edge, slight give but no sticky residue. Slice into squares once fully cooled to room temp.
- 5 Extra tip: If fudge fails to set, warm slightly and add more peanut butter to increase fat content or stir in crushed nuts for texture fix. Moisture from humid kitchens can slow setting; chill briefly if anxious but beware condensation.
Nutritional information
Calories
257
Protein
4g
Carbs
38g
Fat
11g
Frequently Asked Questions About Homemade Peanut Butter Fudge
Why does my fudge come out grainy? Overshot the temperature. Or kept stirring after 220 degrees. Or the sugar didn’t fully dissolve at the start. Next time: dissolve the sugar completely over medium heat before the thermometer even comes out. And stop stirring once it’s climbing.
Can I use natural peanut butter? Sometimes. Depends on the oil content. Regular creamy peanut butter has stuff added that helps it thicken. Natural peanut butter is thinner — you might need to add a tiny bit more powdered sugar at the end to compensate. Haven’t had great luck with it honestly.
How long does this keep? Weeks. In an airtight container. Room temperature is fine. It doesn’t really go bad. Just gets harder over time.
What if I want chunky texture? Use chunky peanut butter instead of creamy. Or chop nuts and stir them in at the end when you add the marshmallows. Pecans work. Walnuts work. Even crushed pretzels if you’re feeling weird.
Do I really need a candy thermometer? Not technically. You can do the soft ball test in cold water — drop a tiny bit of the mixture in ice water and see if it forms a soft ball that flattens when pressed. But honestly a thermometer takes the guessing out of it.
Can I make this no bake instead? Then it’s not really this recipe. This recipe requires the cooking process to hit that soft ball stage — that’s what gives it the texture. You could melt peanut butter with powdered sugar and butter to make fudge-adjacent candy, but it’s different. Smoother. Less like actual fudge.
You’ll Love These Too
Explore all →
Lamb Tagine with Spiced Tea and Dried Fruits
Maple Cinnamon Brioche Rolls with Butter Glaze
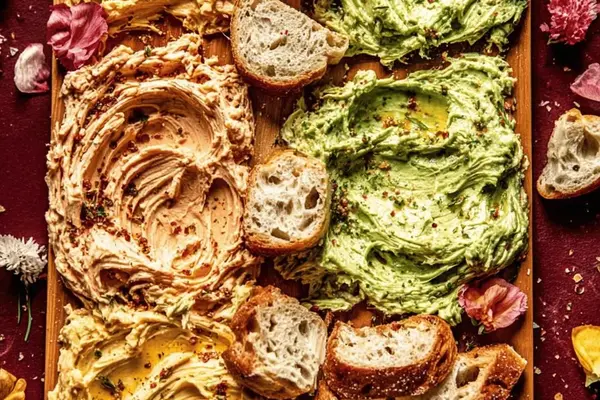
Butter Board Recipe with Roasted Garlic
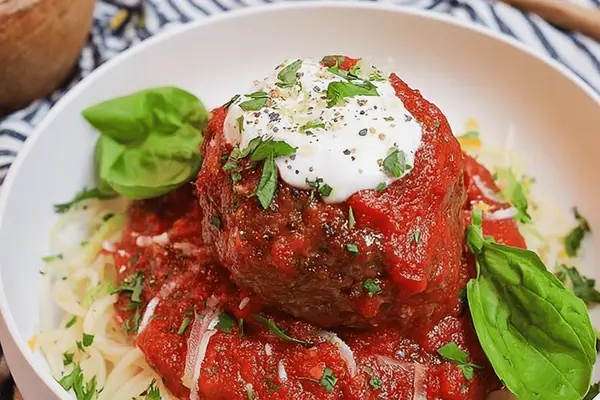
Italian Meatballs with Ricotta Topping
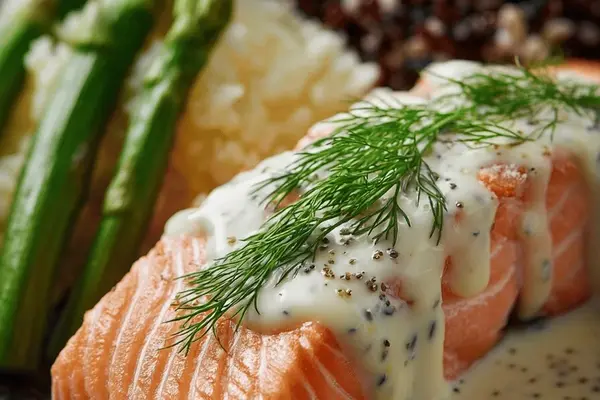
Poached Salmon in Horseradish Milk with Dill

Roast Turkey with Spiced Herb Butter
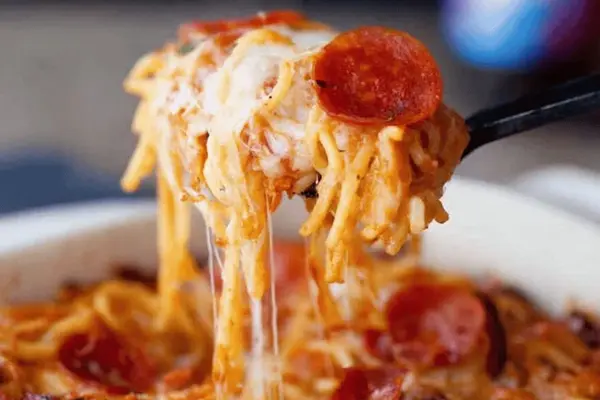
Pepperoni Pizza Spaghetti Bake with Mozzarella
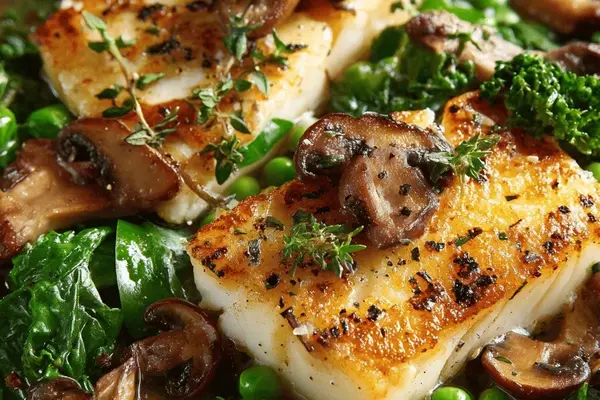
Seared Halibut with Mushrooms and Greens
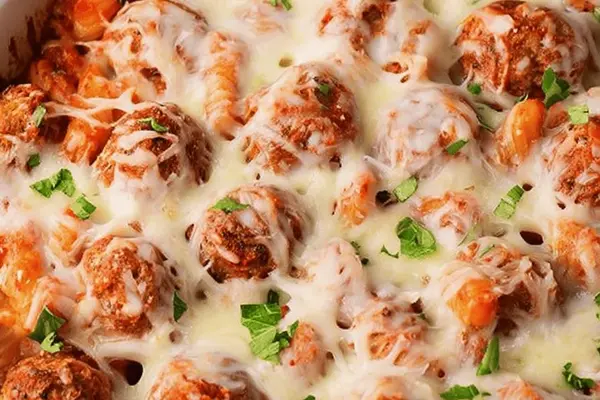
Baked Meatball Penne Casserole with Mozzarella

Painted Easter Cookies with Almond Extract
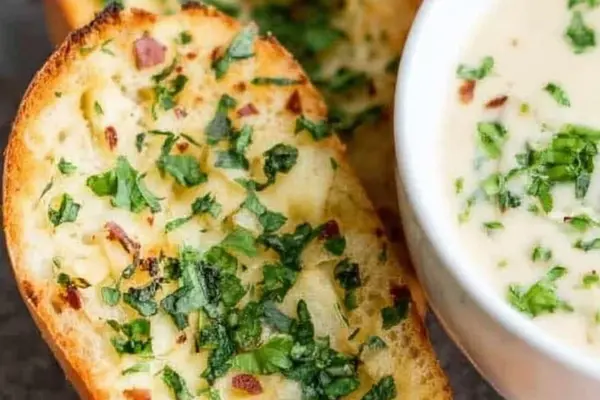
Chipotle Three Cheese Toast with Smoky Gouda
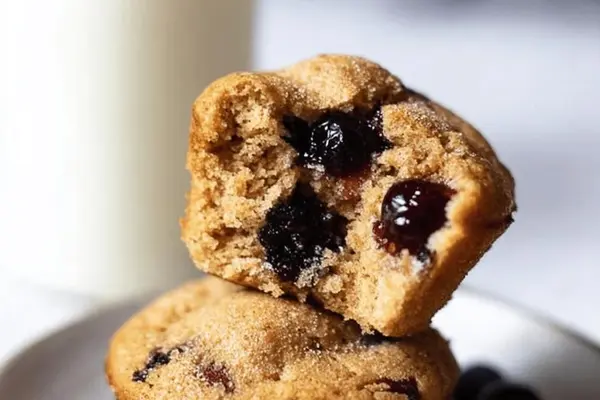
Blueberry Muffins with Yogurt and Honey
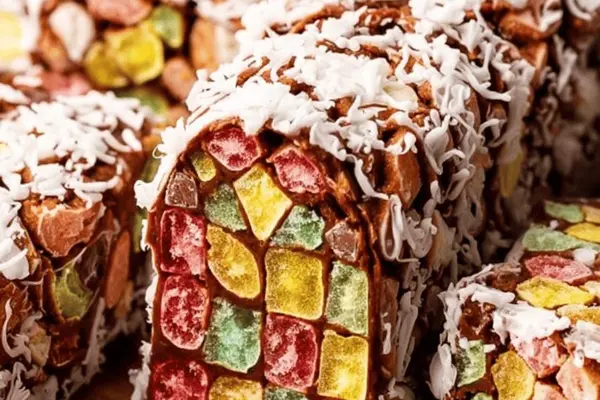
Coconut Walnut Logs with Chocolate
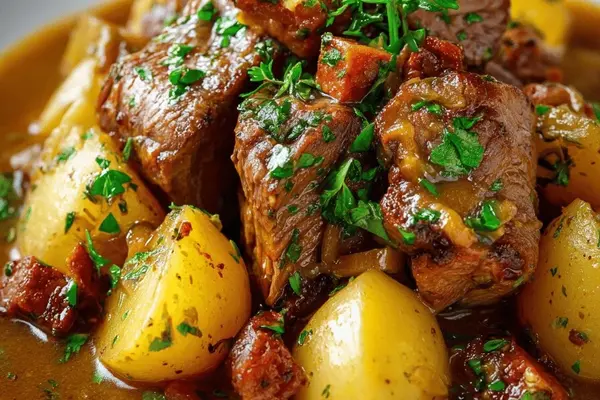
Braised Veal Marsala with Potatoes

Clams in White Wine with Pancetta & Fennel

Pulled Pork Bites with Cornbread Mix
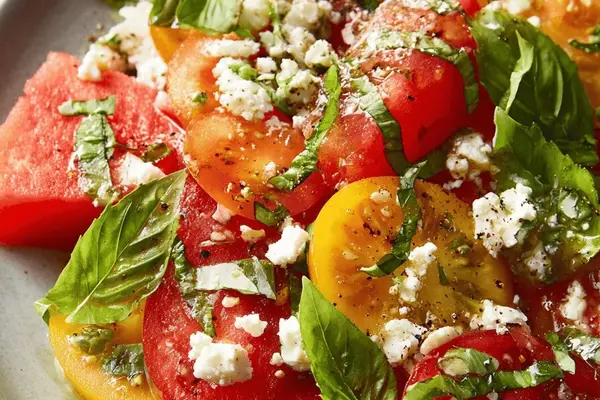
Watermelon Feta Salad with Basil & Mint
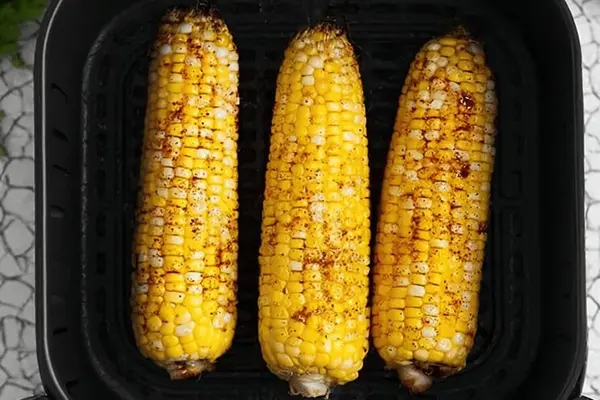
Crispy Air Fryer Corn on the Cob
No-Knead Overnight Rye Bread Recipe