
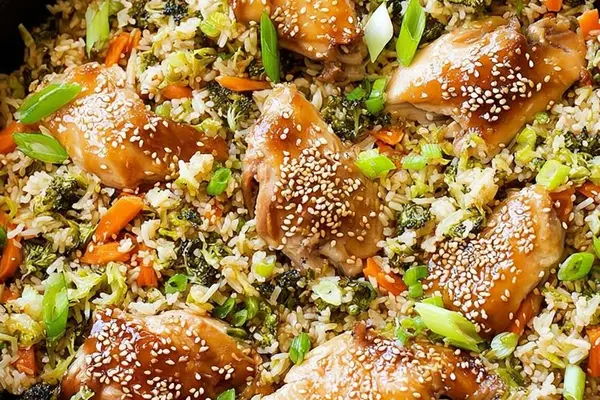
Oven-Baked Teriyaki Chicken Rice with Broccoli
E
By Emma
Certified Culinary Professional
•
Recipe tested & approved
Oven-baked teriyaki chicken thighs with rice, broccoli, and carrots in savory chicken stock. Cornstarch-thickened teriyaki glaze creates a shiny coating. Perfect one-pot dinner ready in under an hour.
Prep:
12 min
Cook:
33 min
Total:
45 min
Servings:
4 servings
Preheat to 345. Lower than you’d think, but that’s the point — chicken stays juicy while rice drinks up the steam underneath. Forty-five minutes total. Hands-on maybe twelve. Rest of it just happens in the oven.
Why You’ll Love This One Pot Teriyaki Chicken Dinner
Tastes like you planned it. You didn’t. One pan, one oven, done. That’s it. No babysitting, no second burner going, no cleanup that makes you regret cooking. Chicken thighs stay ridiculously moist. Breast meat dries out sitting there. Thighs just don’t. Rice soaks up everything — chicken fat, teriyaki glaze, the broth. Works cold the next day too. Probably better. Takes 45 minutes total. Mostly waiting. Twelve minutes of actual work.
What You Need for Oven-Baked Teriyaki Chicken Rice
Four chicken thighs. Skin on, bone in. Seasoning is basic — garlic powder, ginger, onion powder, salt, pepper. Nothing complicated. Mix it in a bowl first, keeps your hands less messy.
Oil and butter. Olive oil gets them browning. Butter for the vegetables after. Two tablespoons each.
Half a cup of diced onion. Half a cup of carrots, thin slices — they cook faster that way. A cup of broccoli florets. Nothing fancy. Whatever’s in the fridge works.
Rice. One cup long grain white. Broccoli cooks in the same pan, same time, no extra steps.
Chicken stock. A cup and a quarter. Low sodium. You season it yourself.
The sauce is separate — soy sauce, mirin or dry sherry if you don’t have mirin, brown sugar, rice vinegar. A clove of garlic minced, fresh ginger grated. Cornstarch mixed with cold water to thicken it at the end. Green onions sliced thin for topping. Toasted sesame seeds.
How to Make Oven-Baked Teriyaki Chicken with Rice
Pat the chicken thighs completely dry. Moisture kills browning. Rub the spice mix all over — skin gets it, meat gets it, everywhere. Don’t skip this step. Uneven seasoning reads as half-baked.
Heat olive oil in a heavy skillet over medium. When it’s shimmering — not smoking, just shimmering — skin side down goes the chicken. Listen for the sizzle. Steady, not angry. Brown it three minutes a side until the skin’s deep golden. Not blackened. Black means bitter. If the heat’s too high, lower it. Skin needs time to actually crisp.
Pull the chicken out. Set it on a plate. The pan stays on the heat. All that brown stuck to the bottom — that’s flavor. Don’t wash it.
Melt butter in that same pan. Let it coat the whole bottom. Onion, carrots, broccoli all go in. Salt lightly. Cook six to eight minutes, stirring sometimes. Watch for when it smells like something. That’s when you know the vegetables are actually cooking, not just heating up. Carrots and broccoli should still snap a little. Soft isn’t the goal here.
Stir the rice in. Let it coat with the butter and sit for a minute. That slight toast changes everything — adds something nutty underneath.
Pour the chicken stock in. No lid yet. Keep the burner on until it comes to a simmer. Then turn it off. Seriously. Off. You’re about to let the oven do the work. If you keep the heat on, the broth reduces before the rice even gets there.
Nestle the chicken thighs on top of the rice, skin side up. Cover tight with foil. Into the oven at 345.
How to Get the Chicken Skin Crispy
Thirty-three to thirty-eight minutes. Don’t peek. Every time you open it, steam escapes and the rice gets weird. When it’s done, the rice will have absorbed basically all the liquid. The chicken hits 165 at the thickest part. Juices run clear when you poke it.
The skin stays crispy because of the lower oven temp and the foil. Moisture gets trapped but doesn’t boil the skin. It steams the rice and keeps the meat from drying, but the top stays exposed enough to stay crisp.
While that’s happening, make the sauce. Soy sauce, mirin, brown sugar, rice vinegar, minced garlic, fresh ginger all go in a small saucepan over medium. Bring it to a gentle simmer. Bubbling around the edges, not rolling. Whisk the cornstarch slurry — that’s the cornstarch mixed with cold water — until it’s totally smooth. Pour it in. The sauce thickens almost instantly. Remove from heat when it’s glossy and coats the back of a spoon. If it’s too thick, splash of water fixes it. If it breaks, you overcooked it. Don’t overheat.
One Pot Teriyaki Chicken Rice Tips and Common Mistakes
Don’t skip drying the chicken. Wet skin won’t brown. It’ll steam and then you’re eating boiled chicken with a rubbery exterior.
Brown it properly. Two to three minutes per side. Rushing this means pale skin and less flavor in the whole dish.
The cornstarch slurry matters. Lumps in the sauce are annoying. Mix it with cold water separately, then pour it slowly while whisking.
Rice amount is exact. Too much liquid and it’s mushy. Too little and it’s crunchy. Trust the one and a quarter cups of stock. It works.
If your oven runs hot, maybe pull it at thirty-three minutes instead of waiting. Every oven’s different. Overcooked rice is impossible to fix.
Leftovers reheat in a 325 oven for ten minutes, covered. Microwave makes rice into something sad. Don’t do that.
Oven-Baked Teriyaki Chicken Rice with Broccoli
Prep:
12 min
Cook:
33 min
Total:
45 min
Servings:
4 servings
Ingredients
- 4 skin-on bone-in chicken thighs
- 1 teaspoon garlic powder
- 1/2 teaspoon ground ginger
- 1/2 teaspoon onion powder
- Salt and freshly cracked black pepper to taste
- 2 tablespoons olive oil
- 2 tablespoons unsalted butter
- 1/2 cup diced onion
- 1/2 cup thinly sliced carrots
- 1 cup broccoli florets
- 1 cup long grain white rice
- 1 1/4 cups low sodium chicken stock
- FOR SAUCE === 1/4 cup low sodium soy sauce, 2 tablespoons mirin (or dry sherry), 2 tablespoons brown sugar, 1 teaspoon rice vinegar, 1 clove garlic minced, 1 teaspoon grated fresh ginger, 1 teaspoon cornstarch mixed with 1 tablespoon cold water
- Green onions sliced thin for garnish
- 1 teaspoon toasted sesame seeds
Method
- 1 Preheat oven to 345°F. Why lower a few degrees? Gives gentler heat preventing drying out chicken while rice cooks through.
- 2 Mix garlic powder, ginger, onion powder, salt and black pepper in small bowl. Pat chicken thighs dry; moisture ruins browning. Rub seasonings all over chicken evenly. Dry skin needed for crispness. If you skip drying, oil spatters too.
- 3 Heat olive oil in large heavy skillet over medium heat. When oil just starts shimmering, add chicken skin side down. Listen for steady sizzle. Brown chicken 2-3 minutes each side until deep golden but not blackened. If heat’s too high, skin chars and tastes bitter.
- 4 Remove chicken, set on plate. No resting time needed yet, will finish in oven. Keep pan with fond.
- 5 Add butter to pan, melt fully and swirl coating bottom. Toss in onion, carrots and broccoli. Salt lightly. Cook veggies stirring occasionally about 6-8 minutes. Watch for aroma to turn fragrant and veggies soften but not mushy. Crisp-tender is the goal, especially carrots and broccoli stalks.
- 6 Stir in rice, coating grains with butter and veggies for ~1 minute. Toasts rice slightly, brings nuttiness. Add chicken stock and cover pan without heat. Shutting off burner here avoids reducing broth before oven bathes rice and chicken gently.
- 7 Nestle browned chicken atop rice and veggies, skin side up. Cover tightly with foil; seals moisture and steam. Place skillet or pan in oven. Bake 33-38 minutes. Rice should absorb liquid fully, chicken internal reaches 165°F measured in thickest part or juices run clear when pierced. Avoid opening too early or rice dries.
- 8 While oven works its magic, make sauce. Combine soy sauce, mirin, brown sugar, rice vinegar, minced garlic, and fresh ginger in small saucepan over medium heat. Bring to gentle simmer, bubbling around edges. Whisk cornstarch slurry until evenly blended and pour in. Sauce thickens quickly. Remove from heat when glossy and coats spoon. If too thick, thin with splash of water.
- 9 Serve chicken nestled on rice with drizzle of teriyaki sauce. Sprinkle with sliced green onions and toasted sesame seeds. The crunch, the sheen, the umami punch all play here.
- 10 Storage tip: Refrigerate leftovers covered tightly. Reheat in oven avoiding microwave sogginess. Sauce reheats easily in small pan with splash water if thickened too much.
Nutritional information
Calories
430
Protein
32g
Carbs
35g
Fat
18g
Frequently Asked Questions About Teriyaki Chicken Rice
Can I use chicken breast instead of thighs? You can. It’ll dry out. Thighs are forgiving — they’ve got fat, they stay moist even if you overbake it by five minutes. Breast meat doesn’t have that mercy.
What if I don’t have mirin? Dry sherry works. So does a tablespoon of honey if you have nothing else. The sauce will taste slightly different but still good.
Can I make this without the vegetables? Sure. Just rice and chicken. Defeats half the point though — you’re missing the carrots and broccoli cooking in all that fat.
Do I have to cover it with foil? If you don’t, the rice dries out and the chicken skin gets too dark. Foil seals it. The steam finishes everything evenly.
How long does it keep? Three days covered in the fridge. The sauce stays separate — pour it on fresh the next day instead of mixing it in. Keeps the rice texture better.
Can I make the sauce ahead? Yes. Make it while everything’s in the oven. It reheats easily — just warm it on the stove for a minute with a splash of water if it thickened too much sitting.
Is this actually one pot? One skillet in the oven, one saucepan for sauce. If you’re strict about it, it’s technically two. Most people count it as one because the oven does the heavy lifting and you’re not juggling three burners.
You’ll Love These Too
Explore all →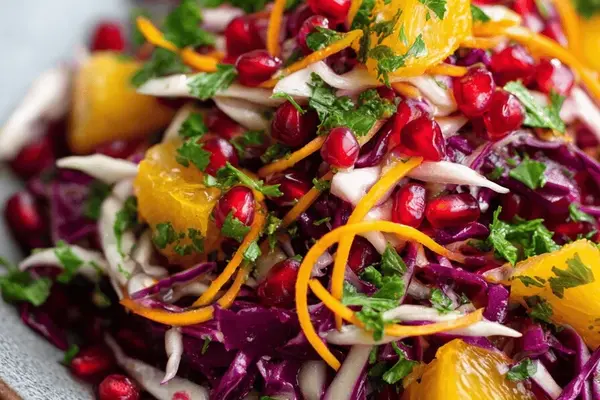
Cabbage Beet Pomegranate Salad Recipe
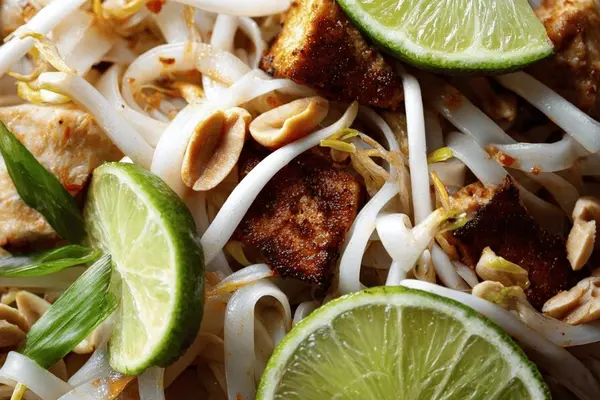
Pad Thai with Chicken, Rice Noodles & Sriracha

Homemade Oven Fries with Grilled Burgers

Opera Cake with Hazelnut and Espresso

Curry Omelette Breakfast Sandwich Recipe

No-Cook Strawberry Jam with Mixed Berries

No Bake Cookies Recipe with White Chocolate

Rustic Stone Fruit Tart with Yogurt Crust

Red Wine Poached Pear Almond Cake
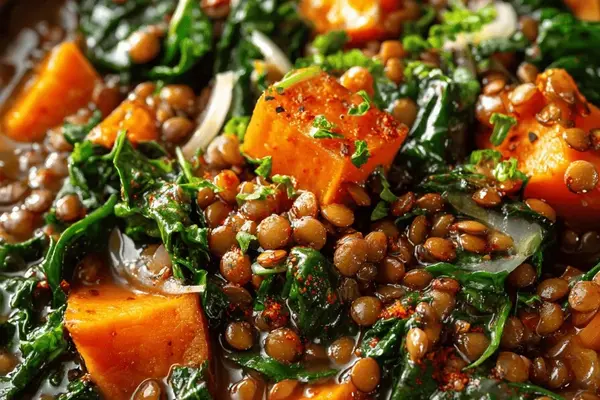
Pressure Cooker Lentil Kale Stew
Carbonara Dish: Homemade Pasta with Eggs
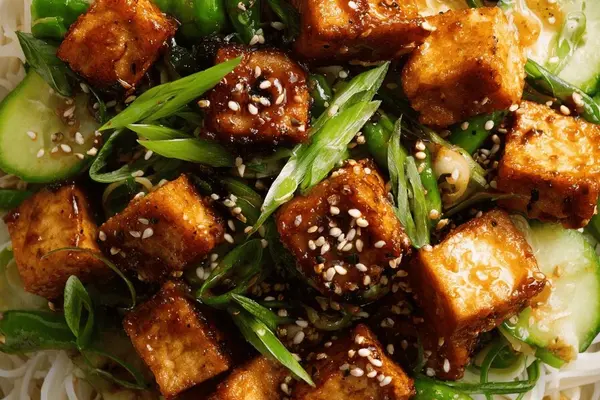
Crispy Tofu Rice Bowls with Snow Peas

French 75 Cocktail with Gin and Cranberry

Chicken Roulades with White Wine Butter Sauce
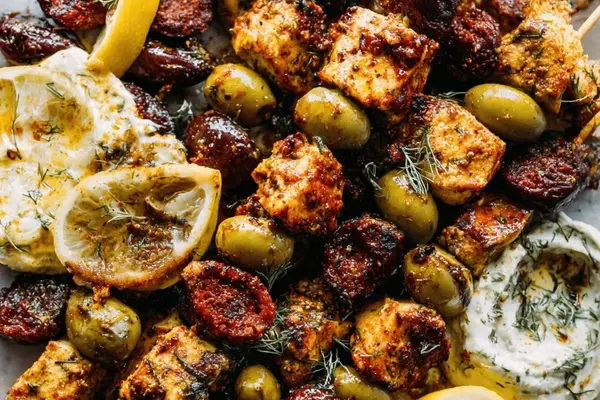
Chicken Chorizo Olive Skewers Grilled

Chicken Enchilada Casserole with Sour Cream

Iced Rhubarb Cake with Crunchy Crumble
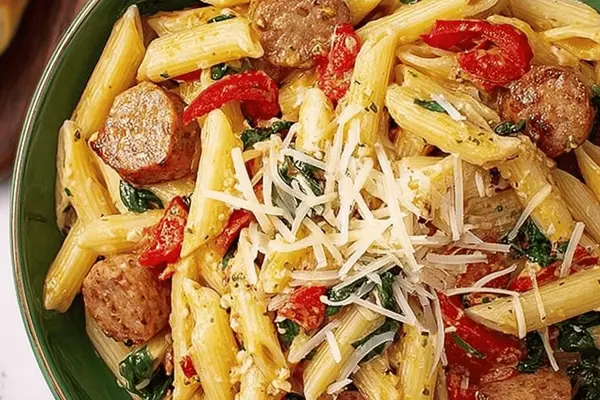
Sausage Pasta with Spinach and Tomatoes
Poaching Eggs Recipe with Za'atar Chickpeas