
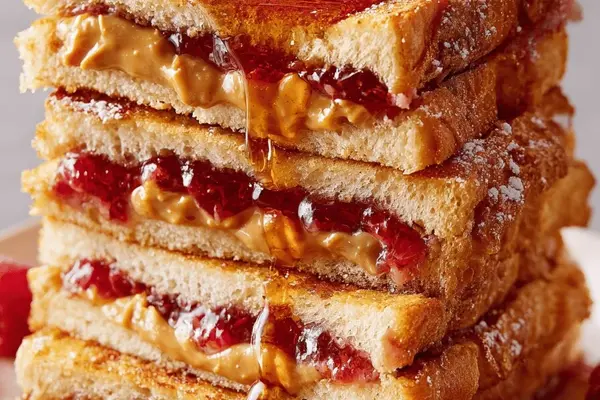
Peanut Butter Jam French Toast Sandwiches
By Emma
Certified Culinary Professional
·
Recipe tested & approved
Peanut butter jam french toast made with eggs, milk, and cinnamon-spiced bread. Golden pan-fried sandwiches with raspberry jam filling, served warm with maple syrup.
Prep:
14 min
Cook:
12 min
Total:
26 min
Servings:
4 servings
Dip the bread too long and it falls apart. Too quick and it stays pale and dry inside. There’s a exact moment—soft all the way through but still holding its shape. That’s the whole thing.
Why You’ll Love This Peanut Butter and Jam French Toast
Takes 26 minutes start to finish. That’s 14 minutes of prep, 12 on the pan. Breakfast that feels like dessert but you made it yourself.
The peanut butter and jam stay warm inside while the outside gets that nutty-sweet crust. Cinnamon does something to eggs—makes them taste like they’ve been sitting overnight, in a good way.
Cold syrup is fine. Warm syrup is better. You’ll figure out which one matters to you.
Works as actual breakfast for a weeknight. Also works as a dessert breakfast on Saturday when nobody’s rushing. Eggs make it protein-heavy enough that it holds you for hours.
What You Need for French Toast Sandwiches
Two large eggs. Not one. Two—they’re what makes this work. Milk. Regular milk. Oat milk works the same. Almond milk tastes kind of thin.
Sugar—a tablespoon and a half. Vanilla extract. Don’t skip it. A teaspoon of ground cinnamon. The good stuff, not the tin that’s been open for two years. Lemon zest. One teaspoon. Finely grated. Sounds strange. Changes everything.
White sandwich bread. The soft kind. Not sourdough. Not brioche. Regular white bread is what this needs—it soaks up the egg without falling apart. Raspberry jam. A quarter cup. Peanut butter. Same amount. The thick kind, not the runny natural stuff that separates. Unsalted butter. Two tablespoons. Maple syrup for serving.
How to Make Peanut Butter and Jam French Toast
Crack the eggs into a large bowl. Whisk in the milk, sugar, vanilla, cinnamon, lemon zest until it’s smooth. No lumps. You should be able to see through it when you tilt the bowl.
Spread jam on four slices of bread. Press it on thick. Spread peanut butter on the other four slices. Same thickness. Press the pairs together—jam side and peanut butter side facing each other. Four sandwiches. That’s it.
Now the dipping part. One sandwich at a time. Dip it in the egg mixture. Push it down gently with your fingers. Not hard. You’re not trying to drown it. The bread should feel soft all the way through but not soggy. Press the edge—if it holds but feels squishy, that’s right. If it feels like mush, it stayed in too long. Next time, pull it out faster.
How to Get Crispy Edges on Cinnamon French Toast
Heat the pan over medium-low. Not medium. Medium-low. Listen for the butter to melt and start to sizzle gently. Bubbles around the edges. That’s when you know the heat’s right.
Slide two sandwiches into the pan. Don’t crowd it. They need space around them. Cook for about 2 and a half minutes. You’ll see the bottom start to change color. Golden. The edges will firm up. That’s when you flip.
The second side takes about the same time. Maybe a touch less. Watch for deep golden color. Smell the cinnamon and the peanut butter getting nutty and sweet. That’s your sign. Use the spatula gently. The bread is soft inside. Push too hard and it collapses.
The whole thing from dipping to plate takes about 12 minutes for all four sandwiches. Keep the first batch warm on a baking sheet in a 200-degree oven while you finish the rest.
French Toast Tips and Common Mistakes
Jam too runny and you get soggy bread inside the sandwich. Simmer it in a small pan for a few minutes before you use it. Thickens up fast. Cool it first.
Peanut butter too thick means it won’t spread. Warm the jar in hot water or just use less pressure. Almond butter works if you need it. Watch for people with allergies.
The pan temperature is everything. Too hot and the outside burns before the inside cooks. You’ll know because it goes dark almost immediately and the sandwich is still cold in the middle. Turn the heat down. Start over. Too low and it just sits there getting heavy and pale. Medium-low is the sweet spot.
Don’t soak the sandwich too long. In and out. Press the edge. Done. Over-soaking is how it falls apart on the flip.
Day-old bread gets sturdier. If you’re making this tomorrow with bread from today, lightly toast the slices before assembling. Holds better. Fresh bread is fine too—just be gentler when you flip.
The lemon zest sounds weird. Keep it anyway. It’s not there to taste like lemon. It’s there to make the cinnamon taste sharper and more real.
Peanut Butter Jam French Toast Sandwiches
Prep:
14 min
Cook:
12 min
Total:
26 min
Servings:
4 servings
Ingredients
- 2 large eggs
- 130 ml 1/2 cup plus 1 teaspoon milk
- 28 ml 1 1/2 tablespoons sugar
- 5 ml 1 teaspoon vanilla extract
- 2.5 ml 1/2 teaspoon ground cinnamon
- 1 tsp lemon zest, finely grated
- 8 slices white sandwich bread
- 60 ml 1/4 cup raspberry jam
- 60 ml 1/4 cup peanut butter
- 30 ml 2 tablespoons unsalted butter
- Maple syrup for serving
Method
- 1 Put eggs in large bowl. Whisk in milk, sugar, vanilla, cinnamon, lemon zest until blended smooth.
- 2 On clean surface, spread raspberry jam evenly on 4 slices bread. Spread peanut butter thickly on remaining 4 slices. Press jam and peanut butter slices together, forming 4 sandwiches.
- 3 Dip one sandwich at a time into egg mixture. Let it soak enough to saturate bread but not soggy—test by lightly pressing edge; it should feel soft but hold. Place dipped sandwiches on a plate.
- 4 Heat large nonstick pan over medium-low heat. Melt half butter—listen for gentle sizzle, bubbles forming around edges. Place 2 sandwiches in pan without overcrowding.
- 5 Cook sandwiches about 2 1/2 minutes per side, turning when golden brown crust forms. Edges firm, color deep golden, smell nutty and sweet, hints of cinnamon. Use spatula gently—avoid collapsing bread.
- 6 Transfer cooked sandwiches to baking sheet in oven set at 93 °C 200 °F to keep warm. Repeat with remaining butter and sandwiches.
- 7 Serve immediately with warm maple syrup drizzled on top or on side.
- 8 If jam too runny, reduce by simmering gently before use to avoid soggy bread.
- 9 If peanut butter sticky or too thick, warm slightly or switch to almond butter—watch for allergy.
- 10 Best eaten fresh; bread textures degrade with time. Toast day-old bread lightly before assembly for sturdier hold.
- 11 Listen for steady sizzle not harsh popping. Too hot? Butter browns immediately, sandwich chars outside, raw inside. Reduce heat then.
- 12 If sandwich falls apart dipping, press bread slices firmly when assembling. Don't over-soak in egg wash.
Nutritional information
Calories
360
Protein
11g
Carbs
38g
Fat
18g
Frequently Asked Questions About Breakfast French Toast
Can I make the sandwiches the night before? No. The jam and peanut butter start breaking down the bread. Bread gets soggy and falls apart when you try to dip it. Make them fresh that morning. Takes 14 minutes.
What if I don’t have lemon zest? Skip it. The french toast still works. Won’t taste quite the same. You’ll notice it tastes a little flatter. But it’s not ruined.
How do I know when it’s done cooking? Color. Deep golden. Edges look set and firm. Press the side gently with the spatula—if it gives but doesn’t feel liquid inside, it’s done. Also smell. Sounds like you’re not paying attention but it works.
Can I use chunky peanut butter? Technically yes. Harder to spread evenly. Chunks can poke through the bread. Creamy works better. Less mess.
How do I keep them warm while I finish cooking? Baking sheet in a 200-degree oven. They’ll sit there for 10 minutes without drying out. Don’t cover them. The steam gets trapped and makes them soggy.
Does this work with homemade jam? Usually. Homemade jam is often runnier. Reduce it on the stove first. Thinner jam means soggy sandwiches and they fall apart easier. Not worth it.
What maple syrup should I use? The real kind. Not the imitation. You’ll taste the difference. Warm it or cold. Your choice. Some people prefer it cold on hot toast. Some prefer warm syrup. Both work.
Can I make this recipe with whole wheat bread? It’s dense. Absorbs the egg faster. Comes out heavier. White bread is softer and gets that better texture. Whole wheat works but it’s different.
You’ll Love These Too
Explore all →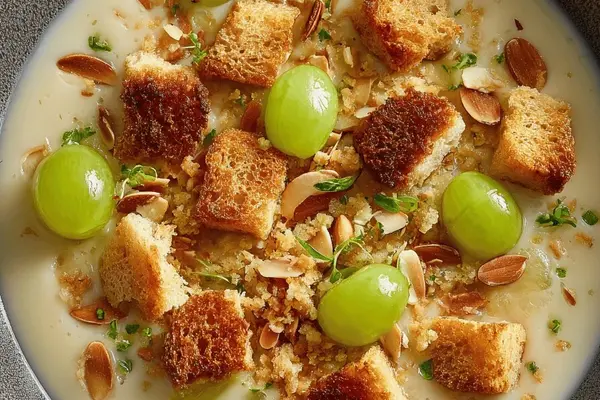
Almond and Broccoli Soup Recipe
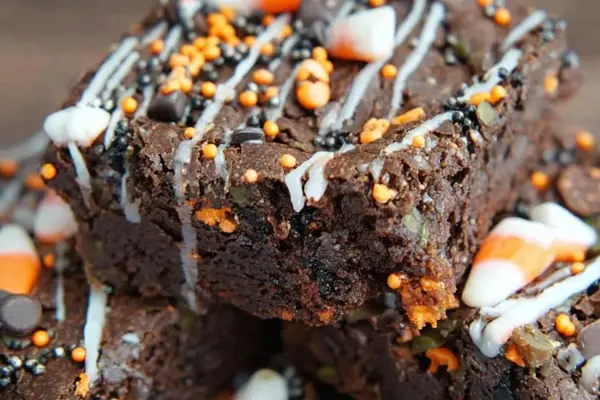
Chocolate Brownies with Espresso and Mini Chips

Jalapeno Popper Chicken Breast with Cream Cheese
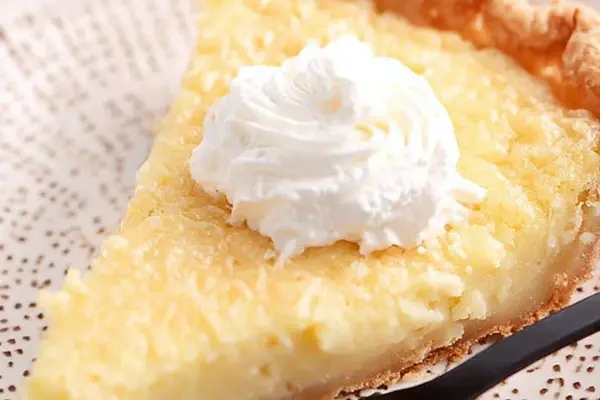
Buttermilk Pie Recipe with Eggs & Vanilla
Buttermilk Pie with Cinnamon Streusel

Strawberries Mousse with Gelatin and Whipped Topping
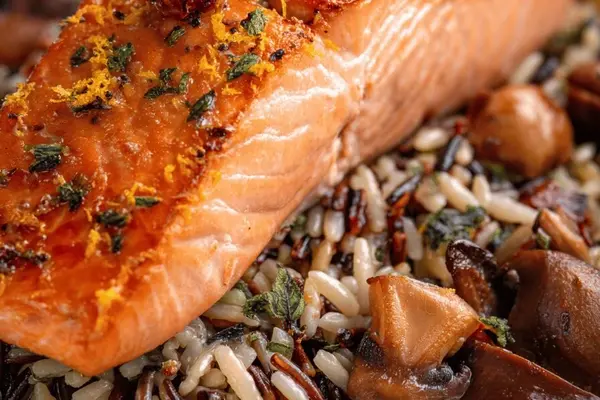
Roasted Salmon with Mushrooms & Orange Zest
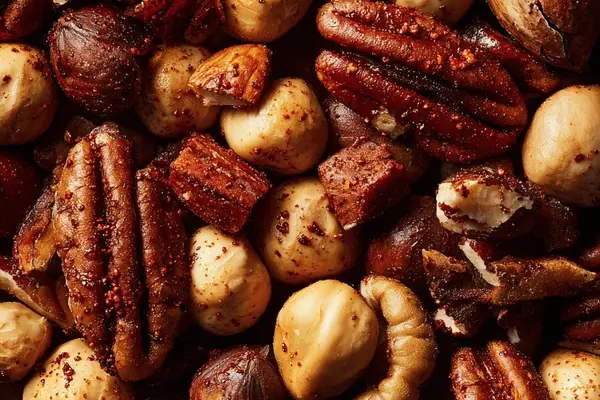
Microwave Toasted Nuts with Smoked Paprika

Sweet Chilli Sauce Recipe with Mandarin
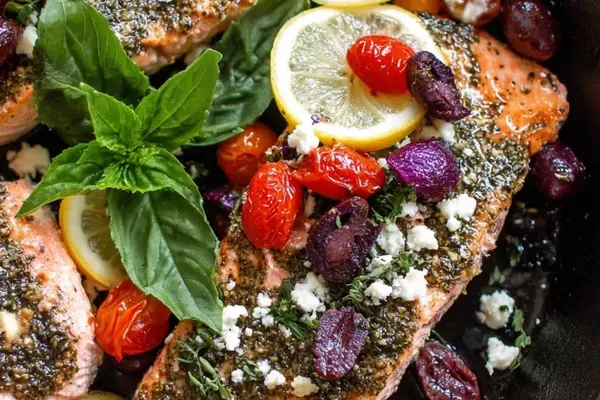
Recipes For Salmon In The Oven
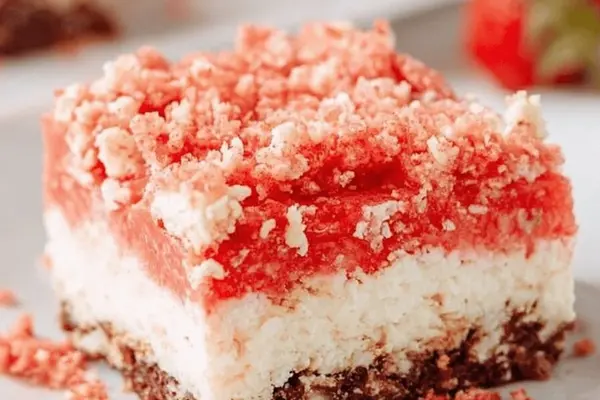
Strawberry Short Cake with Cream Cheese Frosting
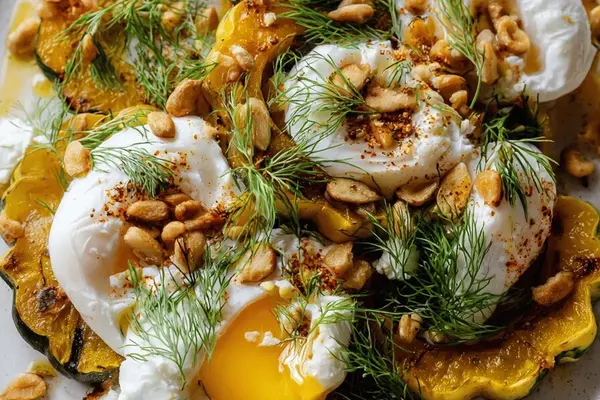
Egg Turkish with Delicata Squash & Goat Cheese

Ben & Jerry's Vegan Ice Cream with Maple

Peach White Chocolate Risotto Recipe

Chocolate Popsicles with Pudding Mix
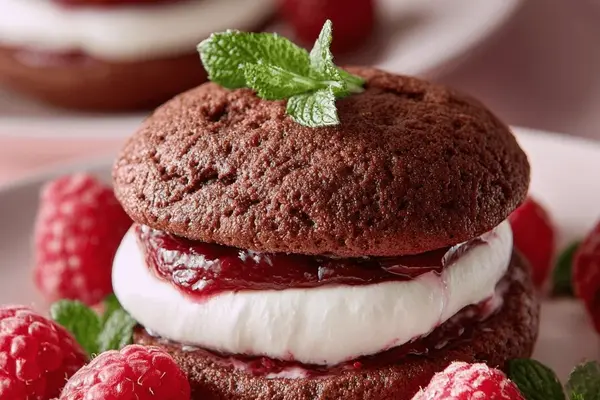
Raspberry Whoopie Pies with Cream Cheese

Slow Cooker Chili With Chorizo

Pecan Pretzel Rolo - Homemade Caramel Chocolate
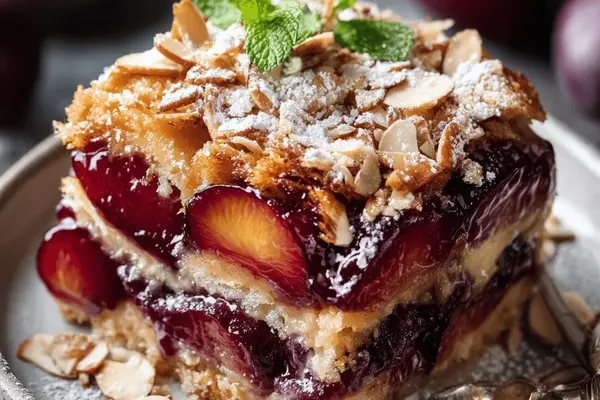
Plum Crumble with Almond Topping & Cardamom