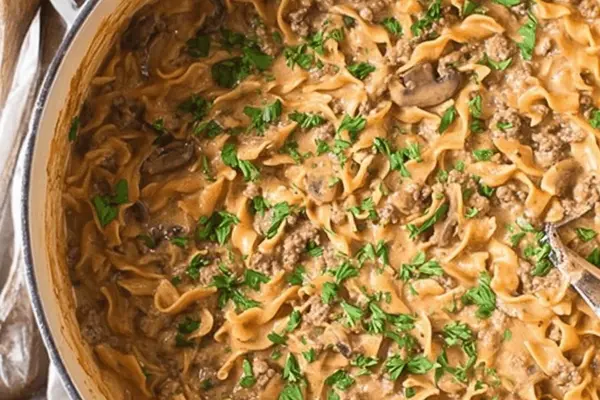
Retro Chicken Tetrazzini
E
By Emma
Certified Culinary Professional
•
Recipe tested & approved
Baked noodle casserole packed with tender chicken, creamy mushroom-chicken sauce, and cheese. Classic layering with vermicelli pasta softened in broth. Buttered casserole ensures no sticking, layers trap moisture. Bake covered first for gentle heat, then uncovered to bubble and brown. Parmesan on top crisps and adds sharp saltiness. Simple pantry staples with a nostalgic vibe. Adjust seasoning boldly to balance canned soups. Use rotisserie chicken or leftovers, chicken pieces bite-sized for even heating. Oven temps and cooking times flexible—watch bubbling center and browned edges to avoid dry bits or raw chicken mishaps. Comfort food with a rich, creamy mouthfeel and chewy, saucy pasta strands under a toasty crust.
Prep:
20 min
Cook:
50 min
Total:
1h 10min
Servings:
6 servings
#Chicken
#Casserole
#Baked Pasta
#Comfort Food
#American Cuisine
Before You Start
Chicken tetrazzini, a throwback comfort food. Think creamy, cheesy noodle bake with tender chicken morsels hidden in a buttery vermicelli nest. It’s easy to mess up with dry edges or stodgy pasta—don’t overboil your noodles and respect layering. I’ve learned the foil cover step is crucial, keeps everything juicy. Use your leftover chicken or rotisserie—skip the raw stuff for ease and texture control. Aromas of garlic and onion powders mingle in creamy soups—instant umami dose. Keep an eye on bubbling center during bake; it’s your doneness signal. Greasing the casserole is non-negotiable: no scraping crust means easy serving and cleaning headaches avoided. Parmesan on top adds crispy, nutty gold to the mix. Sub out half broth with white wine for fancy night vibes or add mushrooms directly for meaty chew.
Ingredients
- 6 cups chicken broth or stock
- 8 ounces vermicelli pasta or thin spaghetti broken into 3-4 inch pieces
- 1 can cream of mushroom soup
- 1 can cream of chicken soup
- ½ cup grated Parmesan cheese plus extra for topping
- 1 teaspoon garlic powder
- 1 teaspoon onion powder
- Salt to taste (start with ½ teaspoon)
- 3 cups cooked chicken meat, chopped into bite sized pieces
- Butter for greasing casserole dish
- Optional twist: swap half chicken broth with dry white wine for depth
In The Same Category · Main Dishes
Explore all →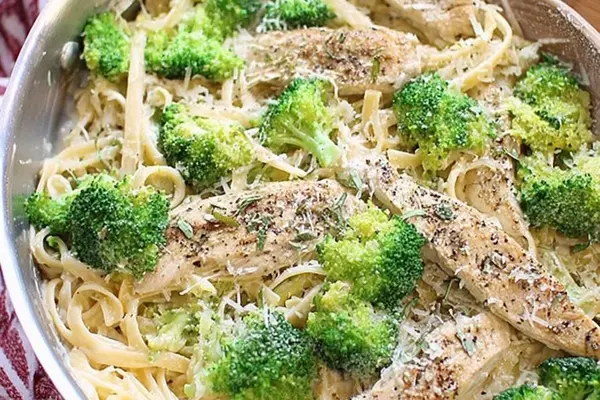
Broccoli Chicken Alfredo
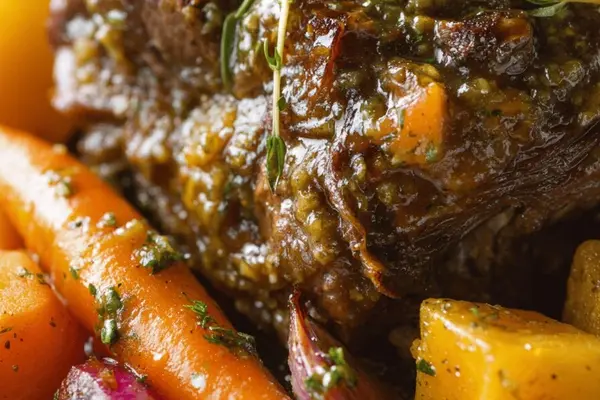
Glazed Lamb Shanks with Buckwheat Honey
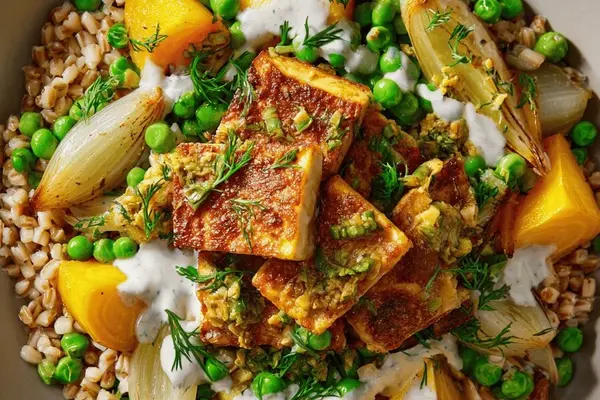
Tofu Barley Veg Bowls
Beef Goulash Twist
Savory Herb Chicken Thighs
Glazed Pork Filets Fig Herbs
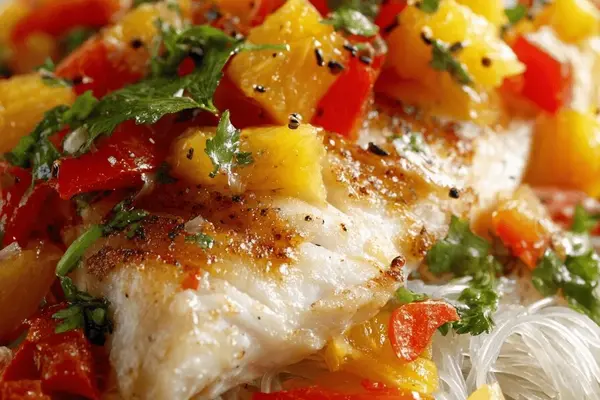
Grilled Tilapia Pineapple Vermicelli
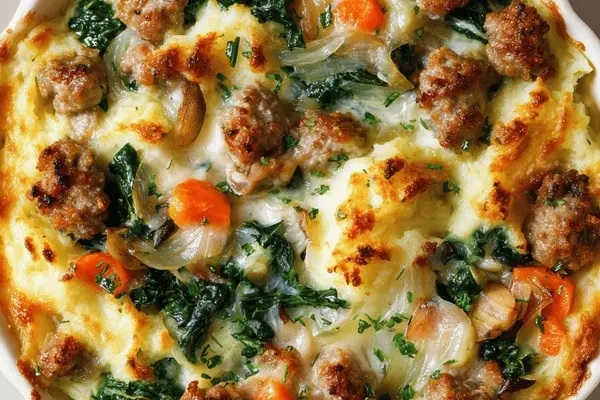
Rustic Sausage Shepherds Pie
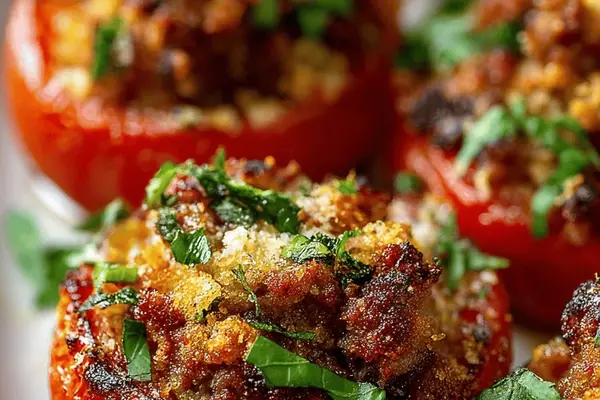
Sausage Roasted Tomatoes
Mustard-Crusted Lamb Shoulder

Chicken Pot Pies in Ramekins
Slow Cooker Beef Sauce
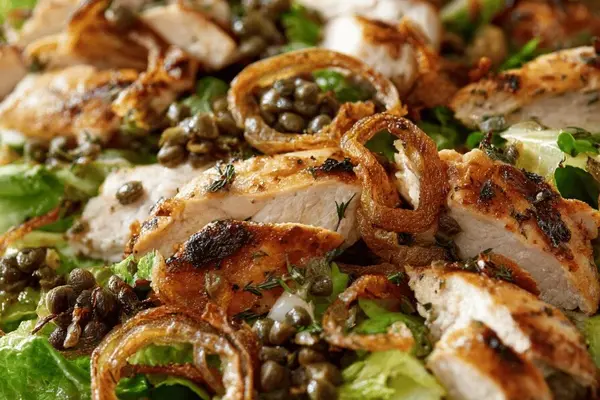
Herbed Chicken & Crispy Shallot Salad

Hearty Veg Chili Twist
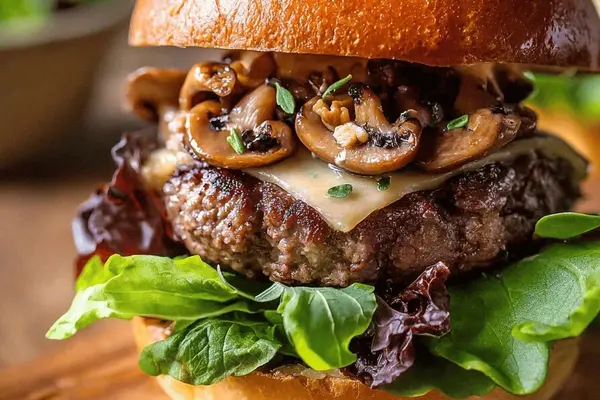
Beef Burger Deluxe

Grilled Avocado Chicken
Chipotle Turkey Chili Twist
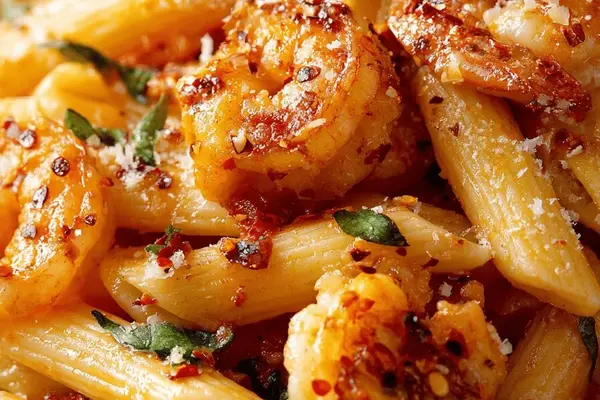
Shrimp Spicy Penne Twist
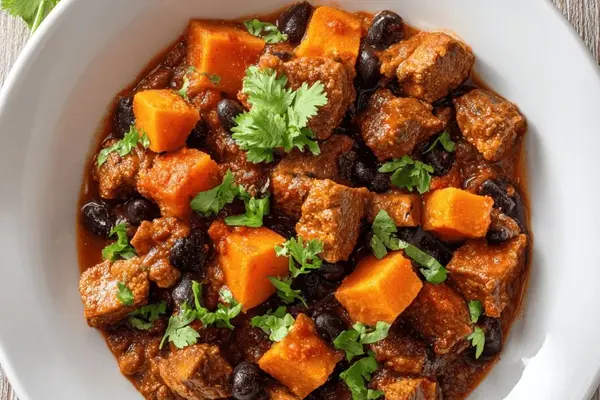
Chunky Short Rib Chili

Chicken Stuffed Shells Twist
About the ingredients
Chicken broth is your flavor base. Use low sodium if you want tighter salt control since canned soups add salt too. Vermicelli or thin spaghetti works best; thicker pastas throw off cooking time. Broth can be replaced by half water plus bouillon cubes—keep it balanced. Cream of mushroom and chicken soups are classic and add savory cream. Swap cream of celery for different herbal profiles if you want a twist. Fresh garlic/onion powders bring nuanced aroma over raw garlic, which turns bitter baked. Parmesan cheese lends salty depth and crust formation; Romano or Asiago can substitute for sharper finish. Butter the casserole well—if you skip, pasta sticks and crusts ruin pan release and bake appearance. Chicken should be cooked fully before use—leftovers, shredded or diced rotisserie chicken work best. Avoid dry breast by tossing with a bit of oil or broth before layering.
Method
- Heat oven to 380°F. Butter inside a 9x13 baking dish thoroughly—prevents crusty sticking; trust me on this.
- In large pot, bring chicken broth to rolling boil. Toss in vermicelli gently, stir once or twice so pasta doesn’t clump.
- Cook for 8-12 minutes; noodles should be tender but not mushy. Taste often. Drain but keep them sitting in residual heat to finish softening—about 5 minutes.
- In a medium bowl, whisk together both cream soups, garlic and onion powders, salt, and half the Parmesan. This mix will be your glue and flavor bomb. Taste it before layering; adjust salt or add a dash of pepper if needed.
- Cut cooked chicken into small uniform bits. If meat looks dry, toss with a spoonful broth or splash of olive oil to keep moist inside casserole.
- Layering now—spread half the pasta on bottom. Press down lightly so you get density but not smashed.
- On top, scatter half the chicken evenly. Then dollop half the creamy soup-cheese blend over that. Pat gently to spread but it’s OK if some spots peek through.
- Repeat the layers exactly the same: pasta, chicken, creamy mixture. Press again to compact slightly.
- Sprinkle remaining Parmesan cheese over the top layer. This helps create a golden, bubbly crust.
- Cover casserole with foil tightly. Bake for 40-50 minutes. The foil traps steam and heats through without drying out chicken or noodles.
- Remove foil and continue baking uncovered for another 10-15 minutes. You want visible bubbling on edges and juicy, steamy center. If bubbling hasn’t started in the middle yet, give it more time—don’t risk undercooked chicken lurking within.
- Let casserole rest 10 minutes before serving. The layers settle, flavors marry, and heat distributes. Cutting too early leads to sloppy slices.
Cooking tips
Start with simmering broth and boiling noodles; trust your taste buds on softness, 8-12 minutes depending on pasta brand. Don’t drain too aggressively or rinse—the residual heat lets noodles finish cooking in their own starch, avoiding mush. Mixing the cream soups and powders before layering ensures even seasoning—taste before committing to layers, adjust salt and pepper here or add herbs like thyme for complexity. Cut chicken uniformly for even heating throughout bake. Layer pasta, chicken, and sauce gently but firmly—compress layers just enough for stability, but don’t mash. Essential: cover tightly with foil, don’t skip, traps moisture and prevents drying in long bake. Toward end, uncover to brown edges and bubble center. Bake visually: bubbling edges plus noticeable steam rising centrally signals done interior. Rest post-bake stalls runny sauce and firms slices for neat serving. Overbaking turns pasta gummy, underbaking leaves raw chicken risk. Watch, smell, and test center with a fork if suspicious. Serving tip: use a wide spoon or spatula and scoop from edges, letting the crust break naturally.
Chef's notes
- 💡 Butter casserole dish thoroughly before layering; dry pans cause crust to stick and pull when serving. Pasta sticks if skipped. Butter also insulates edges—watch golden color form during uncovered bake phase.
- 💡 Simmer broth then boil pasta 8-12 minutes depending on vermicelli brand; noodles must be tender but still firm. Drain carefully, keep residual heat to soften, no rinsing or stirring aggressively. Key to avoid mushy strands.
- 💡 Mix soups and powders with half Parmesan first. Taste before layering. Adjust salt cautiously because soups vary in saltiness. Garlic and onion powders smell muted compared to fresh but avoid bitter burnt bits that raw garlic causes.
- 💡 Chicken must be pre-cooked and bite-sized for even heating; toss with broth or olive oil if meat feels dry before layering. This prevents dry patches once baked, moisture disperses slowly inside thick casserole layers.
- 💡 Cover tightly with foil first bake to trap steam. Prevents drying out noodles and chicken inside casserole. Uncover last 10-15 minutes for bubbling edges and golden cheese crust. Visual cues beat watch-and-guess timers every time.
Common questions
Can I use fresh garlic instead of powder?
Fresh garlic tends to brown and bitter when baked long. Powders give consistent aroma without harsh burnt notes. If fresh used, sauté lightly first. Alternative powders keep flavor even.
How do I fix soggy noodles?
Overcooked pasta swells and breaks down. Cook noodles shorter than normal, let residual heat finish softening off-heat. Avoid rinsing; starch helps hold sauce. If soggy, bake uncovered longer to dry top layers.
Safe to use raw chicken?
No. Raw chicken risks uneven cooking inside thick bake. Pre-cooked or rotisserie chicken ensures safe internal temps with no guesswork. For raw, you'd have to par-cook pasta less and bake longer watched closely.
How to store leftovers?
Cool quickly to avoid bacteria. Cover and refrigerate 3-4 days. Reheat covered at lower temp to keep moisture. Freeze in airtight containers up to 3 months; thaw first to avoid drying edges when baking crisp again.
You’ll Love These Too
Explore all →
Eggnog Chai Cheesecake

No-Bake Pumpkin Brownie Bites
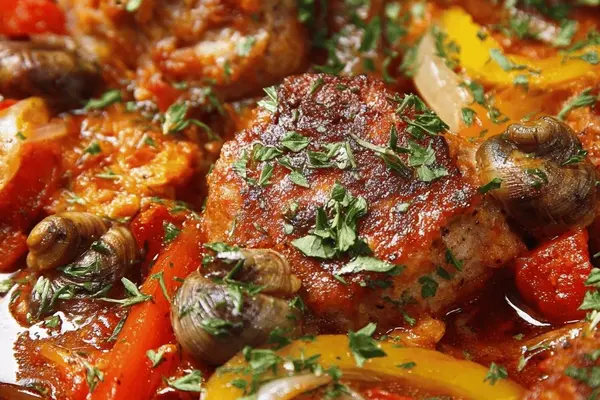
Spicy Sausage Escargots
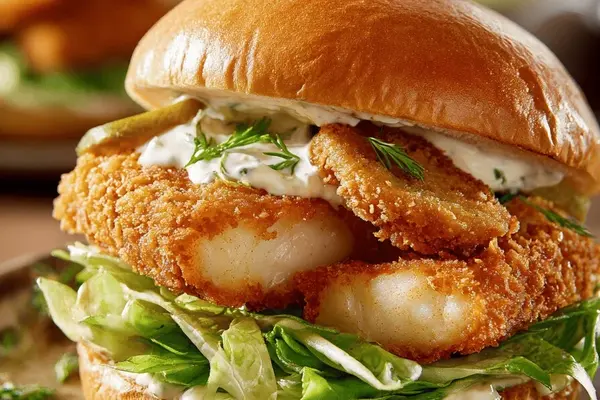
Cod Burgers and Fried Pickles

Berry French Toast Bake
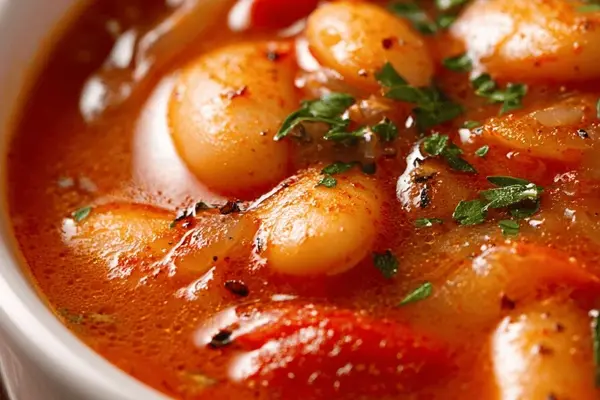
Tomato White Bean Soup

Pineapple Cilantro Slaw
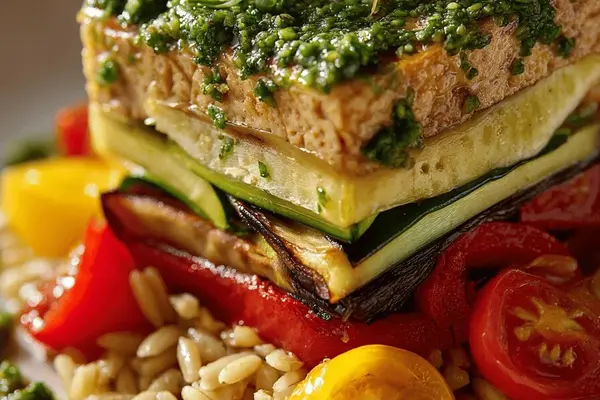
Grilled Tofu Orzo Stack

Turkey Spinach Meatballs

Avocado Cookie Twist
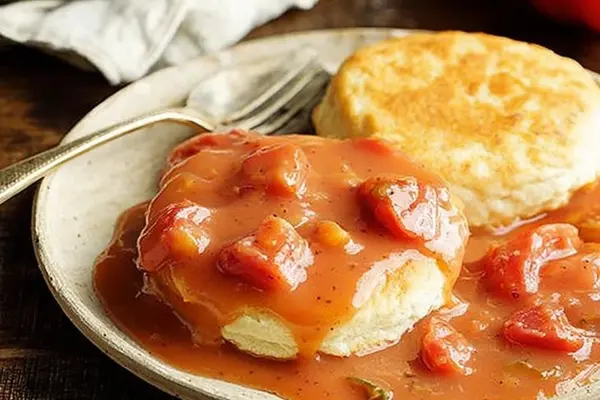
Rustic Tomato Gravy

Cheesecake Chocolate Chip Cookies

Blood Orange Chiffon Cake

Creamy Cacao Nut Smoothie
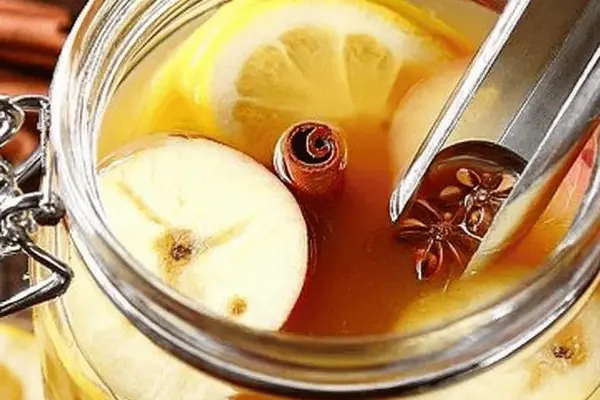
Autumn Spice Tea Punch
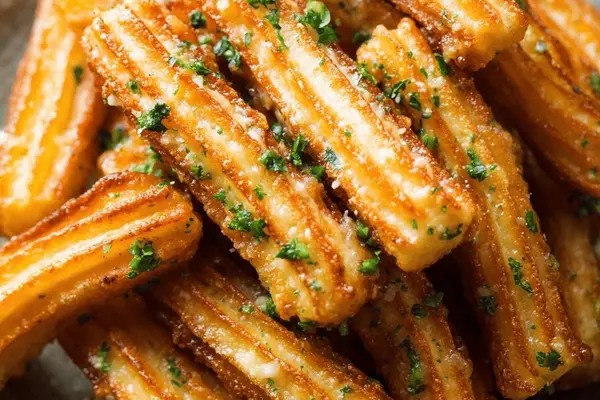
Cheesy Churros Twist
Cheese Croquettes Remix

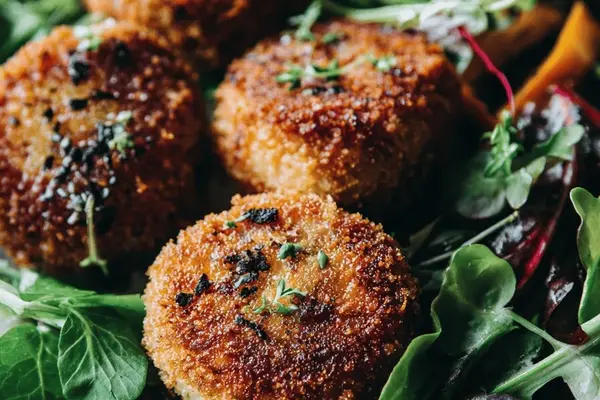
Meat Pies with a Twist
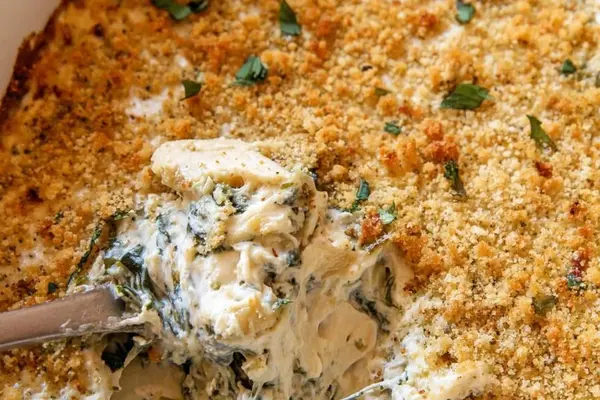
Twisted Spin Artichoke Dip

Anise-Spiced Italian Rings