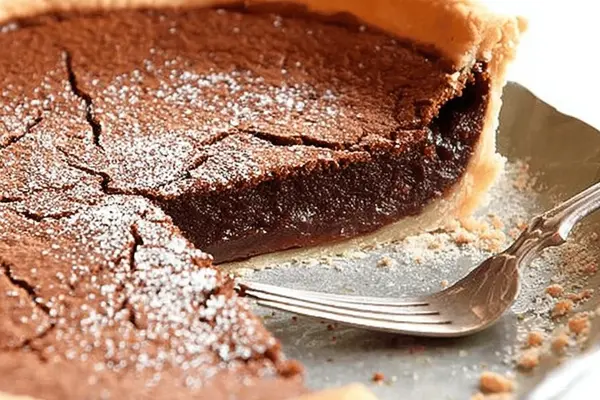
Rustic Chocolate Chess Pie with Dutch Cocoa
By Emma
Certified Culinary Professional
·
Recipe tested & approved
Rustic chocolate chess pie made with Dutch-processed cocoa, buttermilk, and cornstarch for a deep, custardy filling. Baked until golden and jiggly.
Prep:
16 min
Cook:
50 min
Total:
1h 6min
Servings:
8 servings
Preheat to 350. Butter the dish. That’s already the better half. This chocolate pie doesn’t ask for much—just Dutch cocoa, cornstarch, and buttermilk to make something that tastes like it took all day. Works cold. Works warm. Works at three in the morning when you need chocolate and don’t want to think.
Why You’ll Love This Chocolate Chess Pie
Tastes deeper than regular chocolate pie. The Dutch processed cocoa does something mellow and serious. Not bright. Just serious.
Takes an hour total—16 minutes of actual work, then you walk away. Oven does the rest.
Custard texture. That wobble in the middle means it’s right. Firms up as it cools. Nobody expects that.
Buttermilk in there keeps it from being heavy. Sounds weird. Works.
Comfort food. The kind you make on a Tuesday for no reason at all.
What You Need for Rustic Chocolate Chess Pie
Dutch-processed cocoa powder. Not regular. The color stays darker and the flavor doesn’t get harsh.
Granulated sugar—3/4 cup. Not brown. Brown changes everything.
Cornstarch. A quarter cup. This is the thickener that actually works. Flour gets weird here. Cornstarch doesn’t.
Three eggs beaten together. Temperature doesn’t matter as much as people say.
Unsalted butter melted. Six tablespoons. Adds richness without salt fighting the chocolate.
Whole milk and buttermilk—half a cup each. The buttermilk cuts the richness. Don’t skip it for regular milk.
Vanilla extract. A teaspoon. Add it at the end so the aroma doesn’t cook off.
Unbaked 9-inch pie shell. Frozen works fine. Thawed works too. Doesn’t matter much either way.
How to Make Chocolate Chess Pie
Get your oven to 350. Takes a few minutes to preheat. Butter your pie dish lightly—just enough so the crust doesn’t stick. That’s all.
Whisk together the Dutch cocoa, sugar, and cornstarch in a large bowl. Do this thoroughly. Lumps will stay lumps if you don’t break them apart. The cornstarch especially—if it clumps up in the filling, you get pockets of starch that don’t thicken. Not worth the risk.
Pour your beaten eggs in slowly while whisking. Doesn’t have to be fancy. Just keep whisking so the eggs incorporate instead of cooking in streaks. Then add the melted butter. Stir until it looks shiny. You’ll see the texture change slightly—that’s the butter coating everything.
Pour in the whole milk and buttermilk together. Stir until smooth. The filling should look like thick chocolate sauce at this point. Vanilla goes in last. Just a teaspoon.
Pour the filling into your pie shell carefully. Leave about a quarter inch from the top. It’ll puff slightly in the oven. Overfill and it spills everywhere.
How to Get Chocolate Chess Pie Perfectly Custard-Set
Bake at 350 for about 50 minutes. Don’t rely on that number completely. Watch the pie instead.
What you’re looking for: the top develops a matte, dry-looking crust. Looks set. But underneath—and this is the thing most people miss—the filling should jiggle like pudding when you gently shake the rack. That jiggle is your signal. The custard keeps cooking after you pull it out. If it looks fully set now, it’ll be rubbery later.
If the edges brown too fast around minute 35 or so, tent with foil. Just loosely cover it. Keeps the crust from charring while the center finishes.
Cool on a wire rack. Completely. Three hours minimum, longer if you can wait. This is when the filling actually firms up. Cutting too soon is a mistake. You’ll get a puddle. Patience here pays off.
Chocolate Chess Pie Tips and Mistakes to Avoid
Cornstarch is your friend but only if it’s mixed in properly. Lumps stay lumps. Stir it with the sugar before the eggs go in.
The jiggle rule matters more than the timer. Every oven is different. Some run hot. Some don’t. The pie tells you when it’s done. Listen to that instead of a clock.
Buttermilk versus regular milk sounds like nothing. It’s not. The acidity does something subtle to the flavor and keeps the texture lighter. If you don’t have buttermilk, don’t bother substituting regular milk. Make something else or wait until you have it.
Weeping happens sometimes. Custard pies do that. Refrigerated custard gets moisture on top. Bring it to room temperature before serving and it mostly disappears.
The pie firms more after refrigeration. Day two tastes better than day one. The flavors settle and the texture gets denser. Plan accordingly.
Don’t skip the cooling step thinking you can speed it up in the fridge. Residual heat does something different than cold. The filling sets properly at room temperature first.
Rustic Chocolate Chess Pie with Dutch Cocoa
Prep:
16 min
Cook:
50 min
Total:
1h 6min
Servings:
8 servings
Ingredients
- 1/3 cup Dutch-processed cocoa powder
- 3/4 cup granulated sugar
- 1/4 cup cornstarch
- 3 large eggs, beaten
- 6 tablespoons unsalted butter, melted
- 1/2 cup whole milk
- 1/2 cup buttermilk
- 1 teaspoon pure vanilla extract
- 1 unbaked 9-inch pie shell
Method
- 1 Preheat oven to 350F. Butter your pie dish lightly to keep crust happy. Dutch-processed cocoa matters here for deeper color and mellow acidity.
- 2 In a large bowl, whisk dutch cocoa, sugar, and cornstarch thoroughly until no lumps—cornstarch is your custard’s thickener; don’t skimp or you’ll end with runny pie.
- 3 Pour eggs into dry mix slowly while whisking. Incorporate melted butter next, then milk and buttermilk, stirring until sheen forms, smooth and thickened slightly. Vanilla last to keep aroma fresh.
- 4 Pour filling carefully into your pie shell. Avoid overfilling, leave about 1/4 inch to avoid spillover. The pie will puff slightly but needs space to breathe.
- 5 Bake at 350F for about 50 minutes but watch more than time here: The top will develop a subtle crust that looks matte and dry but underneath should jiggle like pudding when shaken gently. That jiggle means custard finish baking after pulled from oven.
- 6 If edges brown too fast, tent with foil halfway to prevent burning but let center firm.
- 7 Cool completely on wire rack for 3 hours or longer. This step is crucial—cutting too soon will wreck structure. The filling firms from residual heat and chilling, stabilizing texture.
- 8 Serve with whipped cream and, if you’re feeling adventurous, chopped toasted hazelnuts or a sprinkle of flaky sea salt for contrast.
- 9 Storage note: Refrigerate leftovers covered. Custard pies can weep moisture; bring back to room temp before serving for best flavor and texture.
Nutritional information
Calories
248
Protein
4g
Carbs
32g
Fat
12g
Frequently Asked Questions About Chocolate Chess Pie
Can I use regular cocoa powder instead of Dutch-processed? Not really. Regular cocoa is too bright and acidic. Changes the whole thing. Dutch cocoa is deeper. That’s the point.
What if my pie looks runny after 50 minutes? It shouldn’t if the cornstarch is mixed right. But if it does—it’s still cooking. Give it another 5 to 10 minutes. Check the jiggle. If the whole thing moves like water, something went wrong with the cornstarch or the eggs split somehow. But usually just more time fixes it.
Can I make this ahead? Yeah. Bake it, cool it completely, refrigerate it covered. Lasts about 4 days. Bring to room temp before slicing or it’s cold and dense in a bad way.
Why buttermilk specifically? Cuts the heaviness. Makes it taste lighter than it is. Regular milk makes it feel thicker and richer in your mouth. Not bad. Just different. Buttermilk is better here.
Should the filling be thick when I pour it? Thick but pourable. Like chocolate pudding that’s still liquid. If it’s thicker, you mixed in too much cornstarch or didn’t whisk enough. If it’s thin like chocolate milk, you’re missing cornstarch or skipped it. It should look like something that could coat a spoon.
Can I freeze it? Probably yeah. Haven’t tried it honestly. Texture might change a little with freezing and thawing but it should still be edible.
You’ll Love These Too
Explore all →
Melon Aloe Refresher with Lime & Mint
Pressure Cooker Lentil Kale Stew

Hearty Veg Chili Twist with Aubergine
Chilled Celery Soup with Leek & Parsnip
Roasted Potatoes with Duck Fat and Maple Syrup

Chipotle Turkey Chili with Sweet Potatoes

Sticky Chicken Recipe with Soy and Ginger
Banana Bread Recipe with Pumpkin & Cardamom
Vegan Shortcakes with Whipped Coconut Cream
Raspberry Cream Spread with Coconut Oil
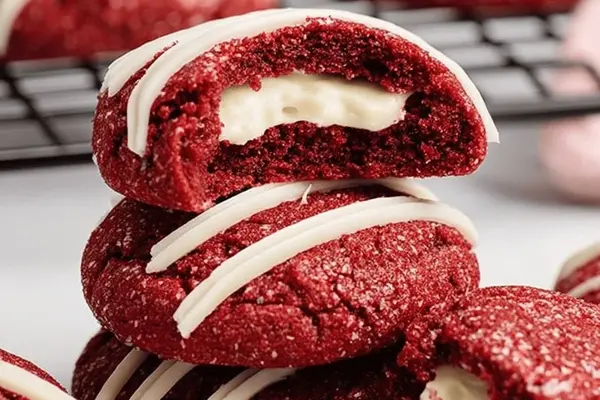
Oreo Oreos: Red Velvet Cream Cheese Cookies
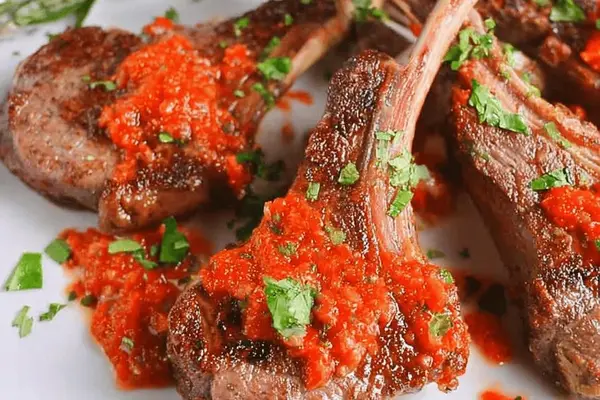
Herb Lamb Lollipops with Romesco Sauce
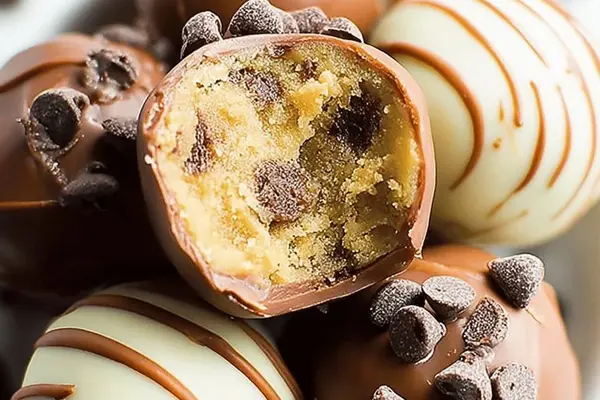
Cookie Dough Truffles with Bittersweet Chocolate

Jalapeño Popper Potato Skins with Bacon
Jalapeño Popper Grilled Cheese with Bacon

One Pot Meals with Ground Beef and Rice
Banana Foster French Toast with Dark Chocolate
Grilled Guacamole with Charred Tomatillo Salsa

Chocolate Mousse Dessert with Espresso