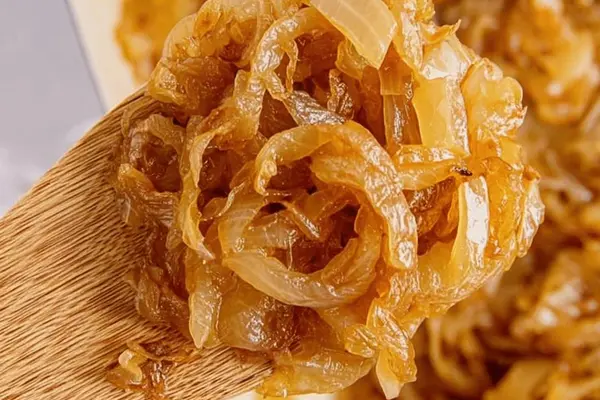
Slow-Cooked Caramelized Onions
E
By Emma
Certified Culinary Professional
•
Recipe tested & approved
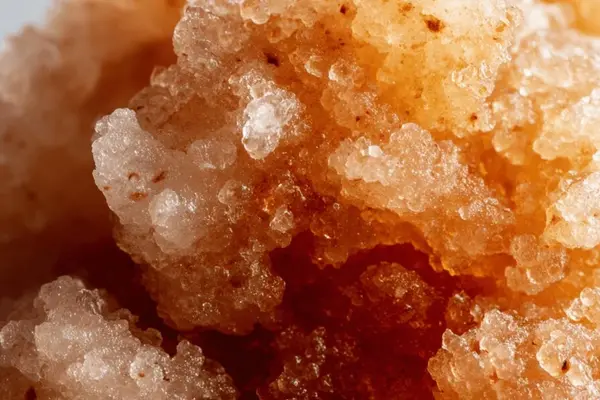
Butter melts slow in pan medium-low heat. Toss in sliced onions, sprinkle salt and raw honey for that extra hint of sweetness. Stir rarely. Onions shrink as water escapes, music of gentle sizzle. Watch color shift from pale to amber, then deep golden brown around 40-50 minutes. Patience key. Adjust heat if onions start crisping or sticking. Use olive oil if butter browned too soon. Taste as you go; sweetness deepens but watch for bitterness if you cook it too fast. Perfect on burgers, stews, or plain toast. If too bitter, splash bit of balsamic vinegar to balance. Onions soften to silk, edges curling slightly, sweet smell thickening kitchen air. Keep a scrap of bread nearby to mop up buttery goodness.
Prep:
10 min
Cook:
50 min
Total:
1h
Servings:
1 serving
#onions
#caramelization
#slow cooking
#savory
#kitchen tips
Before You Start
Started many times, failed faster than you can say burnt. The crux of caramelized onions isn’t speed but the glorious patience tedium of watching thinly sliced rings turn soft, sweet, sticky. Butter feels like gold melting in pan, tempting to crank heat but resist. Too hot, onions scorch, bitterness wrecks the symphony. Too low, drag out process till water fights dry off. Salt coaxes out moisture while honey teases caramel to best form. Glance at color all the time — eyes more important than timers. Smell is your alarm clock—sweetness grows, darkening hues follow. Little tricks like gentle tosses every 7 minutes keeps sanity and prevents burnt edges. Adapting to dinner moods; sometimes swap butter for oil, sometimes a splash apple cider vinegar at end to balance. A skill worth the slow fire and good company.
Ingredients
- 2 tablespoons unsalted butter substitute with olive oil
- 2 medium yellow onions thinly sliced
- ½ teaspoon salt
- 1 teaspoon honey substitute for raw sugar
In The Same Category · Dips and Spreads
Explore all →
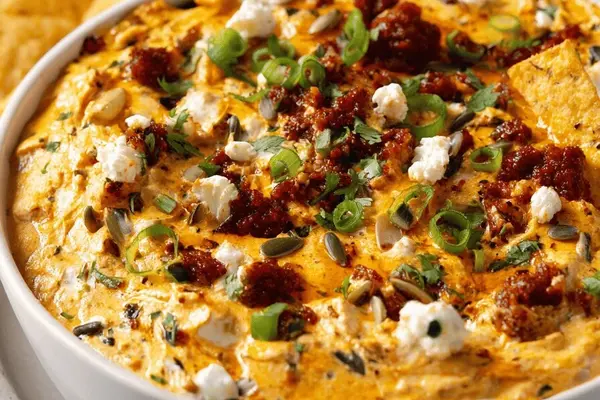
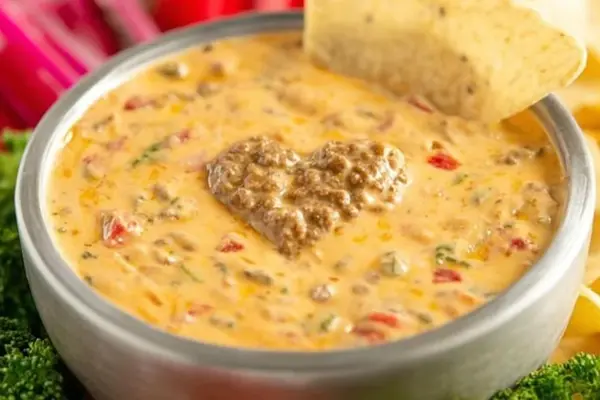
Spicy Slow Beef Cheese Dip

Zesty Honey Mustard Dip

Zucchini Feta Dip Redux
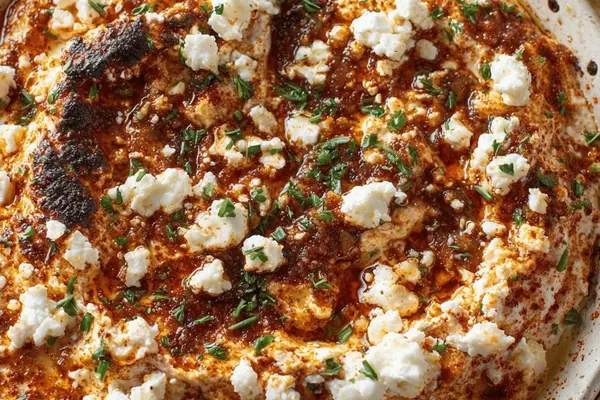
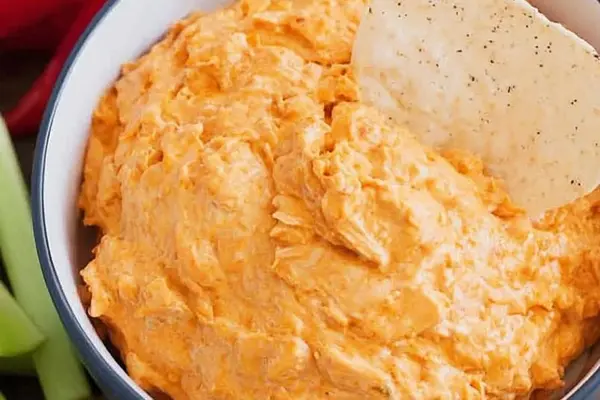
Hot Caramelized Onion Dip
Tangy Mayo Hoisin Dip
Chorizo Cream Cheese Dip
Hot Crab Dip Twist
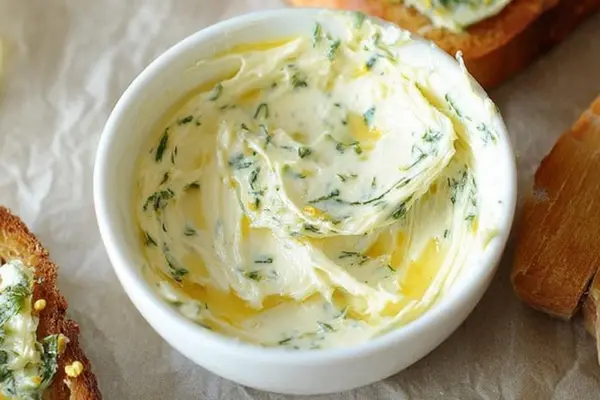
Zesty Lemon Herb Butter
Creamy Parmesan Peppercorn
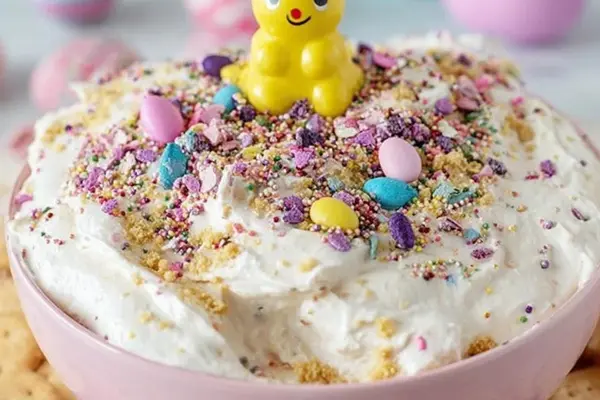
Easter Dunkaroo Remix

Slow Cooker Buffalo Chicken Dip
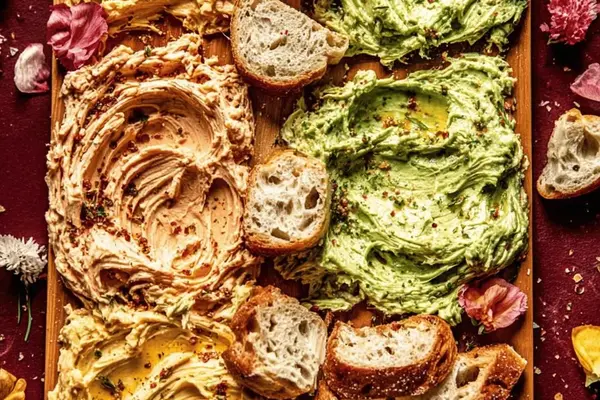
Butter Board Medley
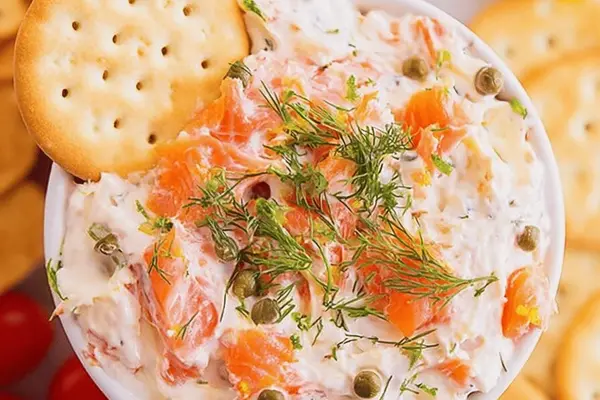
Smoked Salmon Spread Remix
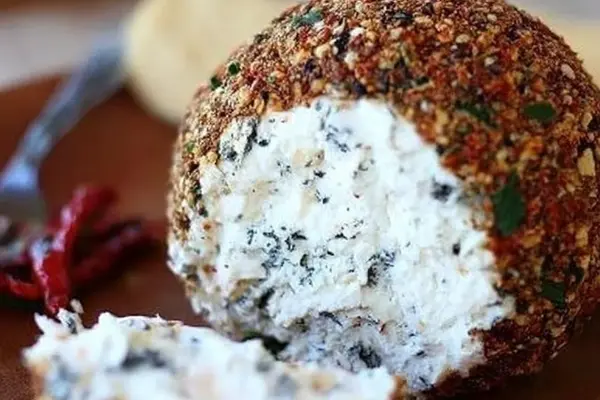
Peppery Ranch Cheeseball
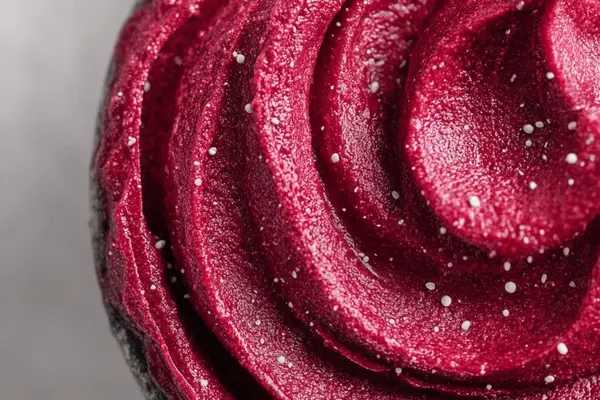
Raspberry Cream Spread
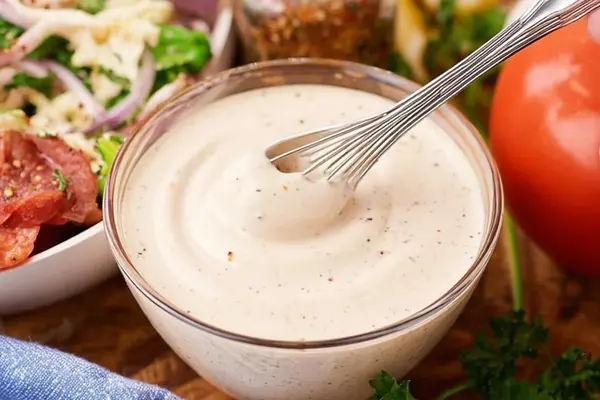
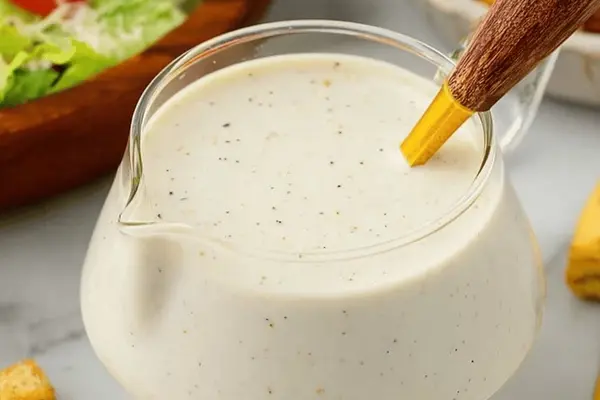
Creamy Italian Dressing Remix
Slow Buffalo Chicken Dip
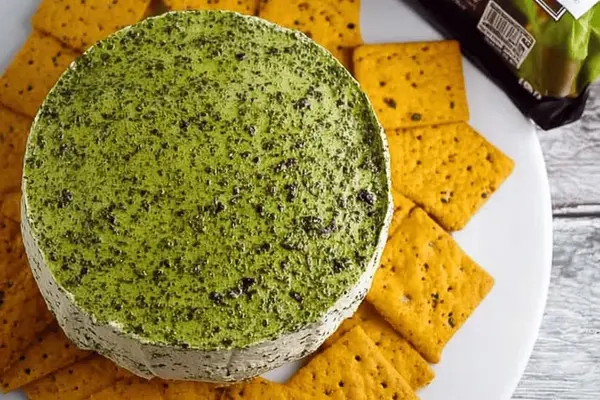
Layered Pesto Ricotta Dip
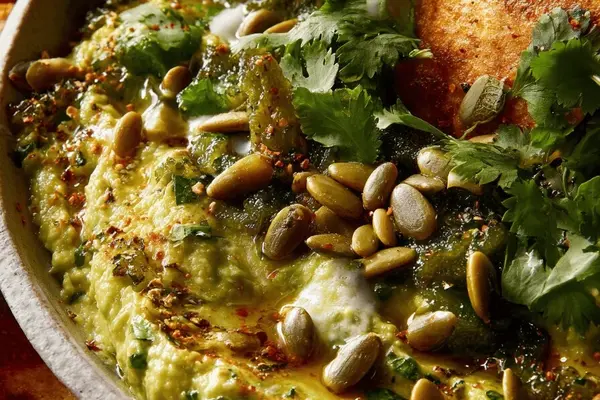
Grilled Tomatillo Guacamole
Slow Cooker Rotel Beef Dip
About the ingredients
Starting with butter lends richness and flavor layering but if you can’t tolerate dairy or butter burns fast, olive oil or light vegetable oil works brilliantly and reduces risk of bitterness. Yellow onions preferred though white or red can be used, affecting flavor intensity and sweetness. Salt vital for drawing moisture but keep it moderate to avoid soggy onions. Honey, a twist on typical sugar, adds complexity and natural fruitiness; raw sugar works too if you prefer crunchier texture spots. Adjust quantities if cooking double or half batch, timing remains close but keep attentive for doneness. Avoid overcrowding pan. Use wide skillet for maximum surface area to let water evaporate quickly. If onions stick, a few drops of warm water or oil rescue. Don’t rinse onions after slicing; keeps natural sweetness intact.
Method
Prepare Pan and Fat
- Heat butter in a large skillet over a medium-low flame. Butter should melt gently, foam starting but don’t let it brown too fast—too high and you lose control. Oil can replace butter if it browns too quickly.
Add Onions and Seasonings
- Add sliced onions immediately. Sprinkle salt and a small spoonful of honey or sugar. Toss onions in fat to coat evenly. Salt draws moisture out; sugar or honey kicks caramelization into gear but don’t overdo it.
Slow, Patient Cooking
- Keep heat steady medium-low. Listen for soft sizzling sounds. Stir every 5-10 minutes—no more. Frequent stirring ruins the cooking cycle, stops onions from forming color. If onions stick or start crisping burn warnings, reduce heat. No action? Nudge heat higher slightly.
Watch for Transformation
- Initial 15-20 minutes onions soften, become translucent, and begin shrinking as water evaporates. Around 30-35 minutes pale gold tint appears. Smell thickens sweet with faint roasted hints.
Color and Texture Cue
- Between 45 and 55 minutes onions turn glossy dark amber brown, volume halved. Edges curl and crisp slightly, center soft like silk. Taste test to check sweetness. Too bitter? Reduce heat next batch, stir more.
Finishing Touches
- Remove from heat once color and sweetness are right. Optionally add splash balsamic vinegar or a pinch of freshly ground pepper to lift flavors. Use immediately or cool and store refrigerated.
Cooking tips
Butter melts gently, bubbling without brown spots. Place pan on medium-low and hold ground. Add onions, seasoning right away—salt and honey kick-start the process, functionally making onions release water fast and lightly sweet. Toss immediately to help even cooking. Don’t stir every minute; resistance pays off as sugars begin slow Maillard reaction on surface. Check every 7 minutes with sturdy spatula, removing any bits sticking to pan bottom, scraping up to redistribute flavor. Visual clues—onions go from milky opaque to translucent then golden amber, edges ever more curling and sticky. Time can vary 40 to 60 minutes depending on onion thickness, pan type, and stove. Taste critical—sweet readiness over strict timing. If brown bits risk burning, slide heat down or lift pan briefly. Final splash of acidity like balsamic counters any lingering bitterness. Store cooled onions in airtight container refrigerated for 4 days or freeze in portions for long-term. Versatile, slow food wins with mindfulness.
Chef's notes
- 💡 Butter melts gently on medium-low but watch. Foam bubbles before browning—don’t rush it or burn bitter notes creep fast; switch to olive oil if butter browns too early. Timing not exact but sensory. Butter first, then immediately toss onions in to coat well. Salt crucial early, draws moisture quick. Honey or raw sugar kick Maillard reaction, but don’t dump too much or onions get clumpy and sticky. Toss onions to coat evenly but not constant stirring—every 7 to 10 minutes tops. Let onions sweat, soften, shrink, then color forms.
- 💡 Keep the heat steady medium-low mostly; too high and bitter scorched edges ruin everything. If you hear hard crackles or see firm crisp spots, lower flame fast. Stick to slow sizzle sounds, gentle bubbling. If onions stick, flick a teaspoon warm water or extra oil to release gently. Don’t rinse onions after slicing; water dulls sweet flavor. Wide skillet essential to spread onions thinly, large surface area speeds evaporation. Crowded pan traps moisture causing soggy texture and uneven browning. Not all onions equal; yellow preferred, reds add extra punch, white milder.
- 💡 Timing varies 40 to 60 minutes depending on stove, pan, thickness. Watch color progression—first transparent, then pale gold, faint roasted aroma, then shift toward deep amber. Edges curl and curl slightly crisped, center silk soft. Taste frequently after 40 minutes; sweetness deepens steadily but guard against bitterness. If too bitter reduce heat, stir more next time. Splash vinegar like balsamic at end can balance bitterness if it creeps in. Optionally add pepper or extra seasoning only after cooking finishes. Cool before storing, airtight fridge up to 4 days, or freeze in portions long term.
- 💡 If butter not an option, start with olive oil but flavor changes slightly—more neutral, less rich. For tighter budgets or swaps, light vegetable oil works too. Honey adds complexity over raw sugar, gives subtle fruit notes but sugar gives more crunch and texture contrast. Toss onions with salt early to coax water out, key for caramel. Don’t crowd the pan. If onions pile, steaming wins and caramels won’t develop properly. Have a scrap of bread or toast ready—best tool for mopping up final buttery richness. Know your pan and heat, stove types vary wildly so rely on smell and feel over strict timers.
- 💡 Final taste test crucial. Onions can shift quick near end, sugar concentration rises, risk tipping to bitterness—especially if heat uneven or pan too hot. Watch for silky softness internally and shiny browned gloss outside. Watch the edges carefully—slight crisping is fine but avoid full crisp burn spots. Don’t underestimate stirring rhythm. Too often scrapes flavor off surfaces and sets back browning progress; too little- risk stuck and burnt patches. Let onions rest briefly off heat, flavors meld. Use immediately or store properly chilled.
Common questions
How do I prevent onions from burning?
Lower heat fast if you see browning edges crisping. Stir less frequent but watch for stubborn spots. Add drops warm water or oil if necessary. Butter browns quicker than oil so adjust flame.
Can I use white or red onions?
Yes but results differ. Yellow sweeter, red stronger flavor, white milder. Timing close but watch carefully. Color and taste shift. Salt and sugar amounts same, but texture may vary.
Why do onions sometimes turn bitter?
Overheat or stirring too much breaks Maillard cycle. Sugars burn. High heat scorches. Too quick caramelization skips silky phase. Use patience, steady low flame. Vinegar splash fixes bitterness after cooking.
How do I store leftovers?
Cool fully first. Airtight container fridge up to 4 days. Freeze in portions for longer storage. Reheat gently. Avoid reheating aggressively or flavor dulls. Can add fresh seasoning after warming.
You’ll Love These Too
Explore all →
Five Banana Bran Bread
Spiced Pumpkin Soup Twist
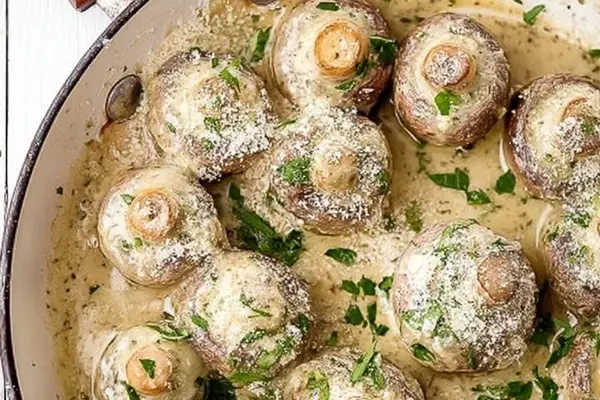
Garlic Parmesan Mushrooms Remix
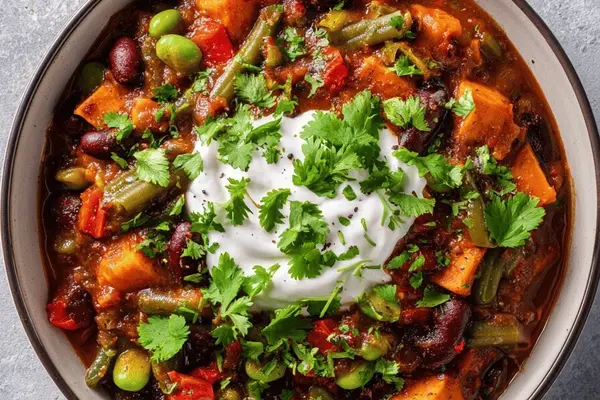
Edamame Vegetarian Chili
Braised Veal Cheeks with Cocoa Sauce
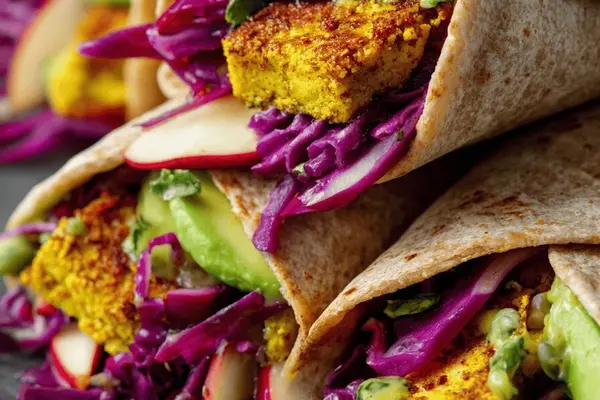
Curried Tofu Avocado Wraps
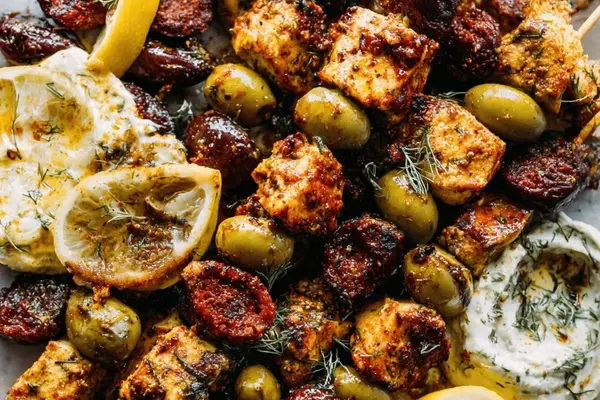
Chicken Chorizo Olive Skewers
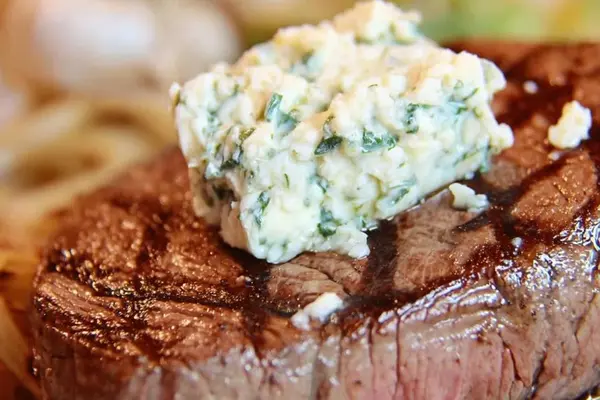
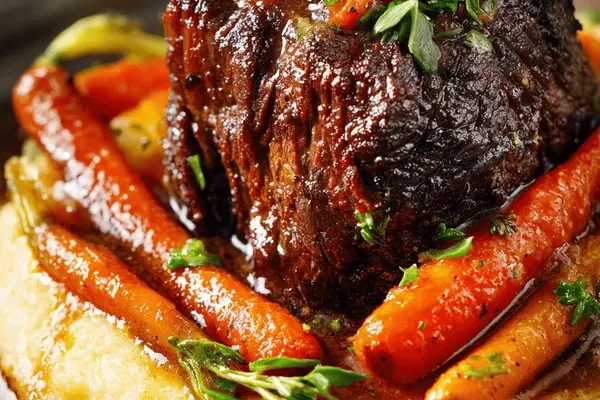
Grilled Beef Fillet Garlic Butter
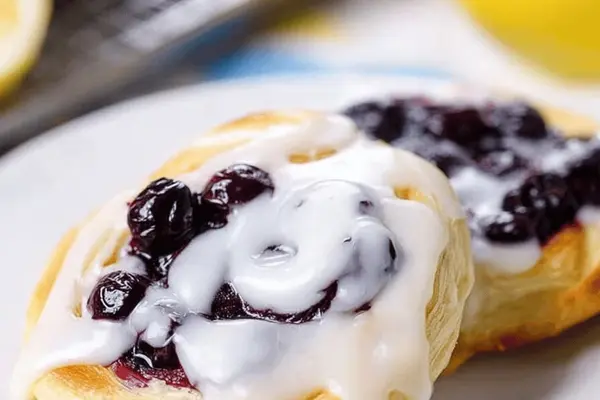
Blueberry Cream Cheese Danish Twist
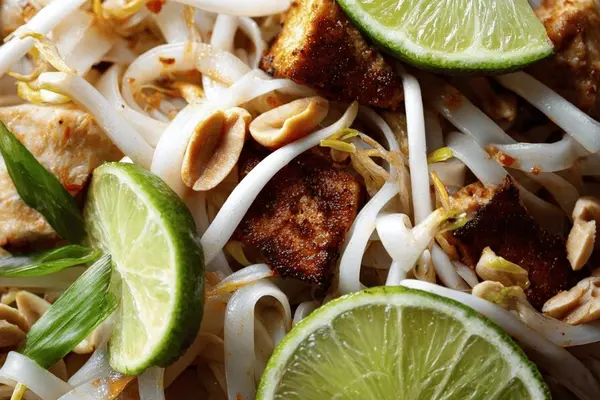
Authentic Thai Noodles
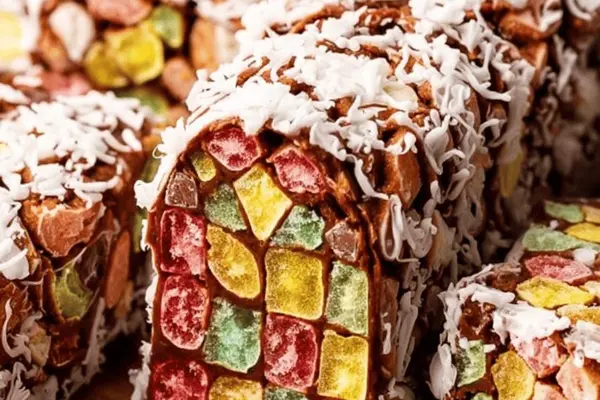
Coconut Walnut Logs
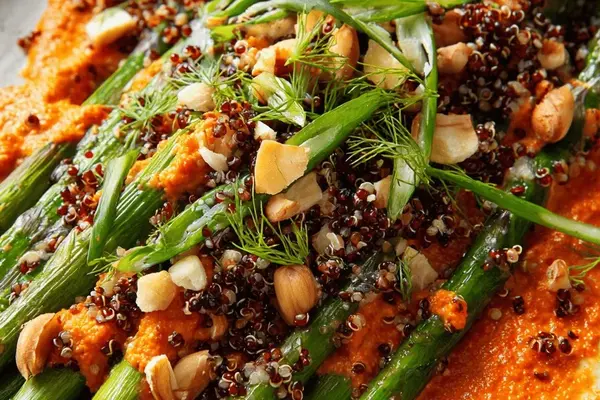
Asparagus Romesco Twist
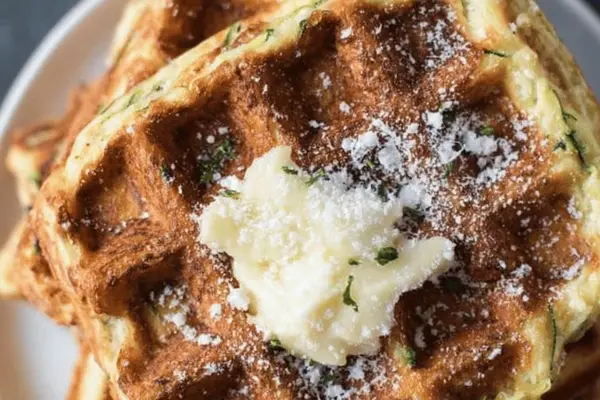
Zucchini Parmesan Waffles
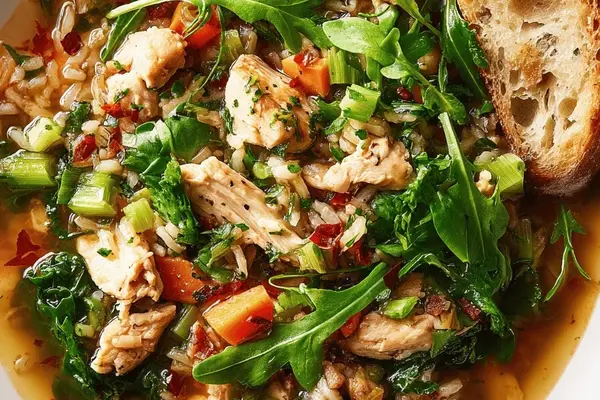
Chicken Rice Soup-Meal
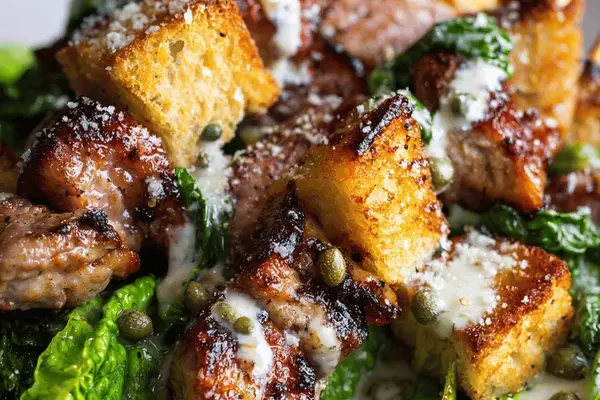
Mini Chicken Caesar Bites
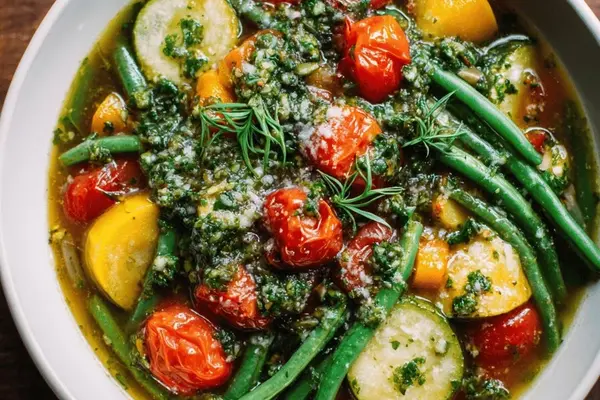
Rustic Pistou Soup
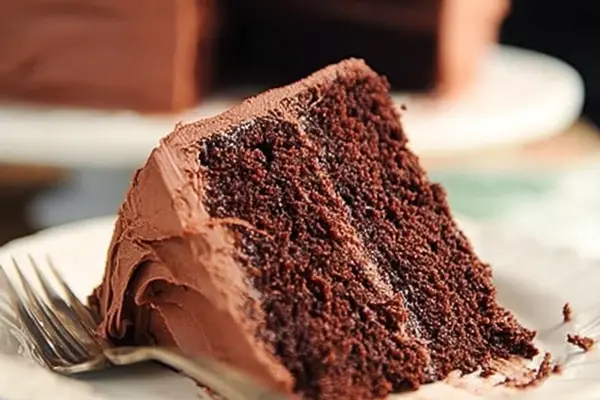
Altered Chocolate Cake
Frosty Apple-Maple Granité
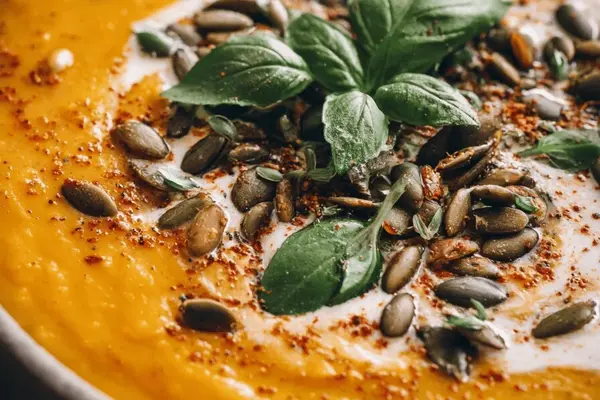
Roasted Spiced Squash Soup
Strawberry Mousse Twist