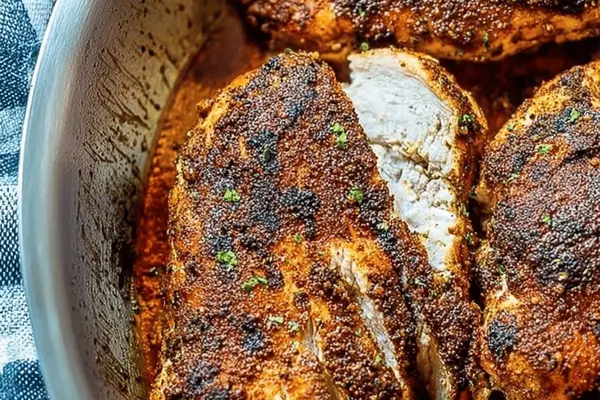
Chicken Wing Rub with Paprika & Cayenne
By Emma
Certified Culinary Professional
·
Recipe tested & approved
Chicken wing rub with smoked paprika, cayenne, garlic powder, and oregano. This dry rub seasoning creates a flavorful crust on chicken breasts or wings.
Prep:
7 min
Cook:
23 min
Total:
30 min
Servings:
4 servings
Four chicken breasts. A skillet that’s smoking. Seven minutes of prep, then you’ve got dinner. The rub does everything—makes the crust, makes it taste like something, makes you wonder why you didn’t do this sooner.
Why You’ll Love This Chicken Wing Rub
Thirty minutes total. That’s it. Your whole dinner, start to finish.
The spice rub actually sticks. Not powdery. Not falling off the second you bite. It cooks into the chicken, gets dark and crispy, tastes smoky without tasting like char.
Works on anything—breasts, thighs, wings, even pork chops. Been doing this three years and haven’t gotten bored yet.
One skillet. One bowl for the rub. Cleanup doesn’t suck. Everything goes in the same pan you cooked in, or straight in the oven if it’s ovenproof.
Leftovers are actually better cold. Slice it thin, throw it on a salad, put it in a sandwich. Still tastes spicy and good, not dried out.
What You Need for This Chicken Spice Rub
Smoked paprika. That’s where the flavor lives—the smokiness, the depth. Regular paprika does almost nothing.
Garlic powder and onion powder. Not fresh. Dried. They stay put in the rub instead of burning off.
Oregano, thyme, salt, pepper, cayenne. The cayenne’s the heat—not crazy hot, just a push in the back of your throat. Could add more. Some people do.
Butter. Three tablespoons. It’s the glue. Holds the spices on the chicken instead of letting them fall into the pan. Also makes the crust brown better than oil alone.
Olive oil for the pan. Shimmering hot. That’s when you know it’s ready.
Four boneless skinless chicken breasts. The easiest version. Could use wings. Could use bone-in. Takes longer but tastes meaner.
How to Make a Chicken Wing Rub That Actually Works
Mix your dry spices in a small bowl first. Smoked paprika, oregano, garlic powder, onion powder, salt, pepper, cayenne, thyme. Stir it. Smells smoky already. That’s the sign you got it right.
Melt the butter. Forty seconds in the microwave. Watch it. You want it melted, not brown. Brown butter burns the spices before they even hit the pan.
Pat your chicken dry. This matters more than people think. Wet chicken won’t hold the rub. Won’t get a real crust. Dry it like you’re getting it ready for something important. Because you are.
Dunk each breast in the warm butter. Work fast—butter cools and gets thick. Coat it evenly, all sides. Then press the spice mix into the chicken. Don’t sprinkle. Press. This crust is everything.
Heat a large skillet over medium-high. Cast iron if you have it. Stainless works. Non-stick will work but won’t brown as well. You want the pan hot enough that a drop of water sizzles and disappears. Not smoking yet. Almost.
Add olive oil to the hot pan. Wait until it shimmers. That specific shimmer means the oil is ready. Slip the chicken in carefully—it’ll crackle. That crackle is good. That means the sear is happening.
Cook four to six minutes per side. Don’t move it. Don’t poke it. Watch the crust develop. It’ll go from tan to golden to dark brown to almost black spots. The darker it gets, the better it tastes. But don’t flip early. The crust needs time to form and pull away from the pan. When you try to lift it and it doesn’t stick, flip.
How to Get Crispy Chicken Skin—Even Without Skin
The second side cooks the same way. Four to six minutes. Watch for that same dark crust. Listen for that sizzle to calm down a little—that’s when the crust has set and won’t stick.
Once both sides have color, slide the skillet into a 405-degree oven. Only if it’s ovenproof—cast iron is, stainless usually is, non-stick isn’t. If you can’t use the skillet, transfer the chicken to a baking dish.
Let it go 16 to 22 minutes. The timer’s not the point. Temperature is. Poke it with a probe. 165 degrees F inside and you’re done. The juices should run clear. No pink. None.
Pull it out. Let it sit five minutes on a plate. This isn’t wasting time. This is where the juices redistribute into the meat instead of running out when you cut it. You’ll see the difference when you slice it—the meat stays juicy, the crust stays crisp.
Chicken Dry Rub Tips and What Goes Wrong
If the crust sticks to the pan, don’t flip yet. It’ll let go when it’s ready. Forcing it means you rip the crust off and ruin the whole thing. Just wait.
If the butter was hot enough, the spices go dark and bitter. Let it cool to warm. Not hot. Warm.
The rub works better if you let it sit on the chicken for a minute or two before cooking. Gives the spices time to kind of stick to the butter. Haven’t tested it scientifically but it feels better.
You can make extra rub. Store it in a jar. Use it on pork, fish, even roasted vegetables. It doesn’t go bad—just stays there. Works cold or room temperature. Keeps for months.
The cayenne controls the heat. Use less if you hate spicy. Use more if you want it to bite. A quarter teaspoon more makes a real difference. A half teaspoon makes it actually hot.
Some people brown the butter first for nuttiness. Skip it. The spices will burn. Keep it plain.
Chicken Wing Rub with Paprika & Cayenne
Prep:
7 min
Cook:
23 min
Total:
30 min
Servings:
4 servings
Ingredients
- 4 boneless skinless chicken breasts
- 3 tablespoons unsalted butter
- 2 tablespoons olive oil
- 1 teaspoon smoked paprika
- 1 teaspoon dried oregano
- 1 teaspoon garlic powder
- 1 teaspoon onion powder
- 3/4 teaspoon salt
- 3/4 teaspoon freshly ground black pepper
- 1/2 teaspoon cayenne pepper
- 1/2 teaspoon dried thyme
Method
- 1 Preheat oven to 405 degrees F for a bit more punch. Mix all dry spices thoroughly in a small bowl. The blend smells smoky, earthy, with a subtle heat that’s key to blackened flavor.
- 2 Melt butter gently in microwave-safe bowl, about 40 seconds. Watch carefully – you want melted, not browned butter. Butter helps spice stick and browns well in pan.
- 3 Pat chicken dry, then dunk in warm butter. Work quickly so butter doesn’t cool and clump. Coat evenly with seasoning mix, pressing down to embed spices. This crust is everything.
- 4 Heat large skillet (cast iron best, stainless second) over medium-high until just smoking. Add olive oil – shimmering means ready. Slip in chicken carefully. Listen to that crackle – hallmark of good sear.
- 5 Cook chicken 4-6 minutes per side, watch crust develop deep golden to dark brown, almost black spots. Don’t rush flips; crust needs time to form. If crust sticks, it’s not ready to flip.
- 6 Slide skillet into oven (only if ovenproof) or transfer chicken to baking dish. Let finish 16-22 minutes. Test temp with probe – 165 degrees F internal is must. Juices clear, not pink.
- 7 Rest chicken on plate 5 minutes after removal. Juices redistribute. A slice should reveal no raw tissue, with crisp spice crust and tender meat inside.
- 8 Serve straight, or with aioli, hot sauce, or grilled veggies. Leftovers shred nicely in salads or sandwiches.
Nutritional information
Calories
320
Protein
36g
Carbs
2g
Fat
20g
Frequently Asked Questions About Dry Rub for Chicken
Can I use this rub on actual chicken wings? Yeah. Wings take longer though—maybe 25 to 30 minutes in the oven, depends on size. The rub works the same way. Coat them in butter and spice, sear them, finish in the oven.
What if I don’t have smoked paprika? Regular paprika works. Won’t taste as good. Not even close. Smoked paprika is the whole thing. Get some.
Can I make a big batch of this dry rub seasoning mix and use it later? Totally. Mix the spices, store in a jar, use whenever. Just add butter right before you coat the chicken. The butter’s what makes it stick.
How do I know if the chicken is actually done? Probe thermometer. 165 degrees F inside. No pink. That’s the rule. Don’t rely on color or time. Every skillet is different. Every piece of chicken is a different thickness.
Does this buffalo chicken dry rub work on boneless thighs instead of breasts? Better on thighs, honestly. More forgiving. Harder to dry out. Takes about the same time. Just might need an extra minute or two in the oven.
Can I use this hot wing spice rub in the air fryer? Yes. 400 degrees, 12 to 15 minutes, shake the basket halfway. Won’t get the same pan-sear crust but it still works. The rub still tastes good.
What’s the best thing to serve this chicken with? Nothing. It stands on its own. Or side of greens. Or grilled vegetables. Or rice. Doesn’t matter. The chicken is the point here.
You’ll Love These Too
Explore all →
French Toast Bake With Blueberries
Pavlova With Raspberries and Almond Crumble
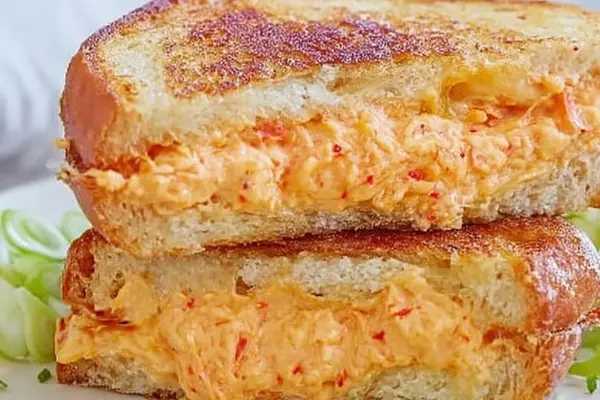
Chunky Pimento Melt with Bacon & Cheddar
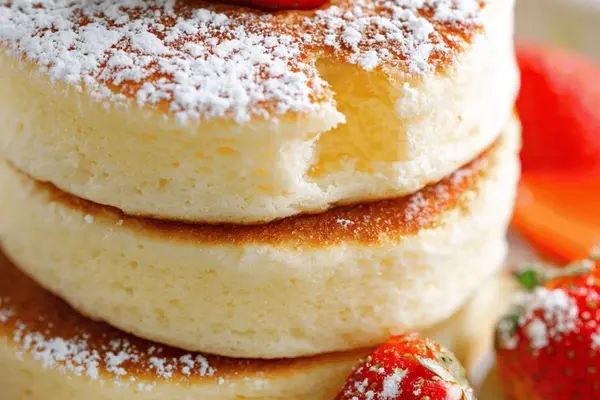
Okonomiyaki: Fluffy Japanese Pancakes
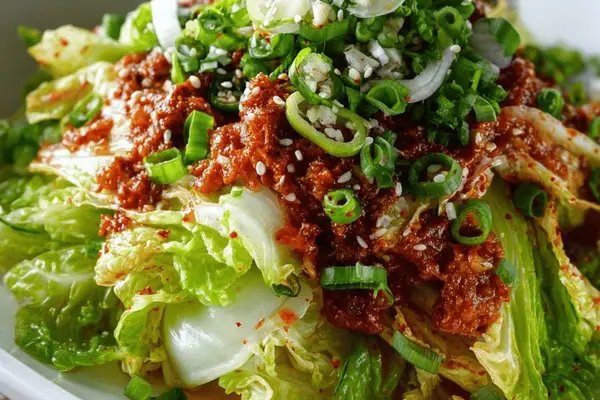
Kimchi Recipe: Napa Cabbage with Gochugaru
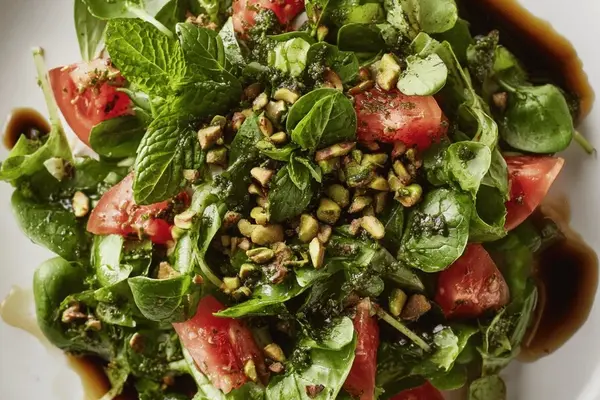
Green Goddess Dressing with Watercress

Baked Zucchini With Parmesan Cheese
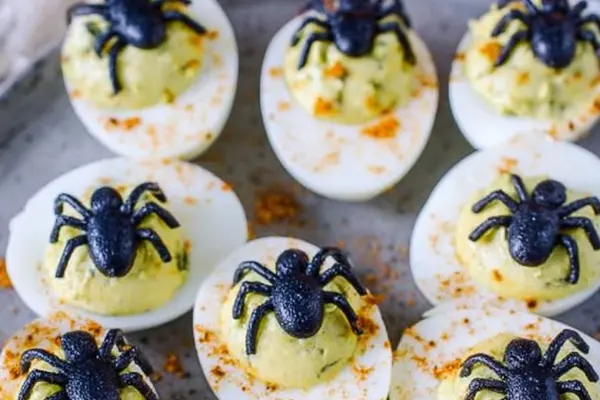
Instant Pot Halloween Deviled Eggs with Avocado
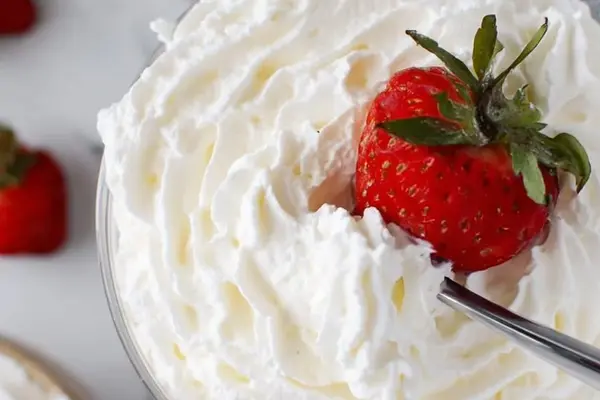
Homemade Whipped Cream with Honey
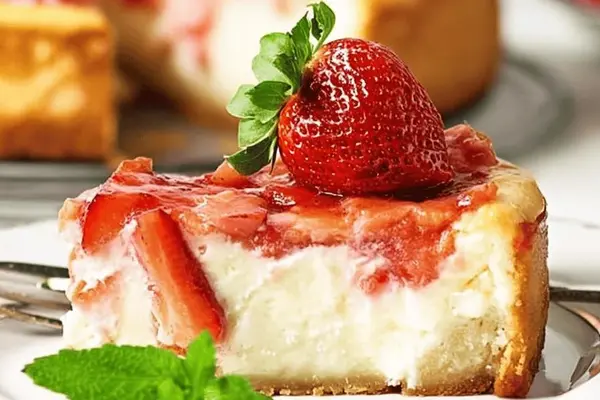
Strawberry Cheesecake Recipe with Cream Cheese
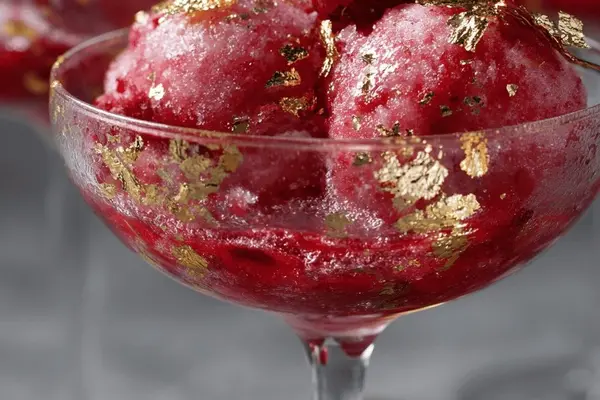
Raspberry Ginger Float Recipe with Sorbet
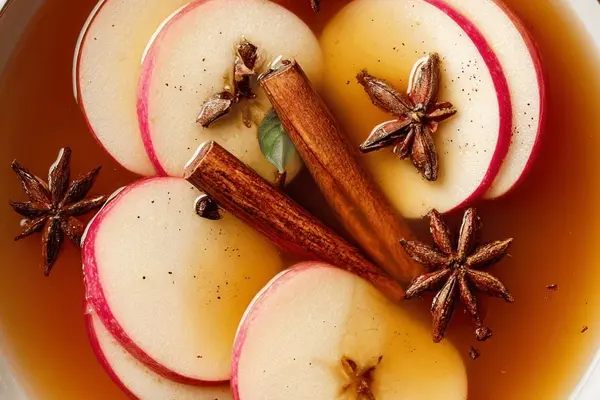
Mulling Spices For Cider With Rum
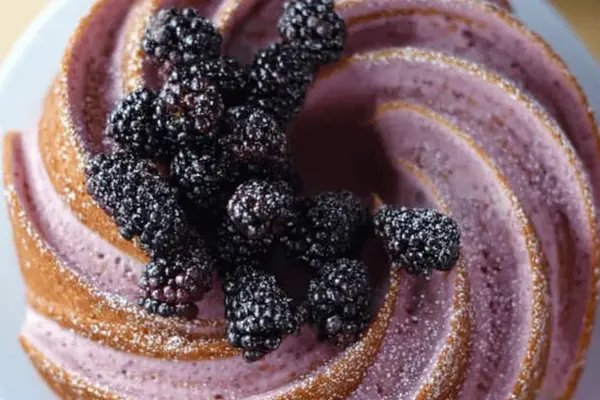
Blackberry Cake with Ginger Ale
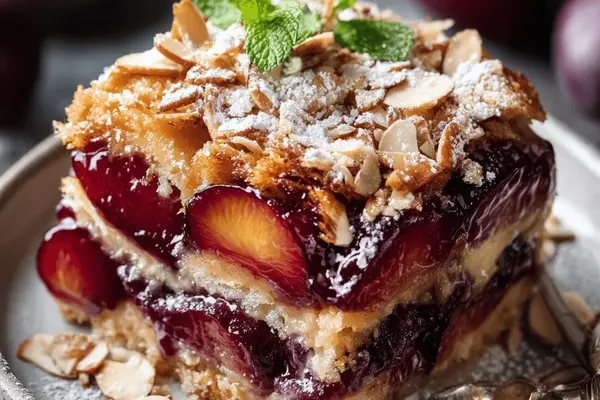
Plum Crumble with Almond Topping & Cardamom
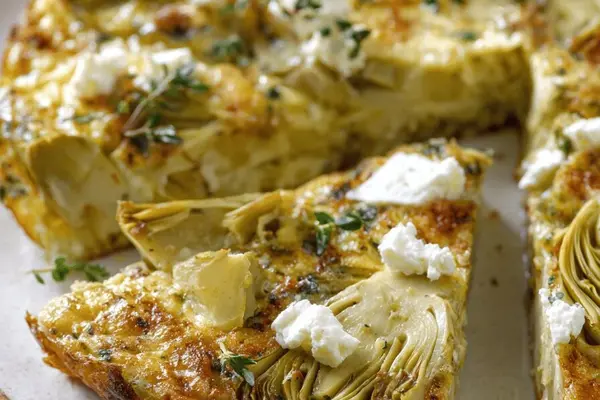
Artichoke Frittata with Goat Cheese

Peanut Butter Cake with Chocolate Ganache
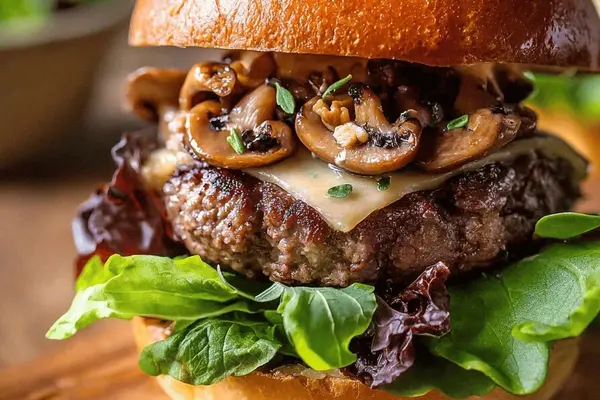
Beef Burger with Smoked Cheddar & Chipotle
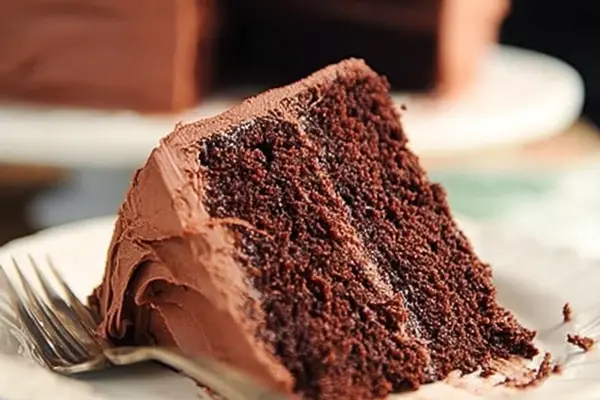
Chocolate Cake Recipe with Espresso
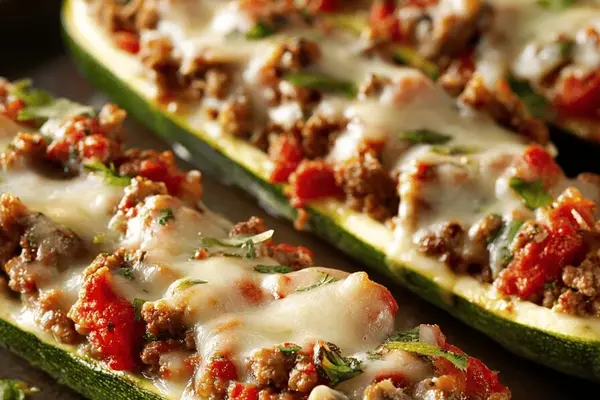
Zucchini Boats with Ground Beef & Mozzarella