Making Sugar Cookies with Butter & Colored Sugar

By Emma
Certified Culinary Professional
·
Recipe tested & approved
Butter and sugar go in first. Beat until it looks like wet sand turning into something smoother. Then the egg. Vanilla. The flour mix folds in last and you have to stop yourself from overmixing because that’s where people wreck it.
Why You’ll Love This Chocolate Chip Cookie Recipe
Takes 33 minutes start to finish if you move. Homemade cookies that actually taste like butter and vanilla and sugar, not whatever’s in the box mix. The edges get crispy. Centers stay soft. Not hard. Not cakey. Just right. Cleanup is basically nothing—one bowl, one mixer, done. Kids can help mix the dough. They’ll eat half of it raw and that’s fine, it’s just butter and sugar and egg so whatever. Cold the next day they’re somehow better.
What You Need for Chocolate Chip Cookies
Unbleached all-purpose flour. Two and a quarter cups. Bleached works but tastes thinner. Baking powder—half a teaspoon, not a tablespoon. People mix those up constantly. Salt. A quarter teaspoon. Butter. Three quarters of a cup, softened. Room temperature. Not melted. Not cold. If it’s cold it won’t cream right. Granulated sugar. One and a quarter cups. Brown sugar makes them chewier but this is the regular recipe so granulated. Vanilla extract. A teaspoon. The real stuff, not imitation. One large egg. That’s it. Colored sugar crystals if you want them on top—optional but they catch light and look good.
How to Make Chocolate Chip Cookies
Center the rack in the oven and get it to 350°F. Line two sheets with parchment or silicone. Just do it. Sticking happens fast.
Whisk the flour, baking powder, and salt together in a bowl. Set it aside. Nothing fancy here—just combine those three and move on.
Butter and sugar in the mixer bowl. Beat it until it goes pale. Like the color of sand but lighter. Two, three minutes. Scrape down the sides partway through because the bottom doesn’t get air otherwise. Add the vanilla. Then crack in the egg and beat until it’s all mixed in—but stop. Don’t keep going. Overmixing makes them dense and that defeats the point.
How to Get Crispy Edges on Chocolate Chip Cookies
Fold the dry stuff into the butter mix slowly. Use a wooden spoon or the mixer on low speed. Folding matters. Stirring too hard breaks down the air bubbles you just spent time building up. The dough comes together and stops being streaky.
Scoop it out. Two tablespoons per ball, roughly. Roll them round with your hands. Ten cookies per sheet. Space them out. They spread and you don’t want them touching. Flatten each one with a fork. Press down, lift up. The fork leaves those characteristic lines and actually helps—it breaks through the fat layer and edges crisp up harder because of it. Sprinkle the colored sugar on top if you’re doing that part.
Bake one tray at a time for 11 to 15 minutes. Your oven might run hot or cold. Some sheet pans are thicker and bake slower. Watch the edges. They should go golden. The base should be firm but not brown. Centers will feel soft if you poke them—that’s right. They keep cooking after they come out. The smell tells you when it’s close. Sweet vanilla mixed with butter getting caramelized. That’s the signal. Pull them out when they look barely done. They’re still cooking.
Cool on a rack. Hot they’re too soft to move. As they cool they firm up and get crispy. Takes 10 minutes or so to set.
Making Sugar Cookies with Butter & Colored Sugar
Prep:
20 min
Cook:
13 min
Total:
33 min
Servings:
1 1/2 dozen
Ingredients
- 320 g (2 1/4 cups) unbleached all-purpose flour
- 3 ml (1/2 tsp) baking powder
- 1 ml (1/4 tsp) salt
- 170 g (3/4 cup) unsalted butter softened
- 250 g (1 1/4 cups) granulated sugar
- 5 ml (1 tsp) vanilla extract
- 1 large egg
- colored sugar crystals optional for topping
Method
- 1 Center rack in oven. Preheat to 180°C (350°F). Line two cookie sheets with parchment or silicone mats.
- 2 Whisk flour, baking powder, and salt in bowl. Set aside.
- 3 Beat butter and sugar with electric mixer till creamy, scraping bowl sides. Stir in vanilla. Add egg, beat till uniform but don’t overmix—airiness helps texture.
- 4 Fold dry ingredients gently into butter mix using wooden spoon or low mixer speed to keep delicate crumb.
- 5 Scoop spoonfuls (~30 ml/2 tbsp) of dough, roll into balls. Space ten per sheet for spreading room. Flatten balls lightly with fork; it leaves characteristic striations and breaks fat layer for crispy edges. Sprinkle colored sugar if you want sparkle and crunch.
- 6 Bake one tray at a time. Between 11 and 15 minutes depending on your oven and sheet thickness. Watch for edges going golden, base firm but not browned. Centers will feel soft to touch but not doughy. Smell sweet vanilla and caramelizing butter as sign.
- 7 Cool on rack fully. Soft when hot, firm up and crisp from cooling. Store airtight up to two weeks or freeze for longer storage.
Nutritional information
Calories
150
Protein
2g
Carbs
20g
Fat
8g
Frequently Asked Questions About Making Chocolate Chip Cookies
Why did my chocolate chip cookies spread too much? Butter was too soft. Or the dough sat in a warm room before baking. Chill it 20 minutes next time and the butter won’t be liquid. Also—too much sugar can cause it. Didn’t happen here though.
Can I make cookie dough recipe ahead and bake later? Yeah. Freeze the balls for a month easy. Bake from frozen. Add maybe two minutes. Or chill the dough in the fridge for a few hours before scooping. Works fine either way.
What’s the difference between edible cookie dough and regular cookie dough? The egg in this one is raw so technically you’re eating raw cookie dough. If that bothers you, use pasteurized eggs or skip the egg entirely and add a tablespoon of milk instead. Texture changes a bit but still works.
Should I make oatmeal chocolate chip cookies or stick with this version? This one is the classic for a reason. Oatmeal versions are denser. Brown butter chocolate chip cookies are better if you want richness. This is clean. Just butter and sugar and chocolate. Do this first.
How long do chocolate chip cookies stay fresh? Two weeks in an airtight container. They get a bit harder as they sit but that’s not bad. Freeze them for three months. They thaw fine at room temperature in like an hour.
Why does the recipe not have chocolate chips if it’s chocolate chip cookies? Good question. The original recipe didn’t list them but the name says it. Add a cup. Melt them slightly or use them straight from the bag. Doesn’t matter much.
You’ll Love These Too
Explore all →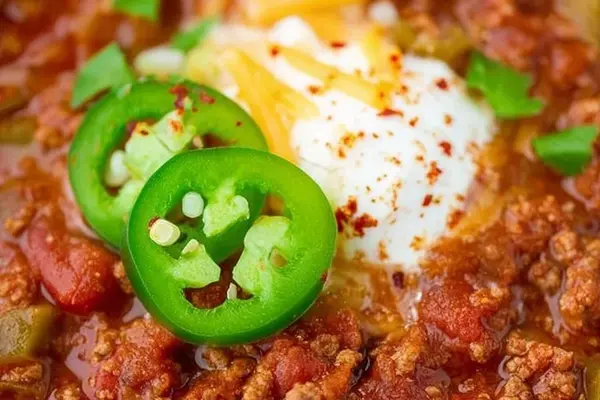
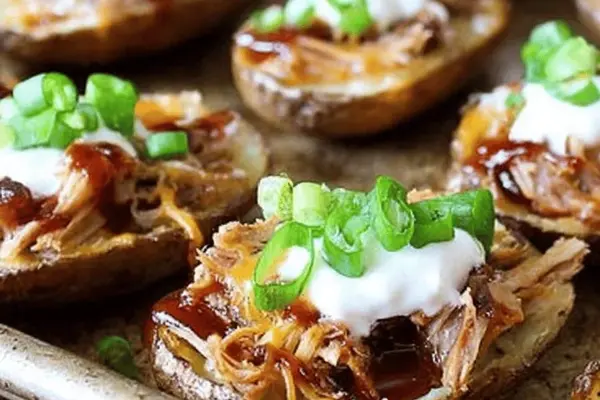
Keto Spicy Bacon Chili with Ground Beef

Sausage Shrimp Jambalaya Recipe One Pot
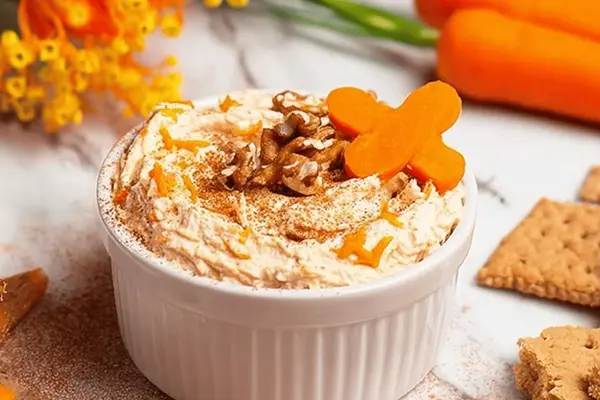
Cream Cheese Carrot Dip with Cinnamon
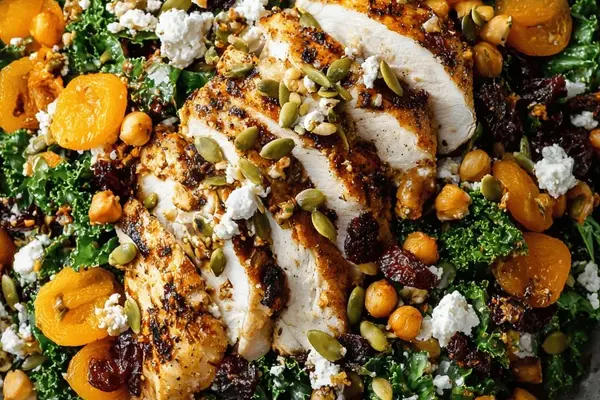
Kale Chicken Salad with Goat Cheese

Saffron Rice with Shrimp and Smoked Sausage
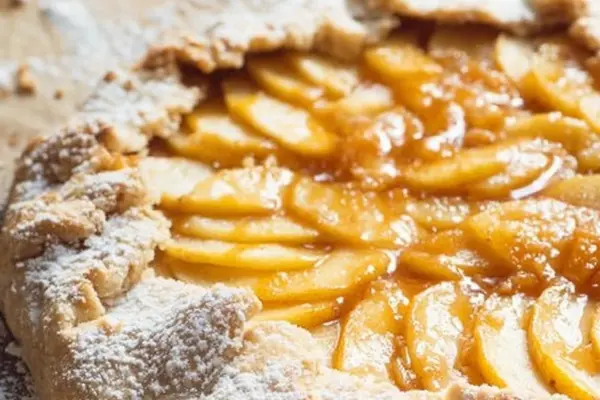
Rustic Apple Galette with Cinnamon
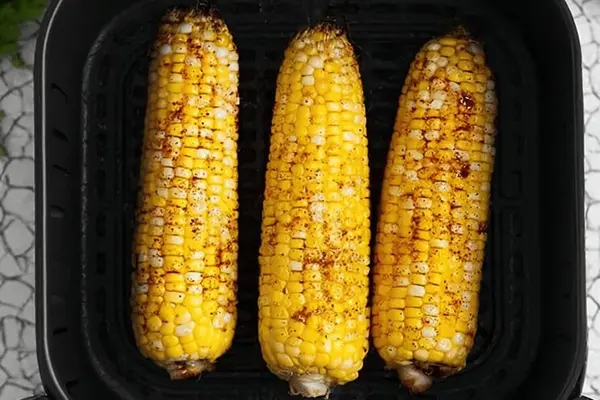
Crispy Air Fryer Corn on the Cob

BBQ Cocktail Wieners with Crescent Rolls

Curried Ginger Vinaigrette Recipe
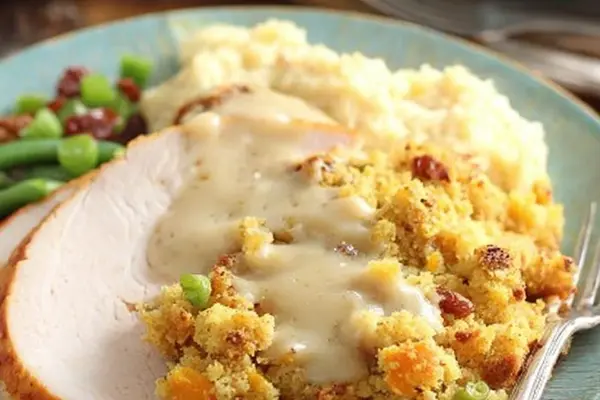
Creole Cornbread Dressing with Sausage

Cheeseburger Pie with Bisquick Topping
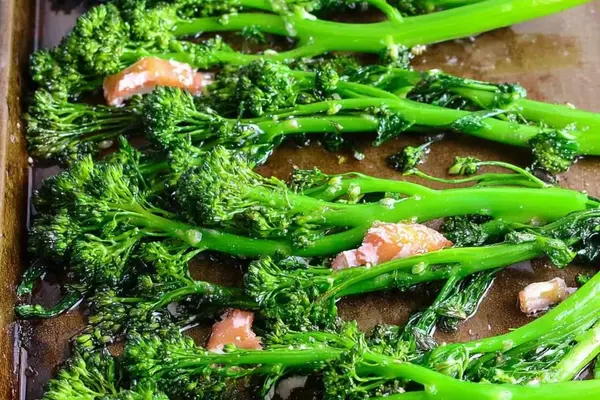
Charred Broccolini with Garlic & Red Wine
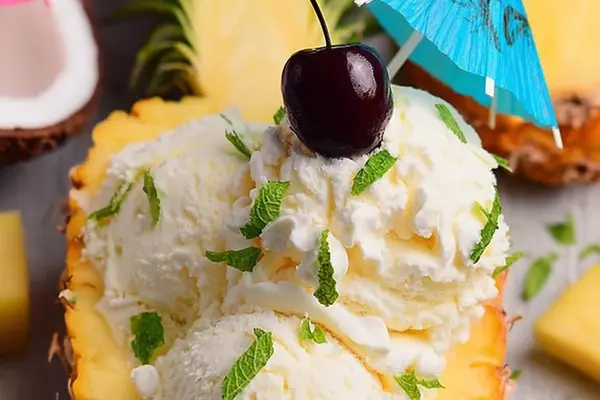
Piña Colada Ice Cream with Greek Yogurt

Tuna Melt with Asparagus & Radish
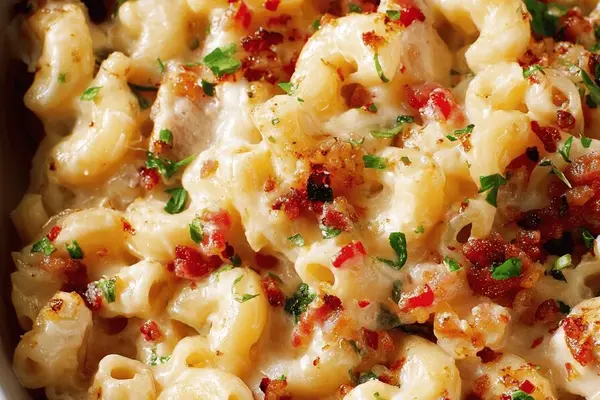
One-Pot Spicy Mac and Cheese with Pancetta
Cream Of Broccoli Soup with Roasted Garlic
Cheesy Churros with Cheddar & Pecorino

Sweetbreads of Veal with Duck Fat

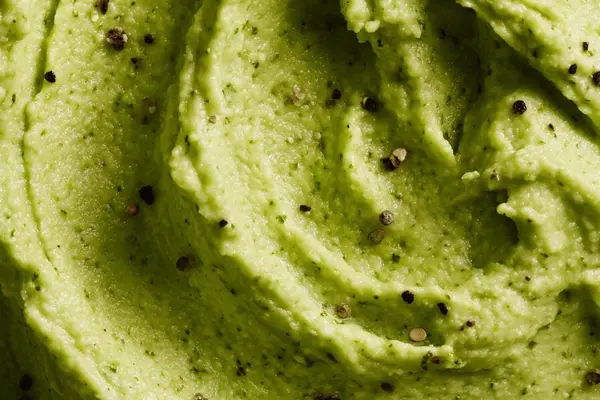
Fresh Basil Pesto Recipe with Pumpkin Seeds