Strawberry Rhubarb Crisp with Buttery Crust
By Emma
Certified Culinary Professional
·
Recipe tested & approved
Make strawberry rhubarb crisp with brown sugar custard filling thickened with cornstarch, maple syrup, and cream. Golden buttery crust with whipped cream topping.
Prep:
30 min
Cook:
30 min
Total:
1h 10min
Servings:
12 servings
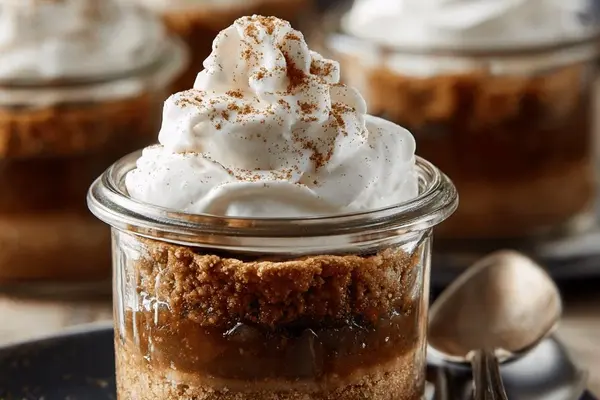
Thirty minutes of prep. Thirty in the oven. Then the layering starts — three buttery rounds stacked with custard and whipped cream, chilled until the whole thing holds together like it was meant to be this way. Had a jar of this sitting in the back of the fridge once. Grabbed it cold at midnight. Somehow tasted better than it did fresh.
Why You’ll Love This No Bake Comfort Dessert
Three textures happening at once — crisp crust, thick cream filling, cloud of whipped cream. They don’t fight. They take turns.
Tastes fancy. Looks fancy. Takes an hour total and most of that’s chilling. Not actual work.
Keeps for three days. Maybe four. You’ll eat it before then anyway.
Works as a no bake dessert or a full pie situation depending on what you’re after. Flexible like that.
The custard’s the thing — maple and brown sugar doing something together that tastes like comfort food from a memory you almost have.
What You Need for Strawberry Rhubarb Crisp Crust and Filling
Cold butter. Not room temperature. If it’s soft, the crust gets dense and sad.
All-purpose flour — two cups minus a tablespoon. One tablespoon plus a teaspoon of milk. One egg. The crust is just butter and flour and patience, basically.
Brown sugar packed tight — almost two cups. Cornstarch. Heavy cream. Maple syrup. Two egg yolks and one whole egg beaten together. The filling’s a custard that’s not quite creme caramel but has that same thick, glossy thing happening.
More heavy cream for whipping — a cup and a half. Sugar for sweetening it. Salt. That’s it.
Optional: cinnamon or crystallized ginger for the top. Doesn’t need it but doesn’t hurt.
How to Make the Crust for Your No Bake Pie
Flour, sugar, salt go in the food processor first. Pulse until mixed. Add the cold butter cubes — and they have to be cold, the temperature actually matters here — pulse until it looks like small peas. This takes maybe twenty seconds, not more.
Milk and egg go in next. Pulse fast. Watch the dough. The second it starts clustering together, stop. Overmixing makes the crust tough and you’ll taste it. Form it into a disc, wrap it, chill it for at least thirty minutes. This matters. The gluten needs to relax or the dough shrinks in the oven.
Light flour on the surface. Roll it out to about three millimeters thick — basically an eighth of an inch. Cut thirty-six rounds with a biscuit cutter or a glass rim. Sharper edges give you cleaner shapes. Lay them on parchment paper.
Cover loosely. Refrigerate again for twenty-five minutes. This second chill is the thing that stops the crusts from spreading all over the pan and helps them brown evenly instead of puffing weird.
How to Get the Crust Crispy and Golden
Oven to 400 degrees Fahrenheit. Rack low so the bottoms actually cook instead of staying pale and doughy.
Bake for twelve to seventeen minutes. Watch for golden edges. Watch for puffing. The dough should spring back when you touch it. Too pale means underbaked — you’ll bite into raw flour. Too dark and the butter tastes burnt, which kills the whole delicate thing.
Cool completely. If you fill them hot the custard seeps in and the texture becomes a mess instead of three separate layers.
Making the Filling and Assembling Your Layered Dessert
Heavy saucepan. Brown sugar and cornstarch go in together. Whisk them. Add the cream, maple syrup, the beaten egg yolks and whole egg. Stir well. Lumps happen if you don’t pay attention.
Medium heat. Not low because the caramelization stalls. Not high because the eggs scramble. Stir constantly. After eight to twelve minutes it thickens — should bubble gently, coat the spoon, cling but still pour. The moment it looks right, pull it off. Carryover heat keeps thickening it.
Transfer to a bowl. Cover the surface with plastic wrap so no skin forms on top. Chill for at least an hour. Resist rushing. The custard stabilizes and the texture gets better.
Whip the chilled cream with sugar until stiff peaks form. Keep the bowl and beaters cold. Don’t overbeat or it breaks and gets grainy. Sugar slows the whipping but stabilizes the cream and adds sweetness — it’s doing work.
Into a jar or glass — one crust disk on the bottom. Spoon the custard evenly on top. Another crust disk. A generous dollop of whipped cream. One more crust disk on top as a lid. Three layers. Optional technically but the top one seals the cream and adds texture contrast — soft, crisp, soft, crisp.
Seal the jars. Chill at least two hours. The flavors meld. The filling firms up slightly. The crusts soften just enough but stay crisp. Keep them sealed or covered with plastic wrap to avoid condensation.
No Bake Pie Tips and Common Mistakes
Butter temperature is everything for the crust. Cold. Always. If you forget and pull soft butter out of the cupboard, the crust gets dense and doesn’t crisp.
Dough sticking too much when rolling? Chill it another ten minutes. Avoid overhandling. Every time you touch it, it gets warmer and squishier.
The filling splits if you scramble the eggs or heat it too fast. If it happens, whisk gently, add a little cream, reheat slow on low. Usually comes back together.
Honey works instead of maple syrup. Adjust sweetness because honey’s different. Arrowroot or tapioca starch can replace cornstarch but they thicken differently — watch the texture.
Visual cues matter more than timers. Your oven’s different from mine. Your cream’s different. Custard’s ready when it’s thick and bubbles gently — not boiling hard, just simmering. Crust’s ready when edges are golden and it springs back when you touch it. Whipped cream’s done when stiff but not dry.
Don’t skip the chilling steps. This dessert works because texture layering works. Rush it and you lose everything.
Strawberry Rhubarb Crisp with Buttery Crust
Prep:
30 min
Cook:
30 min
Total:
1h 10min
Servings:
12 servings
Ingredients
- Crust
- 475 ml unbleached all-purpose flour (2 cups minus 1 tbsp)
- 50 ml sugar (about 3 tbsp plus 1 tsp)
- 2 ml salt (just under ½ tsp)
- 240 ml cold unsalted butter, cubed (just shy of 1 cup)
- 20 ml milk (1 tbsp plus 1 tsp)
- 1 egg
- Filling
- 460 ml packed brown sugar (1 7⁄8 cups)
- 70 ml cornstarch (about 5 tbsp)
- 475 ml 35% cream (2 cups minus 2 tbsp)
- 230 ml maple syrup (just under 1 cup)
- 2 large egg yolks, lightly beaten
- 1 whole large egg, lightly beaten
- Whipped Cream
- 375 ml 35% cream (1 ½ cups)
- 80 ml sugar (slightly less than ½ cup)
Method
- Crust
- 1 Pulse flour, sugar, salt in food processor briefly. Add butter cubes; pulse until pieces resemble small peas. Butter temperature matters — too soft ruins flakiness. Cold is king. Add milk and egg. Pulse quickly until dough clusters. Watch closely; too much mixing toughens crust. Form into a disc; wrap and chill 30 minutes minimum. This rests the gluten; neglect this and crust shrinks during bake.
- 2 Flour surface lightly. Roll out dough to 3 mm thickness (about 1/8 inch). Cut 36 rounds, each 6 cm in diameter. I like using biscuit cutter or glass rim; sharper edges give cleaner crust shapes. Arrange on parchment-lined pan. Cover loosely, refrigerate another 25 minutes — chilling is key for less spreading and better browning.
- 3 Preheat oven to 205°C (400°F). Position rack low to help bottom crusts cook fully without overbrowning tops.
- 4 Bake rounds 12-17 minutes. Watch for golden color edges and puffing. Too pale—dough underbaked, too dark—burnt butter notes ruin delicate feeling. Cool completely before assembly. Hot crusts melt filling prematurely.
- Filling
- 5 In heavy saucepan, whisk brown sugar with cornstarch. Add cream, maple syrup, yolks, egg whole. Stir well to avoid lumps. Medium heat essential — low heats slow caramelization, high risks scrambling eggs or lumps. Stir continuously. After 8-12 minutes, thick mixture should bubble gently and coat spoon thickly. Should cling but still be pourable. Remove from heat immediately — carryover heat continues thickening.
- 6 Transfer filling to bowl. Cover surface tightly with plastic wrap to prevent skin formation. Chill until lukewarm or cool — at least an hour. Cooling stabilizes custard, improves texture. Resist temptation to rush.
- Whipped Cream
- 7 Beat chilled cream with sugar until stiff peaks form. No over-beating; cream graininess kills mouthfeel. Keep bowl and beaters cold for best volume. Sugar slows whipping but adds stability and sweetness.
- Assemble
- 8 Into twelve 250 ml jars or glasses, place one crust disk bottom. Spoon custard evenly atop. Top custard with second crust disk, then a generous dollop of whipped cream. Add final crust disk as lid. This triple layer is classic but optional. The top crust seals cream, adding texture contrast against smooth filling and soft whipped cream.
- 9 Seal jars with lids. Chill for at least 2 hours. Flavors meld. Filling firms slightly, crusts soften just enough but remain crisp. If unsealed glasses used, cover with plastic wrap. Avoid condensation.
- 10 Serve cold straight from fridge. Garnish with a pinch of cinnamon or finely chopped crystallized ginger for a spicy twist. Leftovers keep refrigerated up to 3 days. Crust softens but flavor remains rich.
- Tips & Substitutions
- 11 Butter can be replaced with cold shortening for less flavor but flakier crust; I prefer butter for taste. Use honey instead of maple syrup if you don’t have it, adjusting sweetness. If no cornstarch, arrowroot or tapioca starch work but thicken differently; watch textures.
- 12 If dough sticks too much rolling, chill extra 10 minutes. Avoid overhandling.
- 13 If filling splits, whisk gently and reheat low with a little cream to fix.
- 14 Visual cues over timers; every oven and cream varies. Custard ready when thick and bubbles—not boiling violently but gently simmering. Crust ready when golden edges and springy to touch. Whipped cream stiff but not dry.
- 15 This pie is forgiving but requires patience. Don’t skip chilling steps, or textures suffer.
Nutritional information
Calories
410
Protein
4g
Carbs
29g
Fat
32g
Frequently Asked Questions About No Bake Cream and Sugar Pie
Can I make this ahead? Yeah. Fully assembled, sealed in jars, it keeps three days in the fridge. The crust softens slightly but the flavor gets better. After three days the crust’s pretty soft though.
What if my custard’s too thick? Whisk in a tablespoon of cream. Reheat gently. Should loosen up. Happens sometimes depending on how long you cooked it.
Can I skip the chilling steps? Not really. The dough shrinks in the oven if you don’t rest it. The filling breaks if you don’t chill it. The layers stay distinct because of the chilling. You can rush it but the texture suffers.
Is this actually no bake? The crust bakes. The filling doesn’t. So half no bake. If you want a full no bake version, use a graham cracker crust and don’t bake anything, but then it’s different enough that I wouldn’t bother calling it the same dessert.
Can I use a different sweetener instead of maple syrup? Honey works. Brown sugar syrup works. They taste different though. Maple’s specific — it’s part of the whole thing. Honey tastes lighter. Brown sugar syrup tastes deeper but not maple-y. Try it but know it’ll be different.
What’s the difference between this and lemon icebox pie? Lemon icebox pie uses lemon juice and zest, usually no cornstarch, sometimes meringue on top. This is custard-based with brown sugar and maple. Both are no bake desserts but the filling’s totally different. Icebox pie’s tart. This is sweet and deep.
Can I make the pecan pie without corn syrup version instead? No. This recipe isn’t pecan pie. Pecan pie without corn syrup uses a different filling technique. You’d need a different recipe entirely. This is custard. Different animal.
Should I use sweetened or unsweetened whipped cream? Make it yourself with heavy cream and sugar. Whipped cream from a can is mostly air and tastes like nothing. Pre-whipped from the dairy case works in a pinch but breaks down fast.
You’ll Love These Too
Explore all →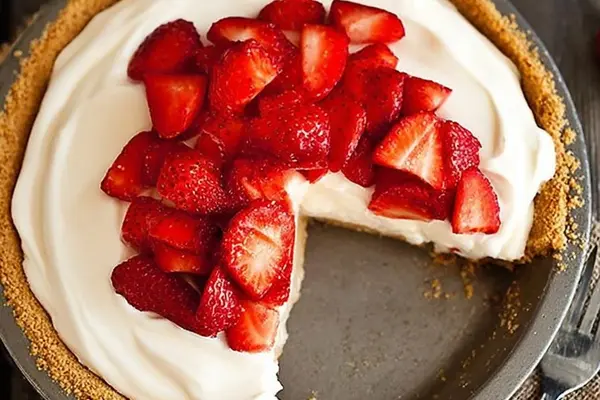
No Bake Cheesecake with Peach Preserves
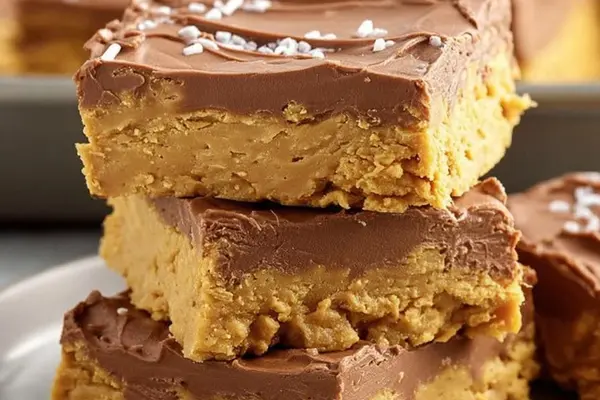
Peanut Butter Bars with Almond Butter
Cosmopolitan The Drink Recipe
Maple Butter Cookies with Orange Zest

Buffalo Wing Egg Rolls with Cheddar

Gluten-Free Strawberry Rhubarb Crisp
Homemade Condensed Milk Recipe

Crab Rangoons with Parmesan & Artichokes
Hot Chicken Sandwich with Brown Sauce
Cheesy Broccoli Potato Soup with Smoked Gouda
Grilled Tilapia with Pineapple Salsa
Soba Noodle Dish with Chickpeas
Beef Spaghetti Sauce with Tomato Bouillon
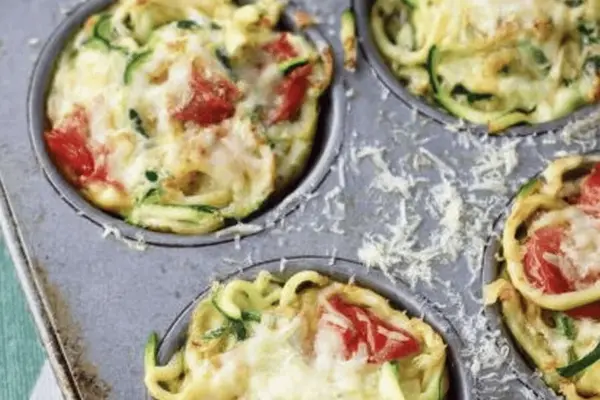
Egg Muffins with Zucchini and Cheese
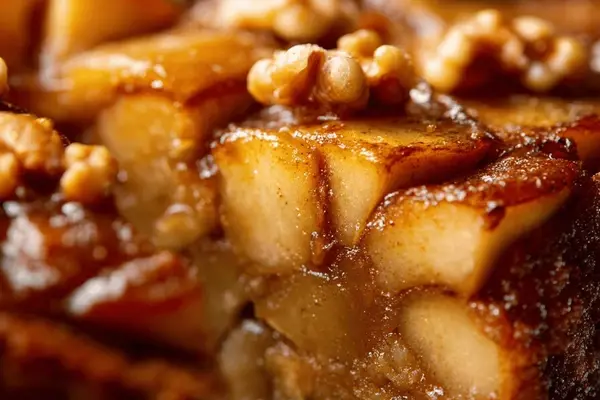
Maple Glazed Upside-Down Apple Cake
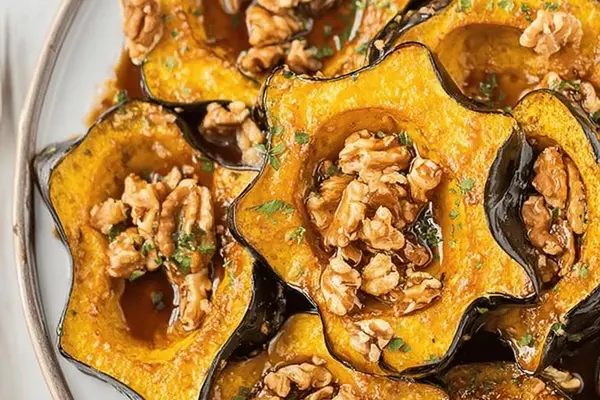
Roasted Acorn Squash with Pecans & Date Syrup
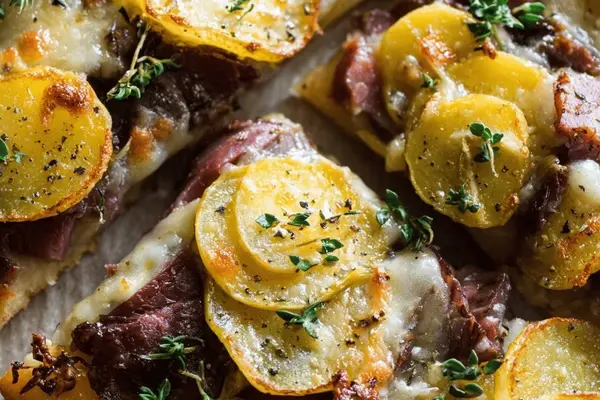
Focaccia with Potatoes and Smoked Beef
Lemon Crinkle Cookies with Browned Butter
Cinnamon Rolls with Cherry Preserves & Cream Cheese