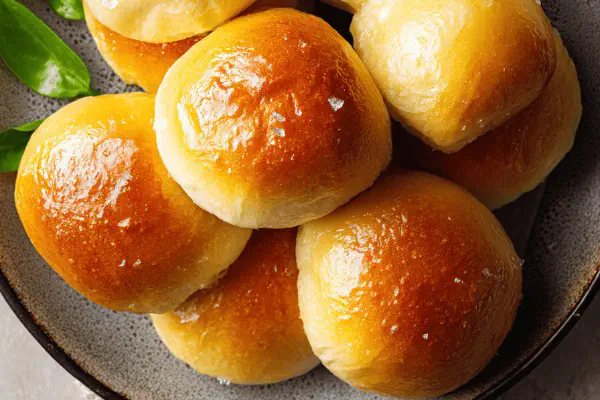
Tangy Milk Buns
By Emma
Certified Culinary Professional
Before You Start
Ingredients
- 185 ml (3/4 cup plus 1 tsp) warm milk
- 25 ml (1 1/2 tbsp) sugar
- 10 ml (2 tsp) instant yeast
- 25 ml (1 2/3 tbsp) avocado oil
- 400 ml (1 2/3 cups) unbleached all-purpose flour
- 2.5 ml (1/2 tsp) salt
- 5 ml (1 tsp) fresh lemon juice
- avocado oil for brushing
In The Same Category · Breads
Explore all →About the ingredients
Method
- 1 Start with warm milk in a measuring cup, just about body temp but no hotter. Toss in sugar, lemon juice, instant yeast. Stir lightly; wait until bubbles peek on surface like tiny frothy windows. If nothing, yeast is dead or water too hot. 5-8 minutes, max. When frothy, add avocado oil. Stir slowly, keep bubbles intact.
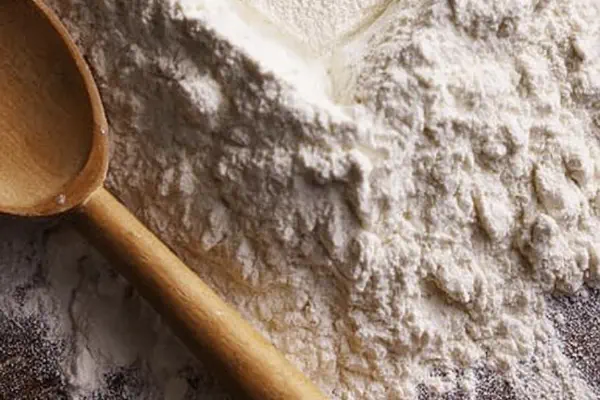
- 2 Sift flour and salt together in a big bowl. Mix dry then pour milk mix over slowly, stirring aggressively with wooden spoon or silicone spatula till dough clumps. Sticky, shaggy, no problem. Avoid adding more flour here. Let it rough.
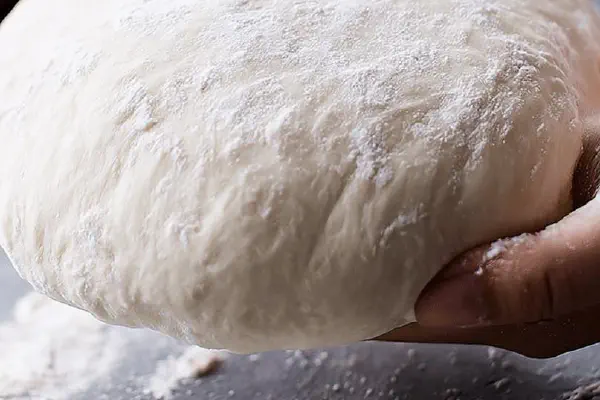
- 3 Dust counter with flour, drop dough out. Now knead hard. Smash and fold 6-7 minutes. Dough transitions from sticky blob to supple and slightly tacky ball. Too dry? Small splash cold water. Too wet? Dust flour bit by bit but no more than needed. Dough’s feel here says a lot about bun texture later. Form tight ball.
- 4 Grease bowl lightly with avocado oil, toss dough in, spin once to coat all sides. Cover with cling film, press down slightly so it hugs dough. Place in warm, humid spot—near boiling water bowl or oven light on. Let rest about 1 hr 45 mins to 2 hrs or until it doubles—look for smooth dough with bubbles just under surface, kind of jiggly when poked. Not done? Wait more, no rush but heat’s key.
- 5 Prepare 28 x 20 cm baking pan. Grease and dust lightly with flour, don’t skip. Prevents burning sticky bottoms. Punch dough down gently, divide into 12 chunks. Use scale for consistency if you want even buns that bake uniformly. Roll into tight balls by cupping one hand, roll dough into palm while pressing lightly on counter. Smooth skin is key.
- 6 Space buns evenly in pan, cover loosely with plastic wrap. Again, rest in warm spot. About 50-65 minutes. Buns swell, nearly double, pull apart slightly. Poke test: indentation stays a bit; if springs back quick, needs more. Best to avoid overproofing or buns collapse in oven.
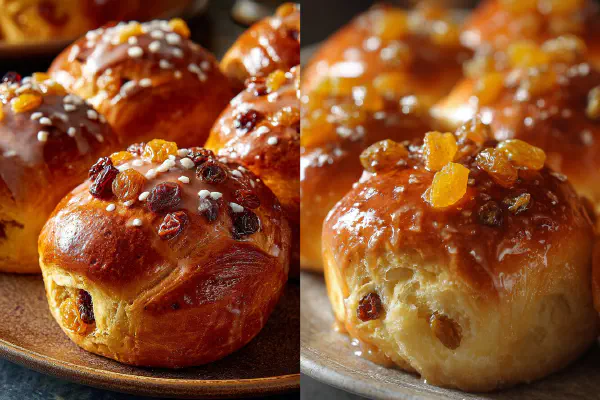
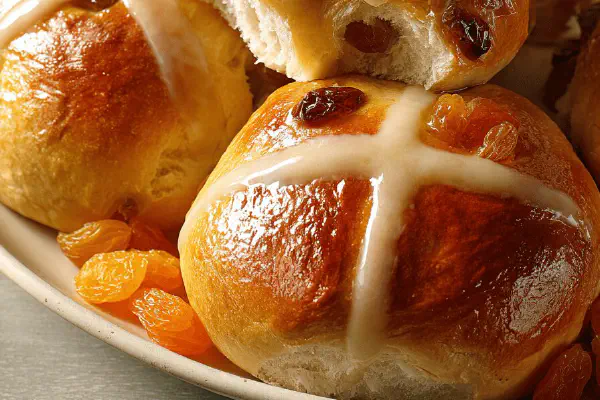
- 7 Rack center oven. Preheat to 190 Celsius (375 Fahrenheit). Buns should look puffed, shiny. Brush tops lightly with avocado oil—adds sheen and helps crust crisp and color right. Skip too much oil or they’ll be greasy.
- 8 Bake ~25 minutes. Watch golden color emerge; edges caramelize, smell deepens from yeasty softness to toasty warmth. Tap bottoms—hollow sound means cooked through, not doughy. Color is guide, listen and smell your oven’s unique cues.
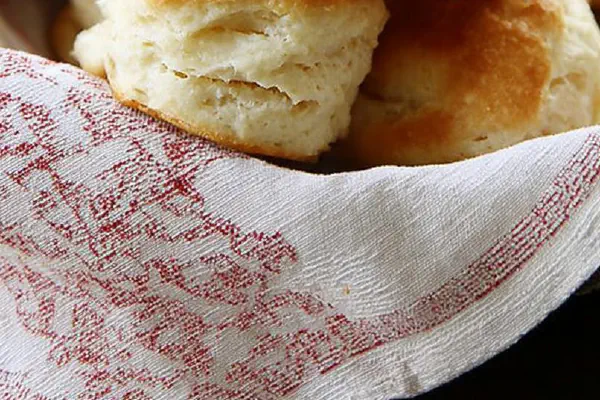
- 9 Cool on wire rack minimum 20 minutes before slicing. Warm buns tempt slicing now but crumb can smear or compress. Patience yields light texture, chewy crumb with little holes, airy but structured. Keep in airtight container room temp 2-3 days. Refrigeration dries quickly. Freeze to store longer.
- 10 Variations if in pinch: replace avocado oil with light vegetable oil or melted butter but expect subtle flavor shift. Swap lemon juice for a teaspoon apple cider vinegar to activate yeast differently. Adding 15-20 ml oat flour to replace some AP flour makes crumb reflect rustic mill notes.
Cooking tips
Chef's notes
- 💡 Milk temp crucial: warm but not hot. Too hot kills yeast dead fast. Wait for bubbles on surface after mixing yeast, sugar, lemon juice. No bubbles after 8 minutes? Dump and start fresh. Yeast freshness matters more than flour brand. Use instant yeast for quick proof; active dry needs activation beforehand. Lemon juice tweaks acidity; swap with apple cider vinegar but flavor shifts slightly. Keep mixing gentle when adding oil to keep bubbles intact. Bubbles early on spell later rise and crumb airiness.
- 💡 Kneading: 6-7 minutes is guideline, not hard rule. Feel dough, not clock. Starts sticky, rough, then smooth and tacky ball forms. Too dry? Dip fingers in water before adding small splash cold water, avoid flour dusting beyond initial sifted. Over-flouring kills chewiness, leads to dense crumb. Dough should bounce back lightly to finger press, not stick to skin. Trust texture cues. Kneading builds gluten key for soft structure. No machine needed, hand kneading develops feel and control better here.
- 💡 First rise: warm humid spot essential. Oven light on with a bowl of boiling water inside or near heater. Dough surface doubles, smooth with sub-surface bubbles. Jiggly when poked is good sign. Take your time; rushed rise means collapsed buns on baking. Cling film should hug dough no gaps to keep moisture in. Avoid drafts or cold spots; yeast can stall or die. It’s a waiting game with signs visible. If rise slow, double check water temp on yeast proof or room temp. Adjust accordingly. More humidity, less crust dryness, better oven spring.
- 💡 Shaping: weigh dough balls for even buns. Roll by cupping and pressing lightly on counter to get tight skin. Smooth skin helps crust color and seam sealing. Don’t stretch too tight or buns will shrink back during proof. Space evenly on pan with room for swelling. Cover loosely so buns don’t dry but still get airflow for crust development. Second rise same warm spot. Buns nearly double again. Poke test is key; slow indentation rebound means ready. Springs back like rubber band means wait more. Overproofed buns flatten and collapse in oven - avoid by sensing, not timing.
- 💡 Baking: rack center oven at 190 Celsius. Brush tops lightly with avocado oil for sheen and crisp crust, skip excess oil or greasy edge forms. Bake about 25 minutes. Golden caramel spots appear; smell changes from sweet yeast to toasty warm aroma. Tap bottom for hollow sound to check doneness, not clock. Cool on wire rack minimum 20 mins before slicing to let crumb set or crumb squishes and gets gummy. Store airtight room temp 2-3 days max. Refrigeration dries buns fast. Freeze wrapped for extended storage, thaw and toast gently later.
Common questions
Why no bubbles after mixing yeast?
Yeast dead often. Possible water too hot kills yeast instantly. Use warm water, 37-40 C max. Old yeast poor rise too. Test with small yeast proof batch before mixing all. Lemon juice acidity small factor, big no bubbles mostly temp or yeast.
Can I swap avocado oil?
Yes, vegetable oil or melted butter works. Butter adds richer flavor, oil stays neutral. Oil choice affects crust browning slightly. Extra flavor tweaks crumb but won’t break dough. Lemon juice replacement is apple cider vinegar but expect milder rise and tang shift.
Dough too sticky to knead?
Resist adding too much flour; better dampen hands or counter slightly. Sticky means hydration good for light buns. Kneading transforms sticky rough dough to tacky smooth ball over minutes. Flour added lightly, bit at a time only if really wet. Sticky isn’t failure; over-flour leads to dense bread.
How to store buns best?
Wrap airtight room temp up to 3 days. Refrigeration kills softness, dries crumb fast. Freeze if longer, slice frozen or thaw gently. Avoid plastic wrap traps moisture causing soggy crust on thaw. Use bread bag then reseal. Toast after thaw brings some crust life back.
